Backpacking The Trans-Catalina Trail: The Ultimate Guide
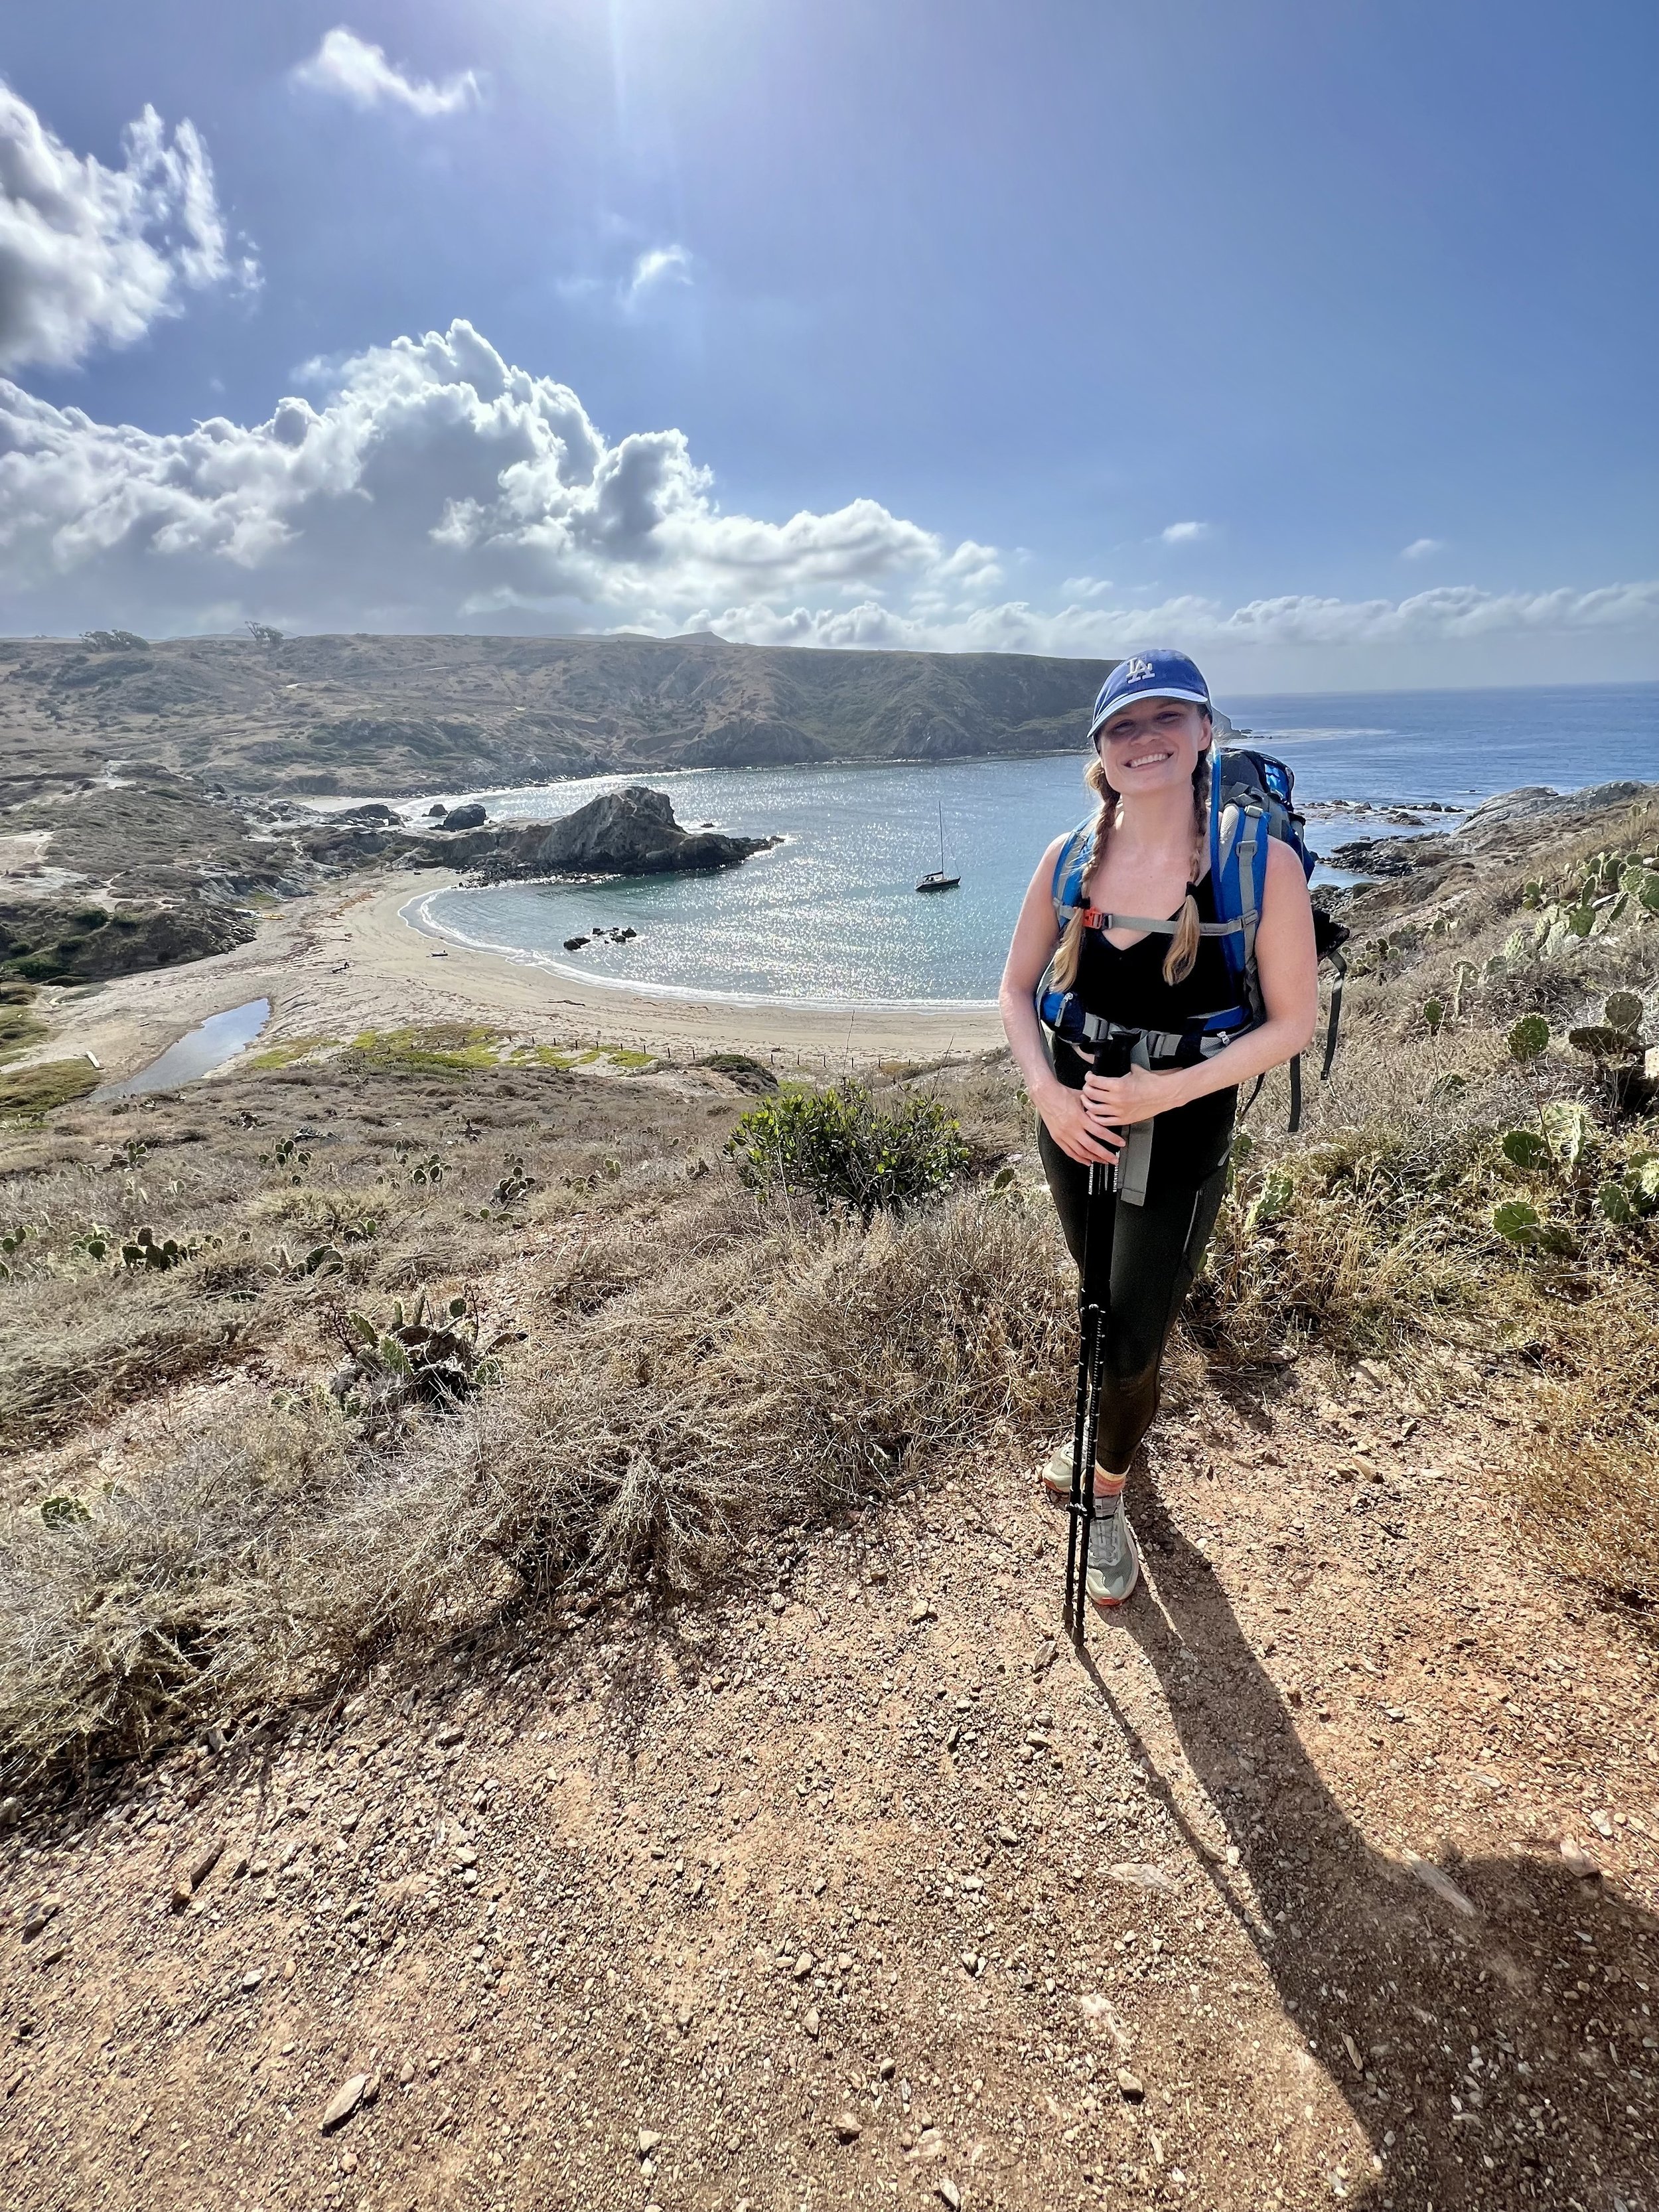
The Trans-Catalina Trail (TCT) is 38.5 mile thru-hike and is a very doable backpacking trip, regardless of if it is your first time backpacking or if you’re an experienced backpacker. For those a little nervous about doing the TCT as their first backpacking trip, don’t be! When I did it, it was only my second time backpacking and I was able to keep a 25-minute mile pace pretty consistently. This trail is challenging yet beautiful, mountainous and secluded and still very close to civilization.
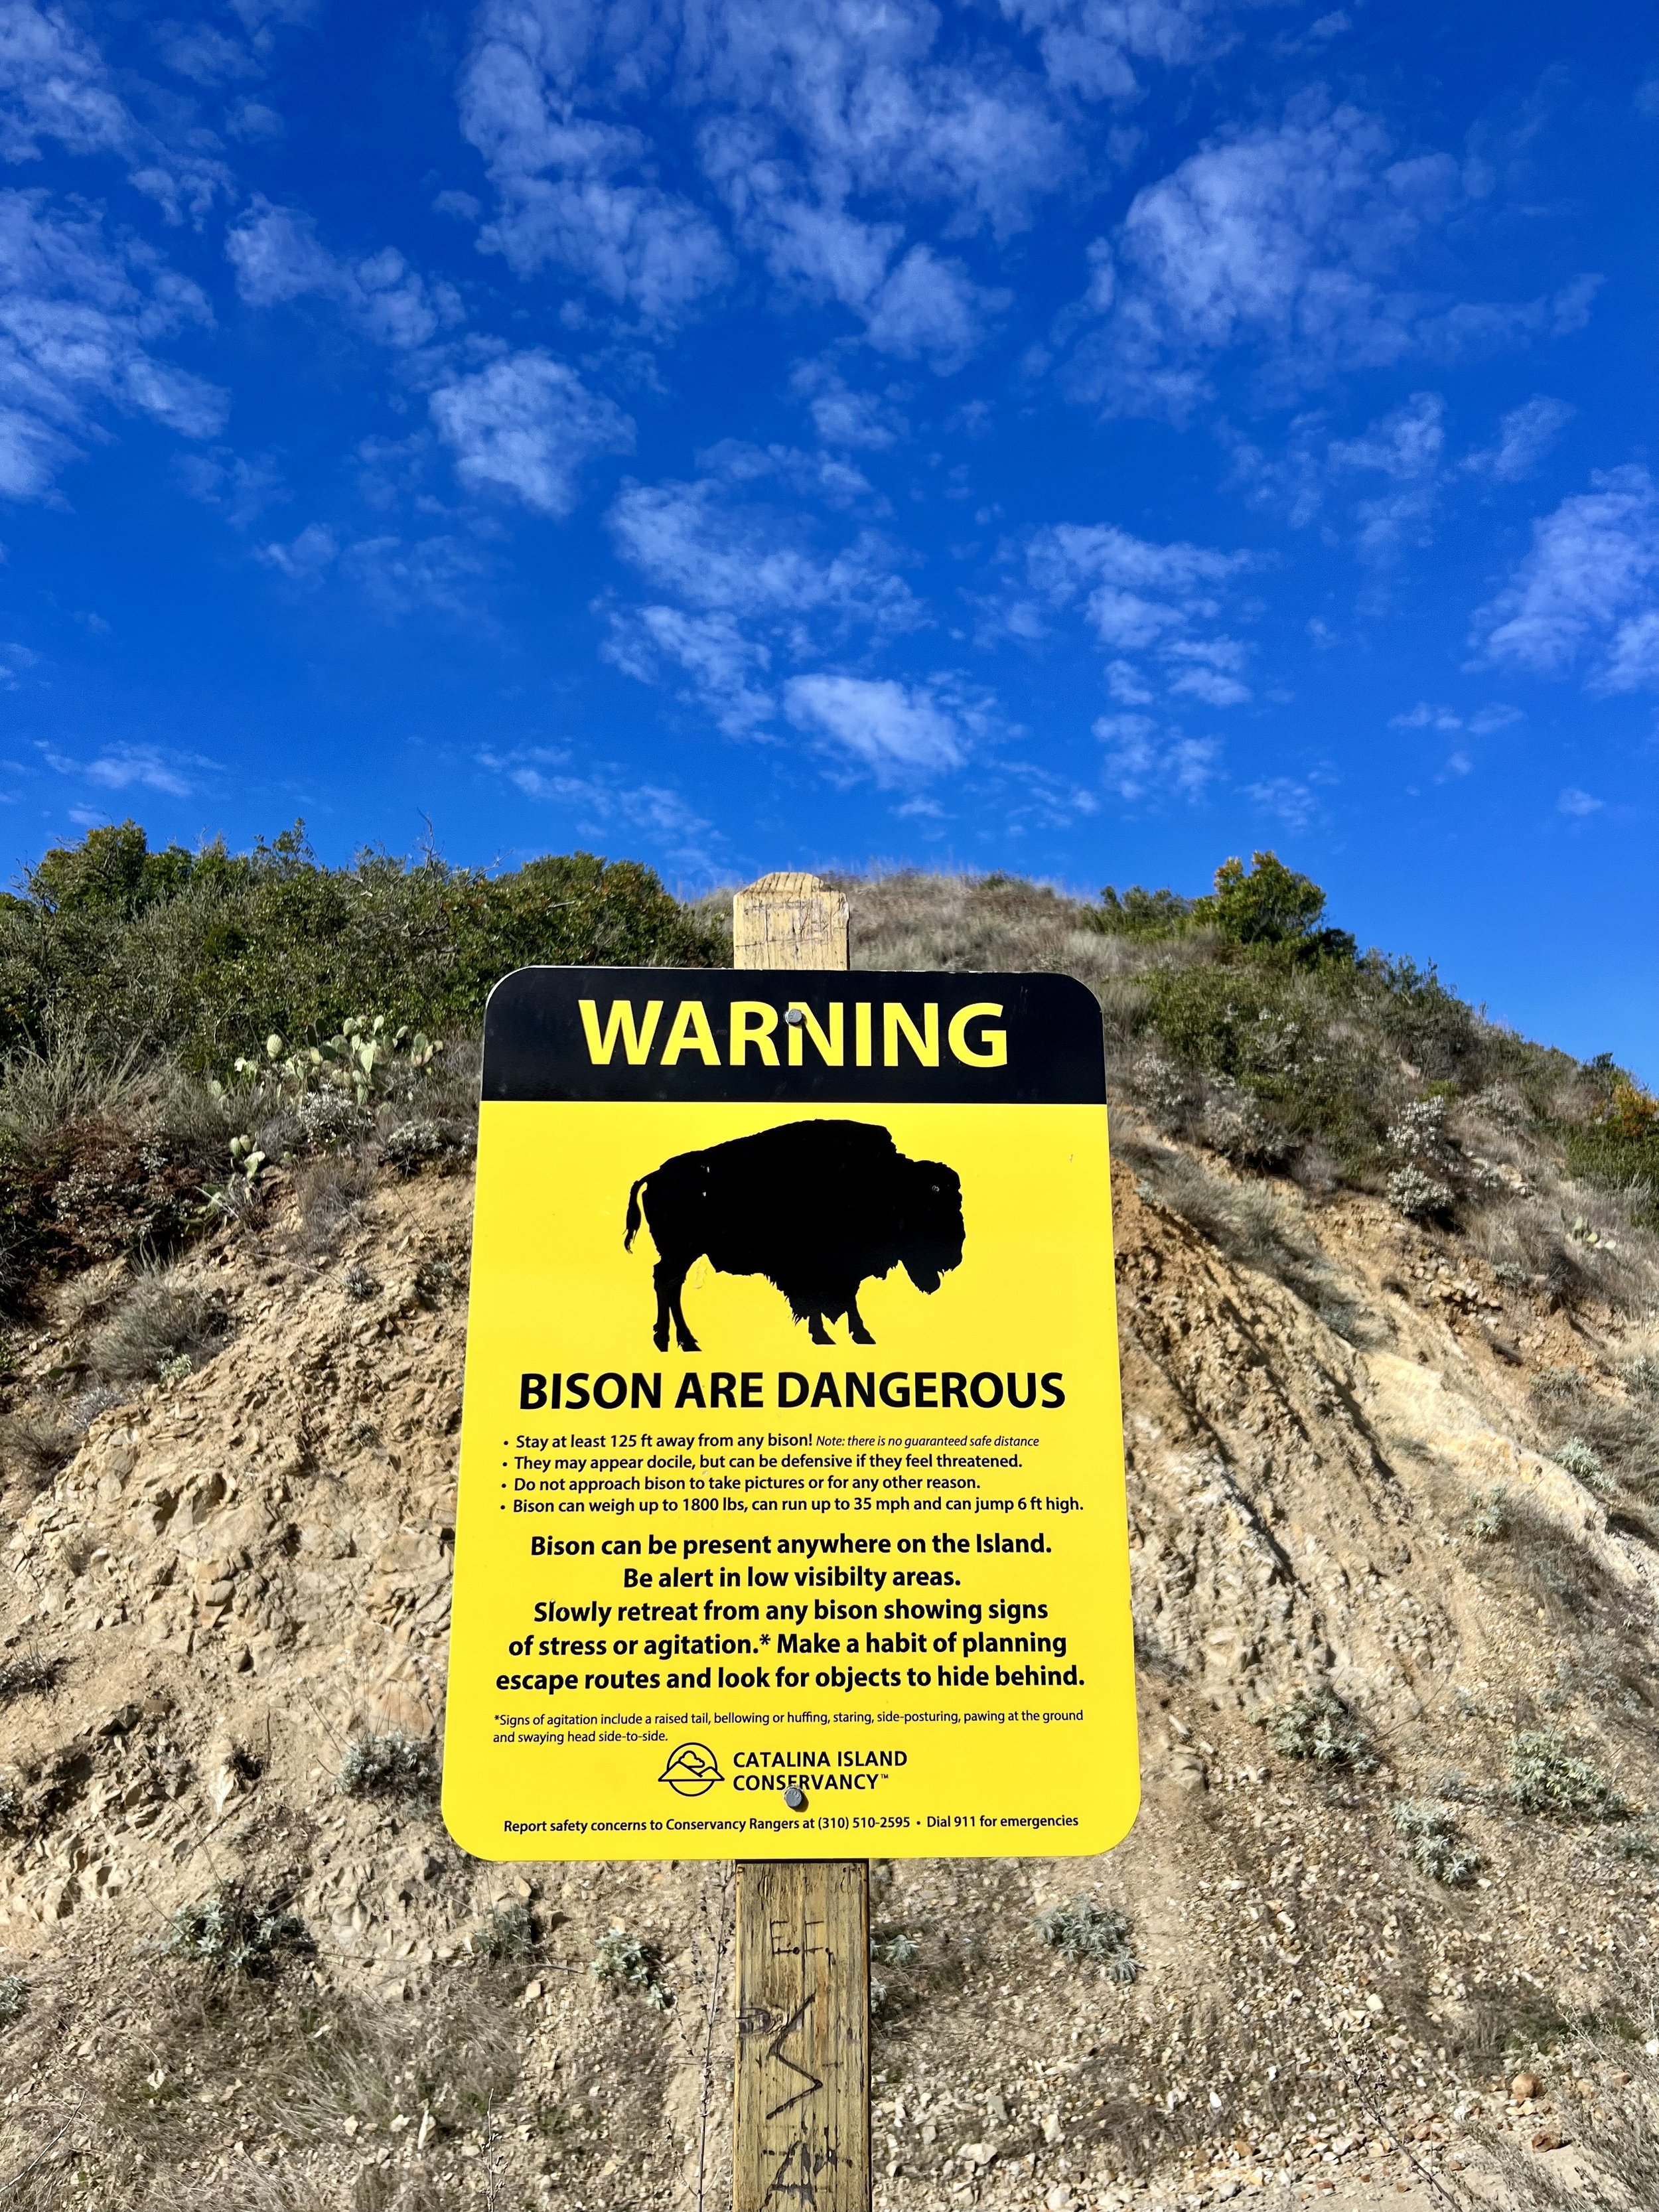
Catalina Island, where the TCT is, is located about 22 miles off the coast of Southern California. While it is home to amazing resorts and restaurants, it is also a great place for hiking, backpacking and camping. You’ll find secluded beaches, kelp forest habitat, and wildlife including bison!
This guide, which covers completing the Trans-Catalina Trail in 3 nights / 4 days, includes everything you need to know before hiking the TCT including permits, how to pack, time of year to do the hike, and more! Hiking the Trans-Catalina Trail in 3 nights / 4 days is a bit aggressive, but if you’re limited on time or willing to take on the challenge of a fast pace, this guide is for you! If you would like to hike it a bit slower, I recommend 4 nights / 5 days.

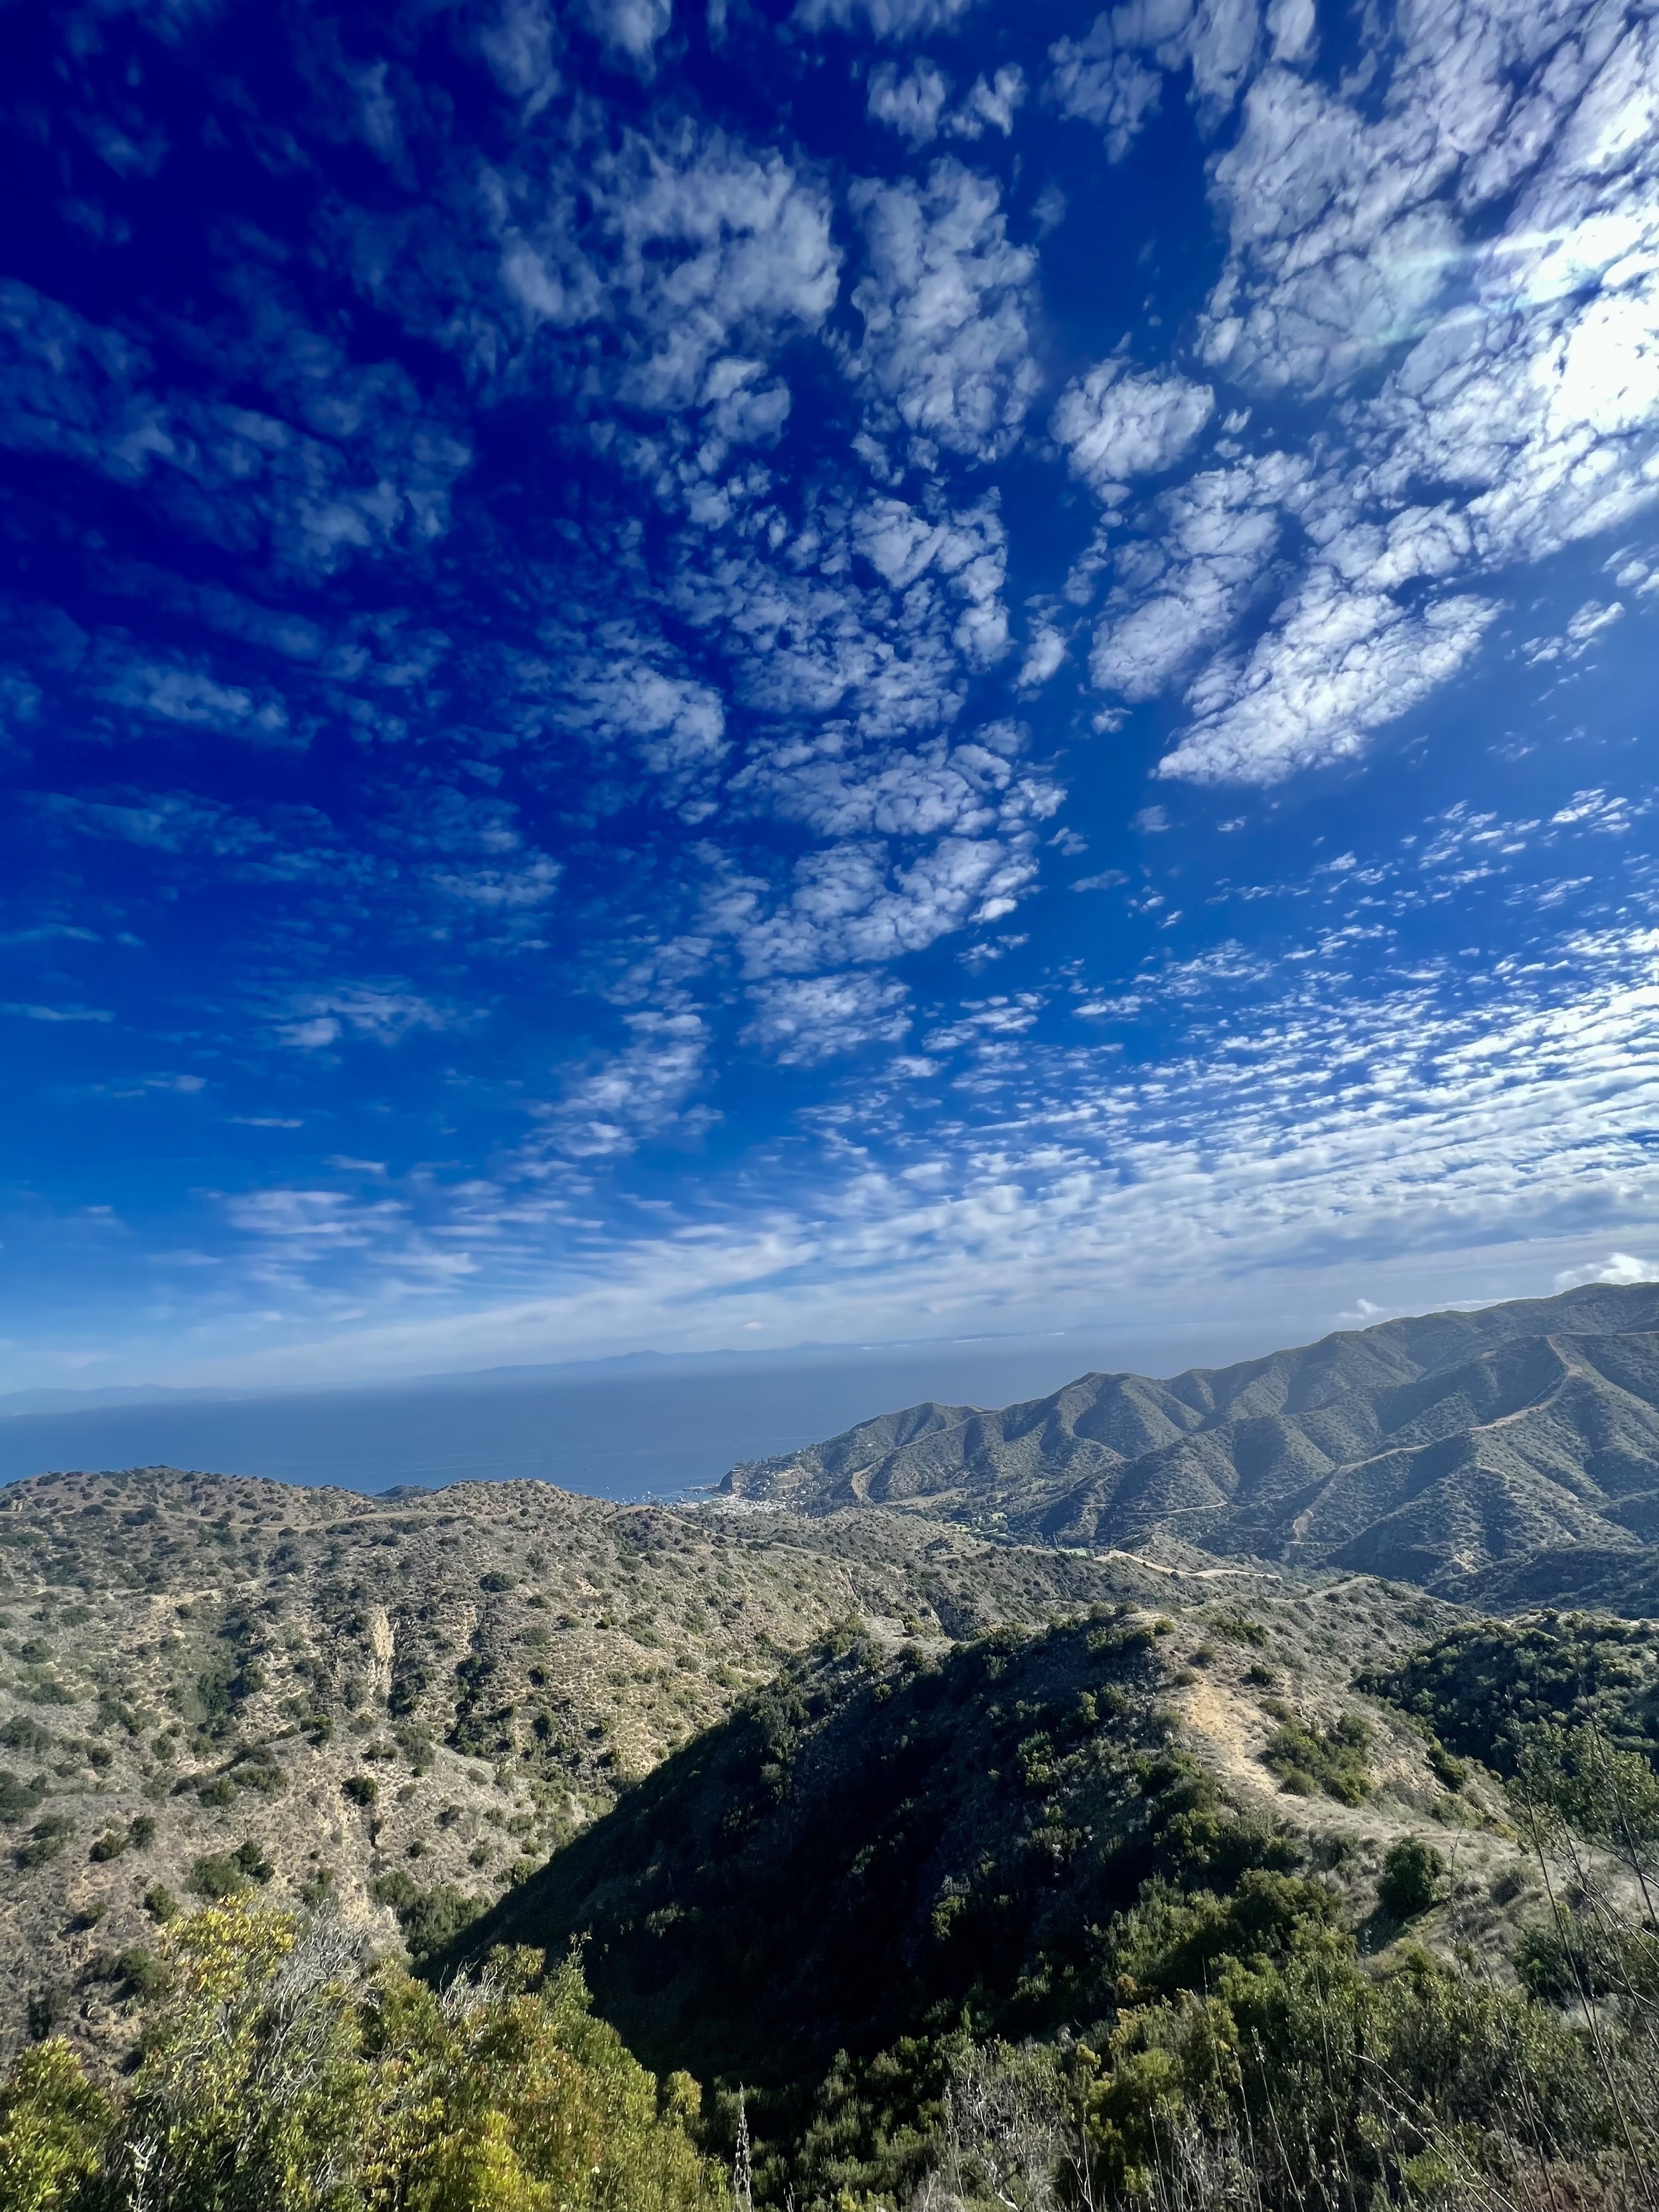
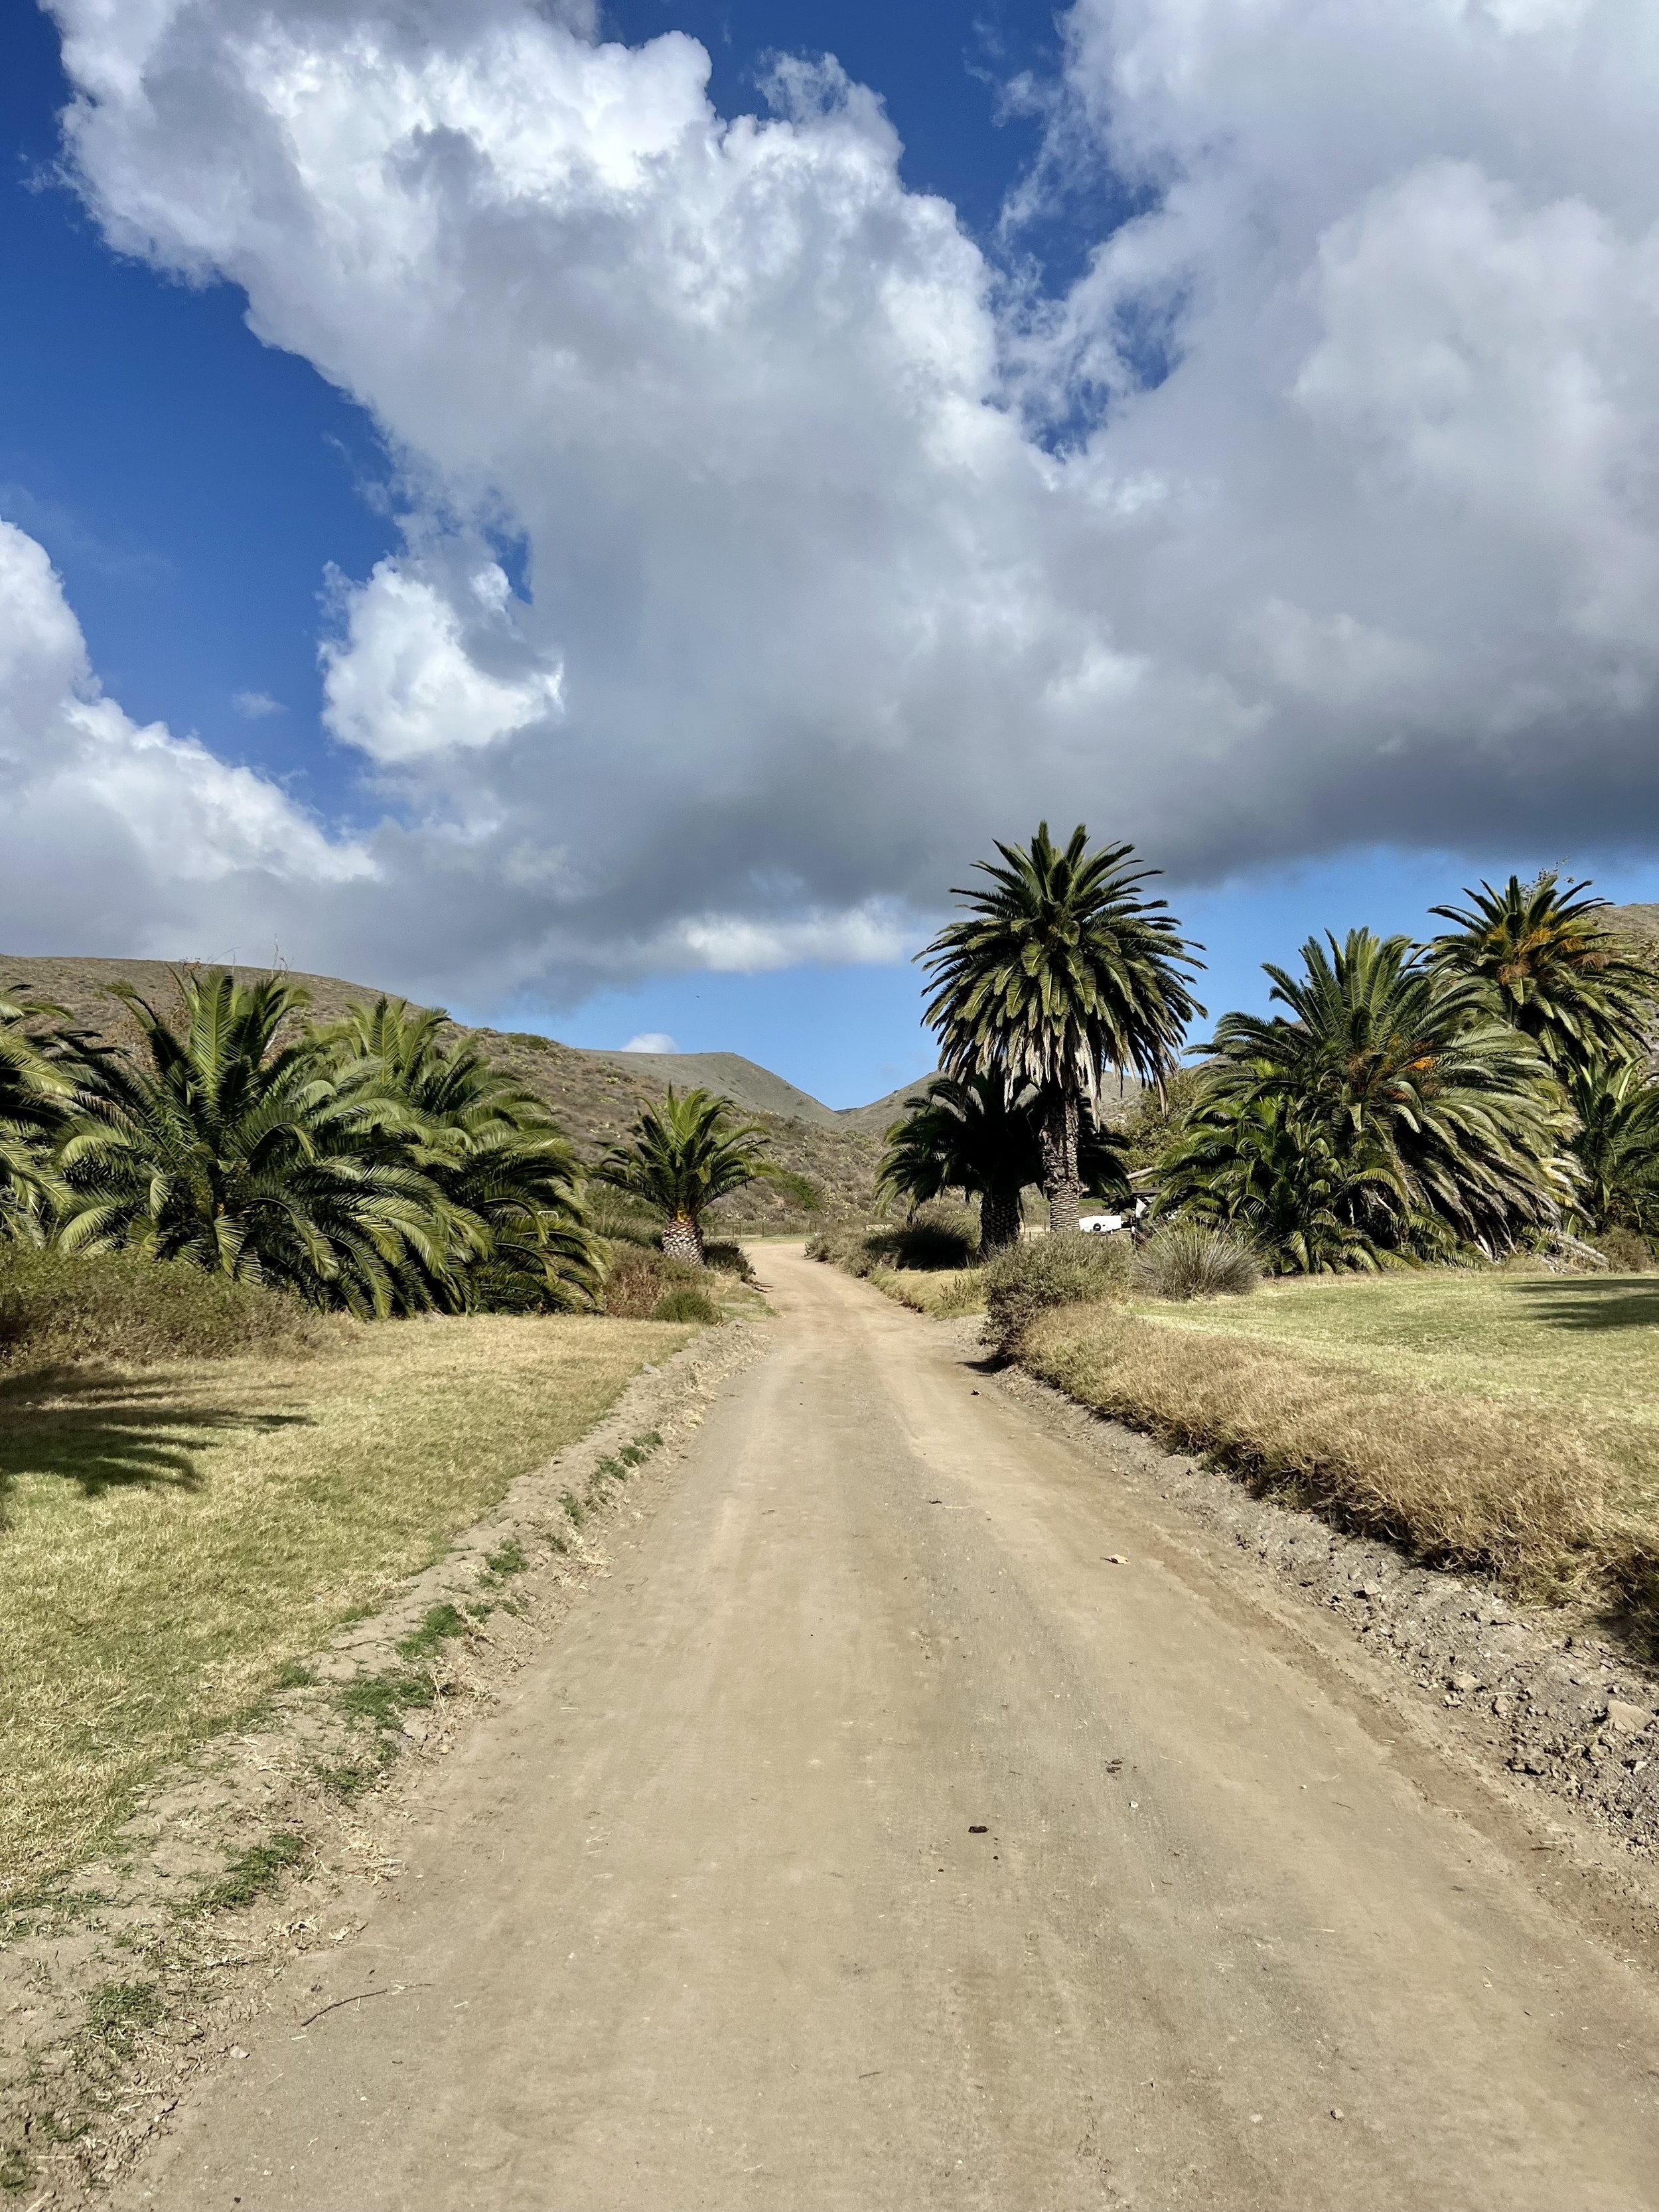
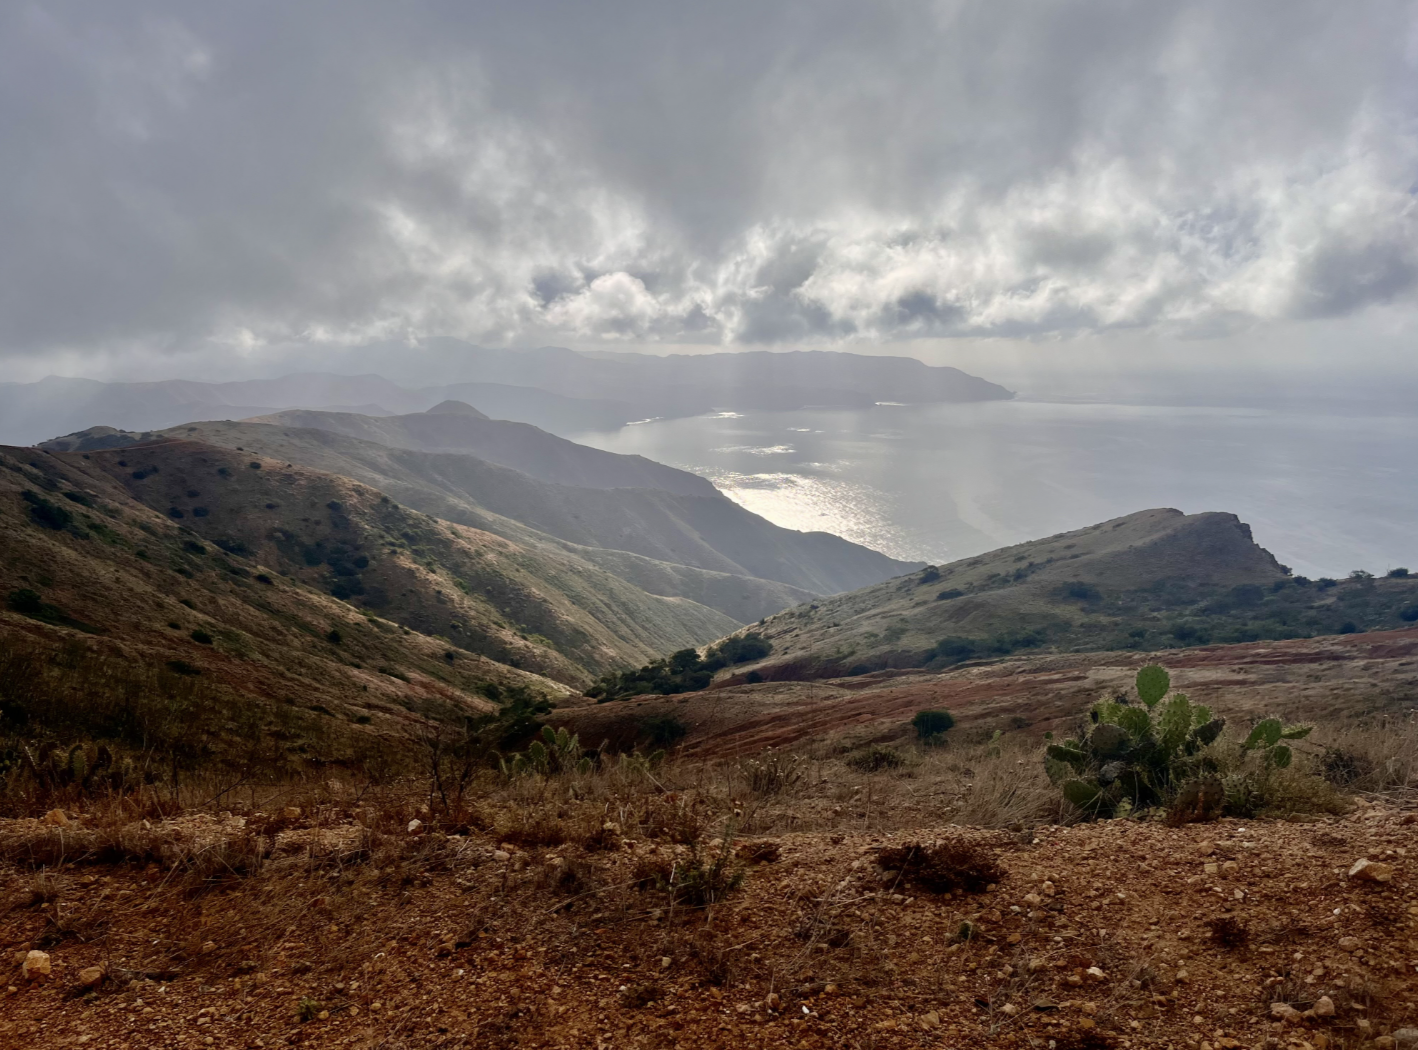
Area of the TCT closer to Two Harbors
Trans-Catalina Trail Stats:
Total Distance: 38.5 miles
Total Elevation Gain: 8,590 feet
Difficulty: Challenging
Days needed: 2-5 days
Dogs Allowed: Yes (except for Two Harbors Campground)
Reservations Required: Yes
Number of Recommended Nights:
Aggressive: 3 nights / 4 days of actual backpacking
Moderate: 4 nights/ 5 days of actual backpacking
Cell Service: Sporadic throughout the island
Season: Spring, Fall, Summer, Winter
Permit Needed: Yes, but if you have campsite reservations, that serves as your permit!
General Information
When To Go:
The Trans-Catalina Trail can be done year-round. The most popular months to do it are from May through September. However, I backpacked it at the end of November over Thanksgiving and it was perfect! It wasn’t too hot during the day, and was comfortable sleeping temperatures at night in the mid-40s.
One thing to keep in mind is that the ferries to and from Catalina operate with seasonal schedules. More trip options are available from April through September, but I’ll talk more about that further down in this post.
Peak Season (May to September): These months are the most popular for hiking the Trans-Catalina Trail. There will be more demand for campsites during this time, so I recommend planning and booking your campsites first.
Shoulder Season (March/April, October/November): The shoulder months are arguably the best time for hiking the Trans-Catalina Trail, which is when I did it (in November 2023). It isn’t crowded, there’s a low chance of rain, and the temperatures are nearly perfect. Shoulder season would definitely be my recommendation of when to do the hike if you have the availability in your schedule.
Winter (December-February): Hiking the Trans-Catalina Trail during the winter will be less crowded and much cooler, however temperatures rarely dip too low with the average this time of year being 49°F / 9°C. The bigger factor to consider is that these are Catalina’s rainy months.
Campgrounds:
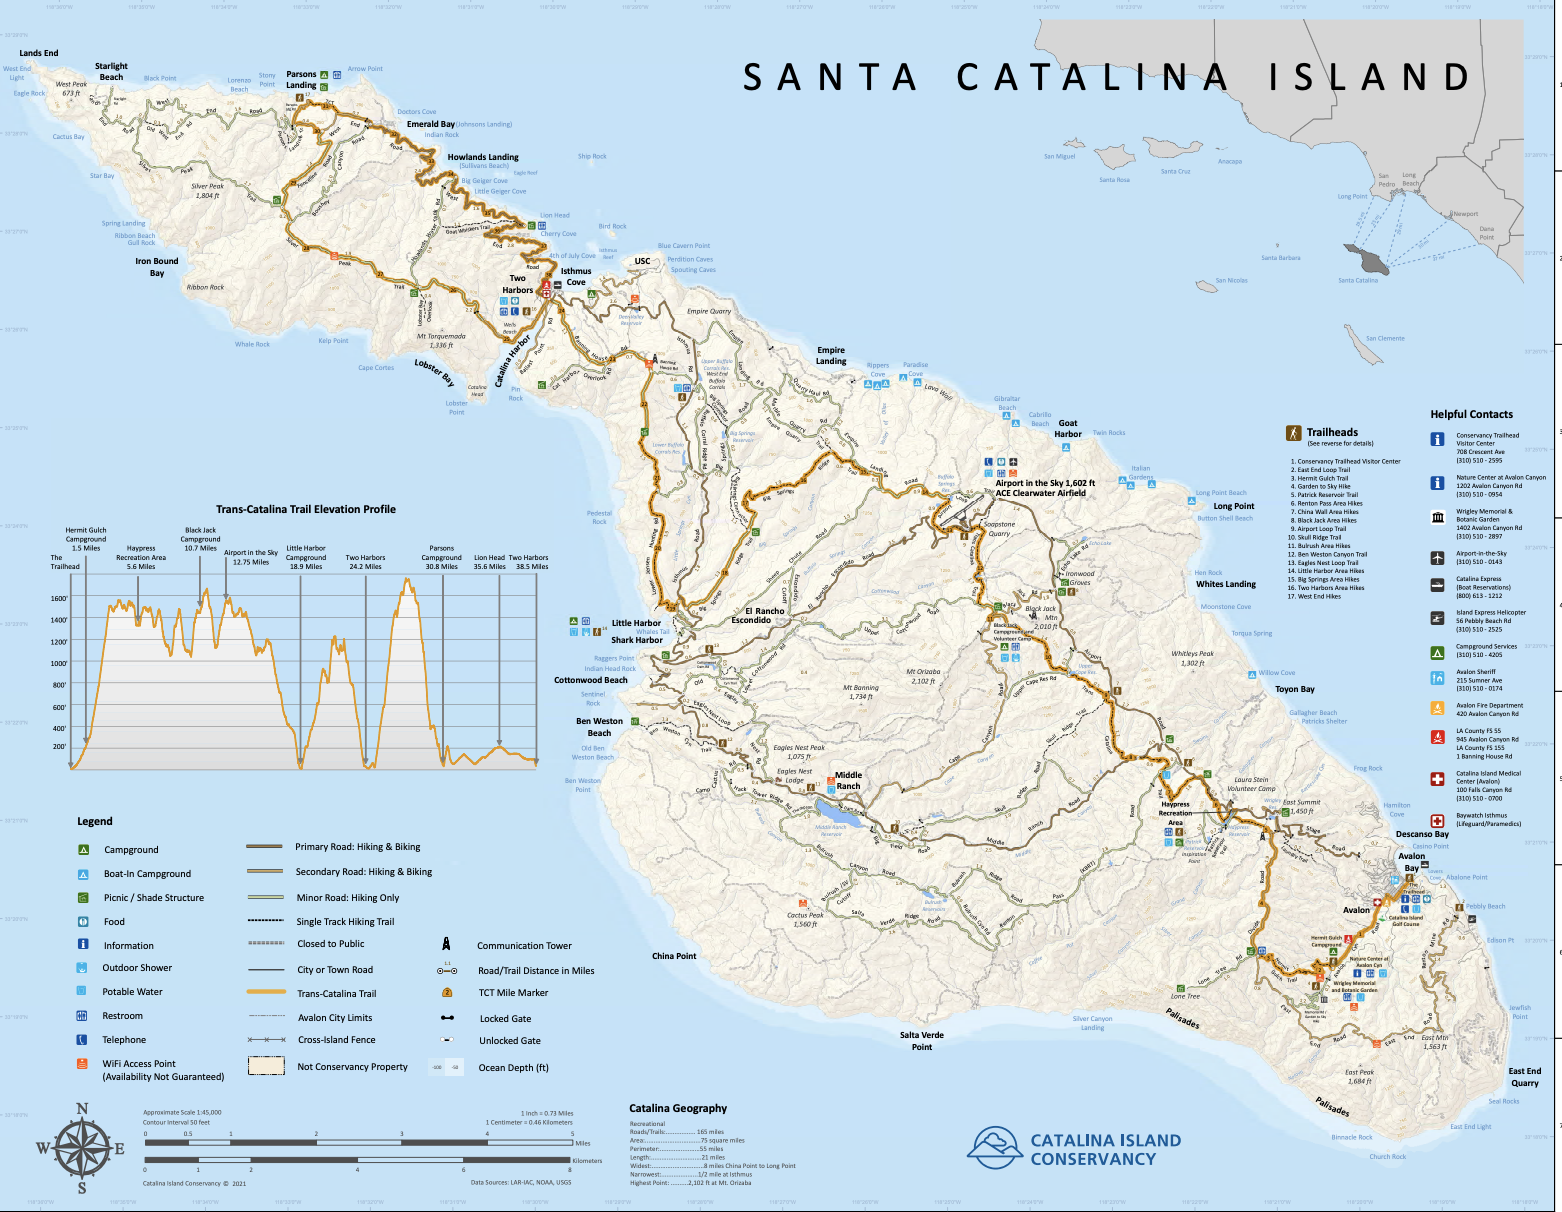
The most competitive part of hiking the Trans-Catalina Trail is securing sites at your preferring campgrounds. If you don’t have reservations at the campgrounds you want, you may be forced to walk more mileage on any given day. Below is a map of the Trans-Catalina Trail with all of the campgrounds bookmarked. All campgrounds for the Trans-Catalina Trail can be booked here.
You’ll want to book your accommodations as the first step. Campground bookings typically open up on January 1 of every year so I recommend setting a reminder in your calendar so you can book as soon as they go live. When I booked, I pulled up three different tabs to make sure campsites were available at each campground for our timeframe, and then booked immediately starting with Parsons Landing since it is the most challenging to get.
After you book, make sure you write down which number campsite you are for each campground. Certain campgrounds, like Blackjack and Parsons Landing, don’t have rangers to check you in. I recommend writing this information down in a Note in your Notes App so you can easily access it while you’re on the trail.

Map of the Trans-Catalina Trail and the campgrounds
Here is a more detailed map of the island if you’d like it, courtesy of the Catalina Conservancy (also available as a PDF download here).
Hermit Gulch Campground is located uphill on Avalon Canyon Road 1.5 miles from the Avalon boat landing. At the back of the campground is the trailhead for the Trans-Catalina Trail. Hermit Gulch Campground is a great option to stay at the night before you start your hike. However, when I completed this trip, I stayed at an affordable hotel in Avalon the night before just so I could get a good nights rest before beginning. I’ll talk more about that below.
There are 10 sites at Black Jack Campground, which is located 11 miles from the boat terminal in Avalon and about 14.5 miles from Two Harbors. There is fresh water here, bathrooms, picnic tables, fire and BBQ rings, and a cold-water outdoor shower. This is where many people stop for the first night.
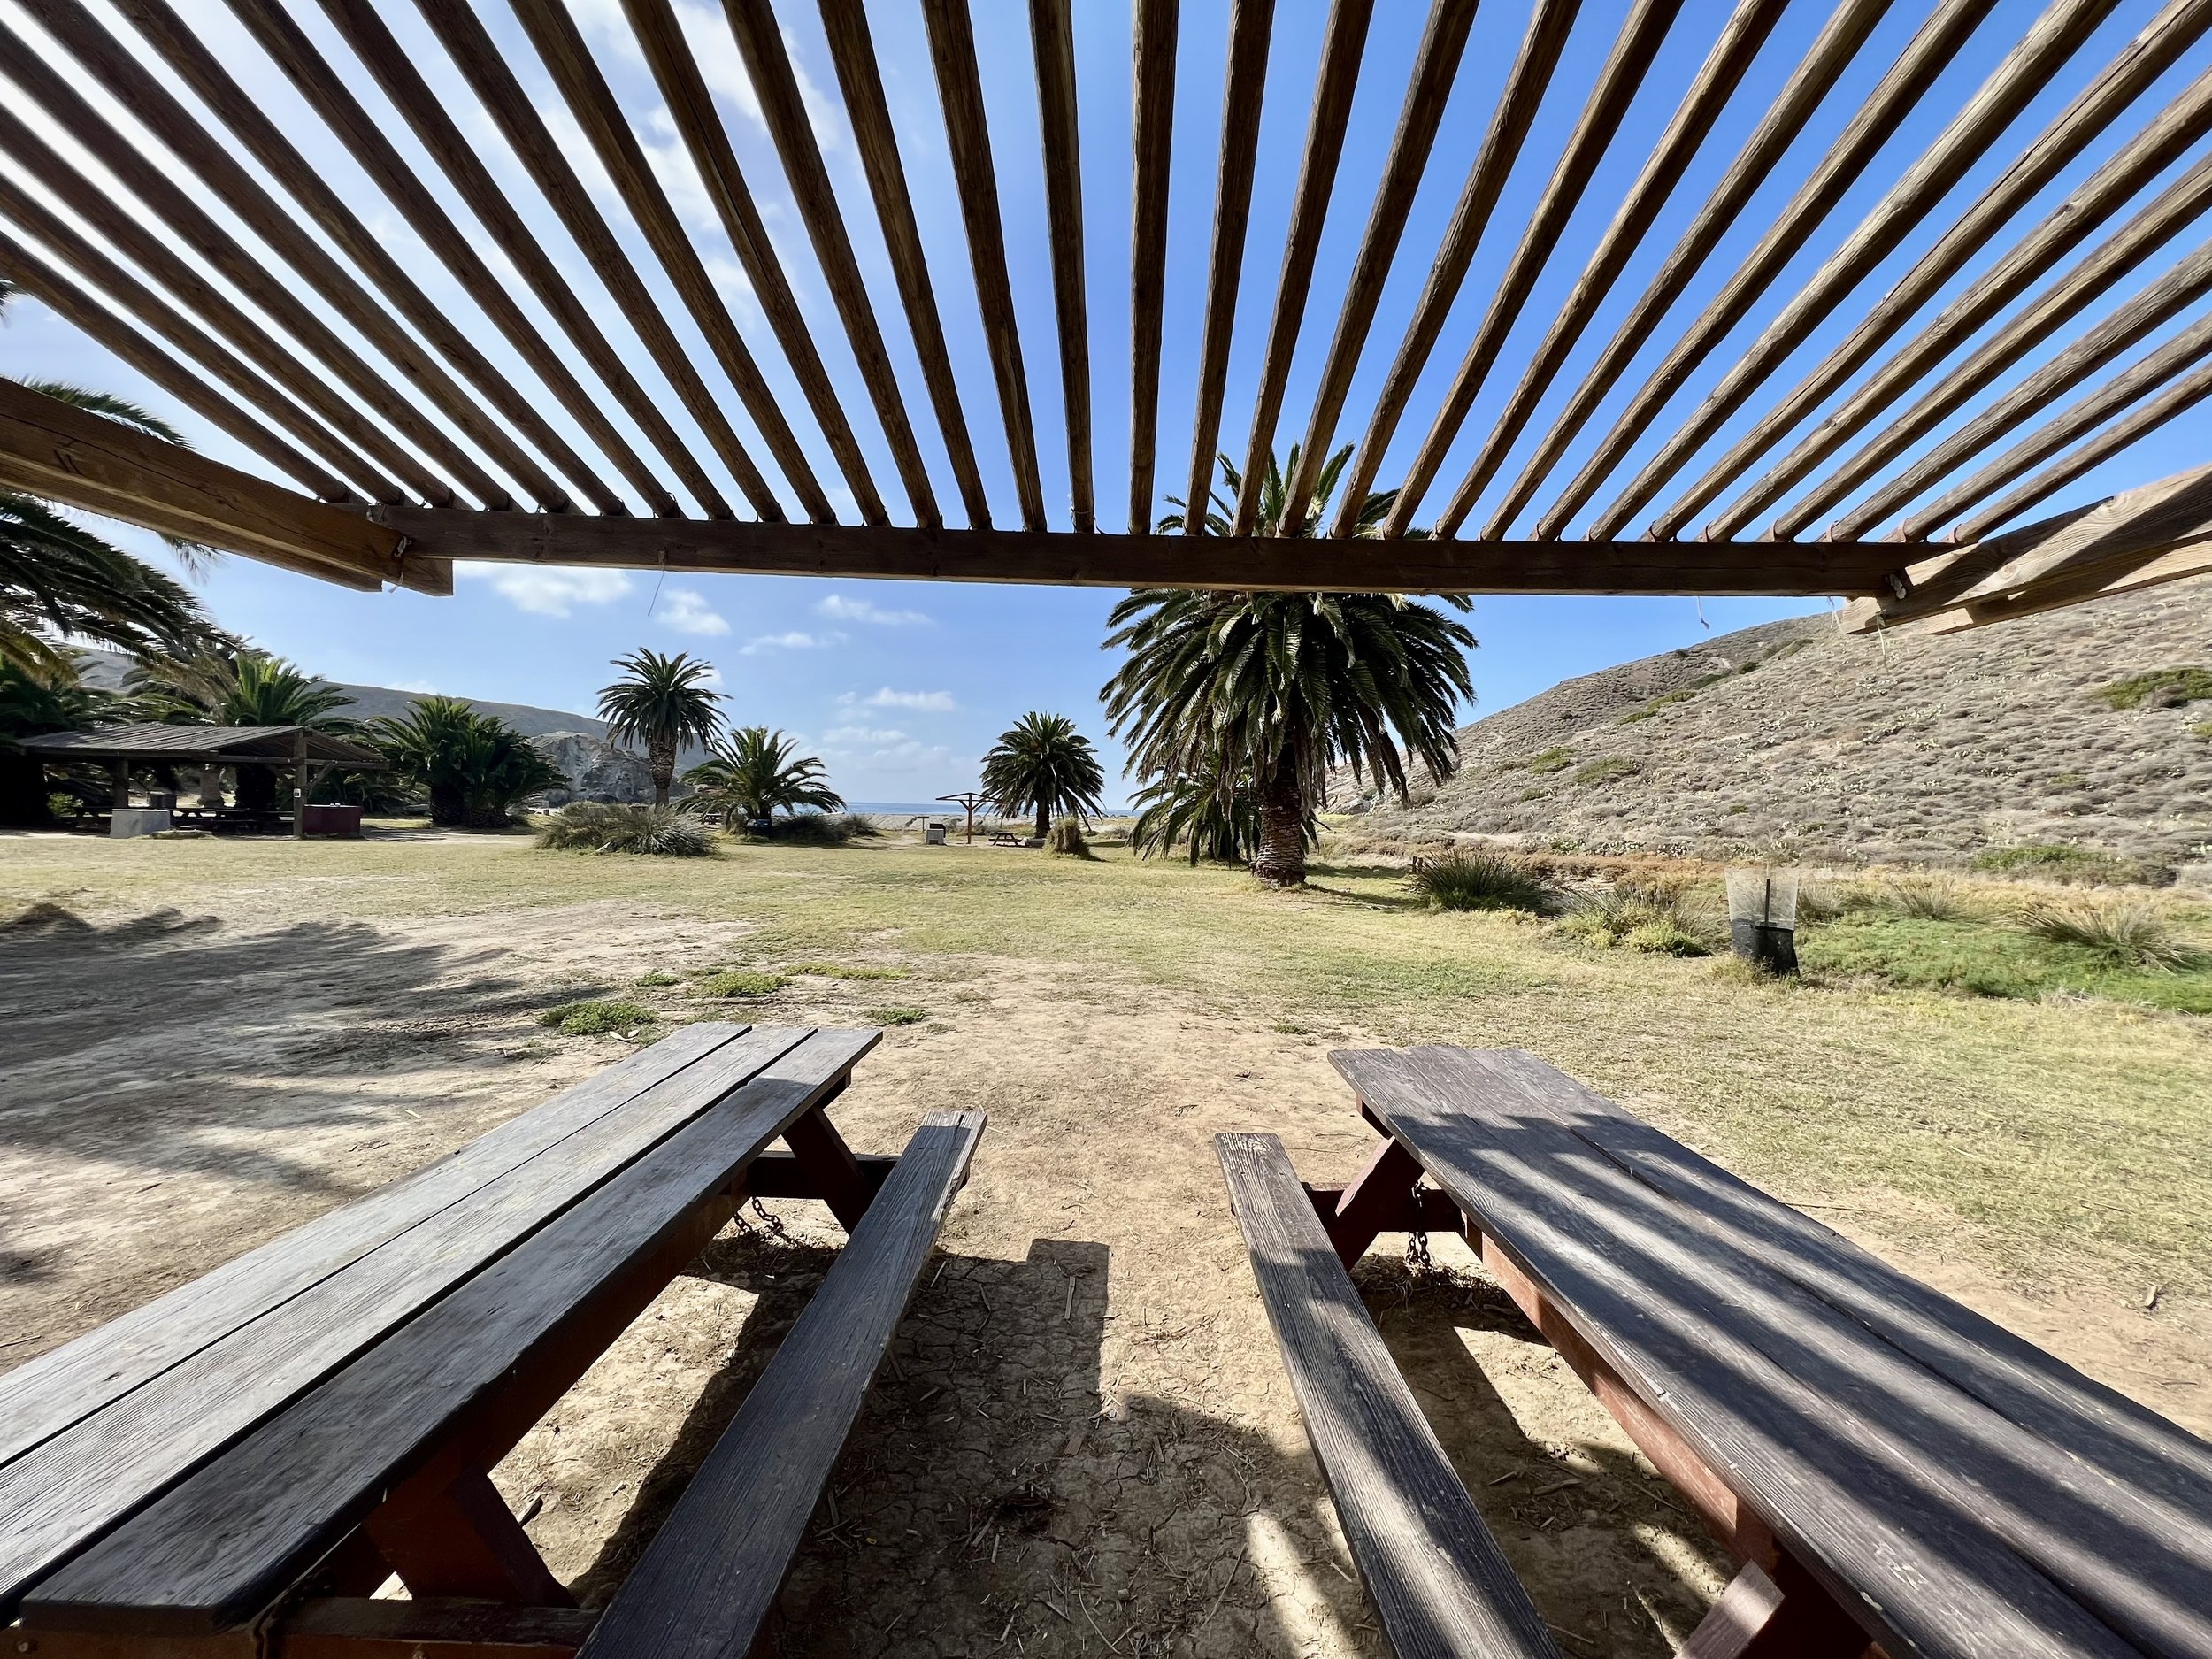
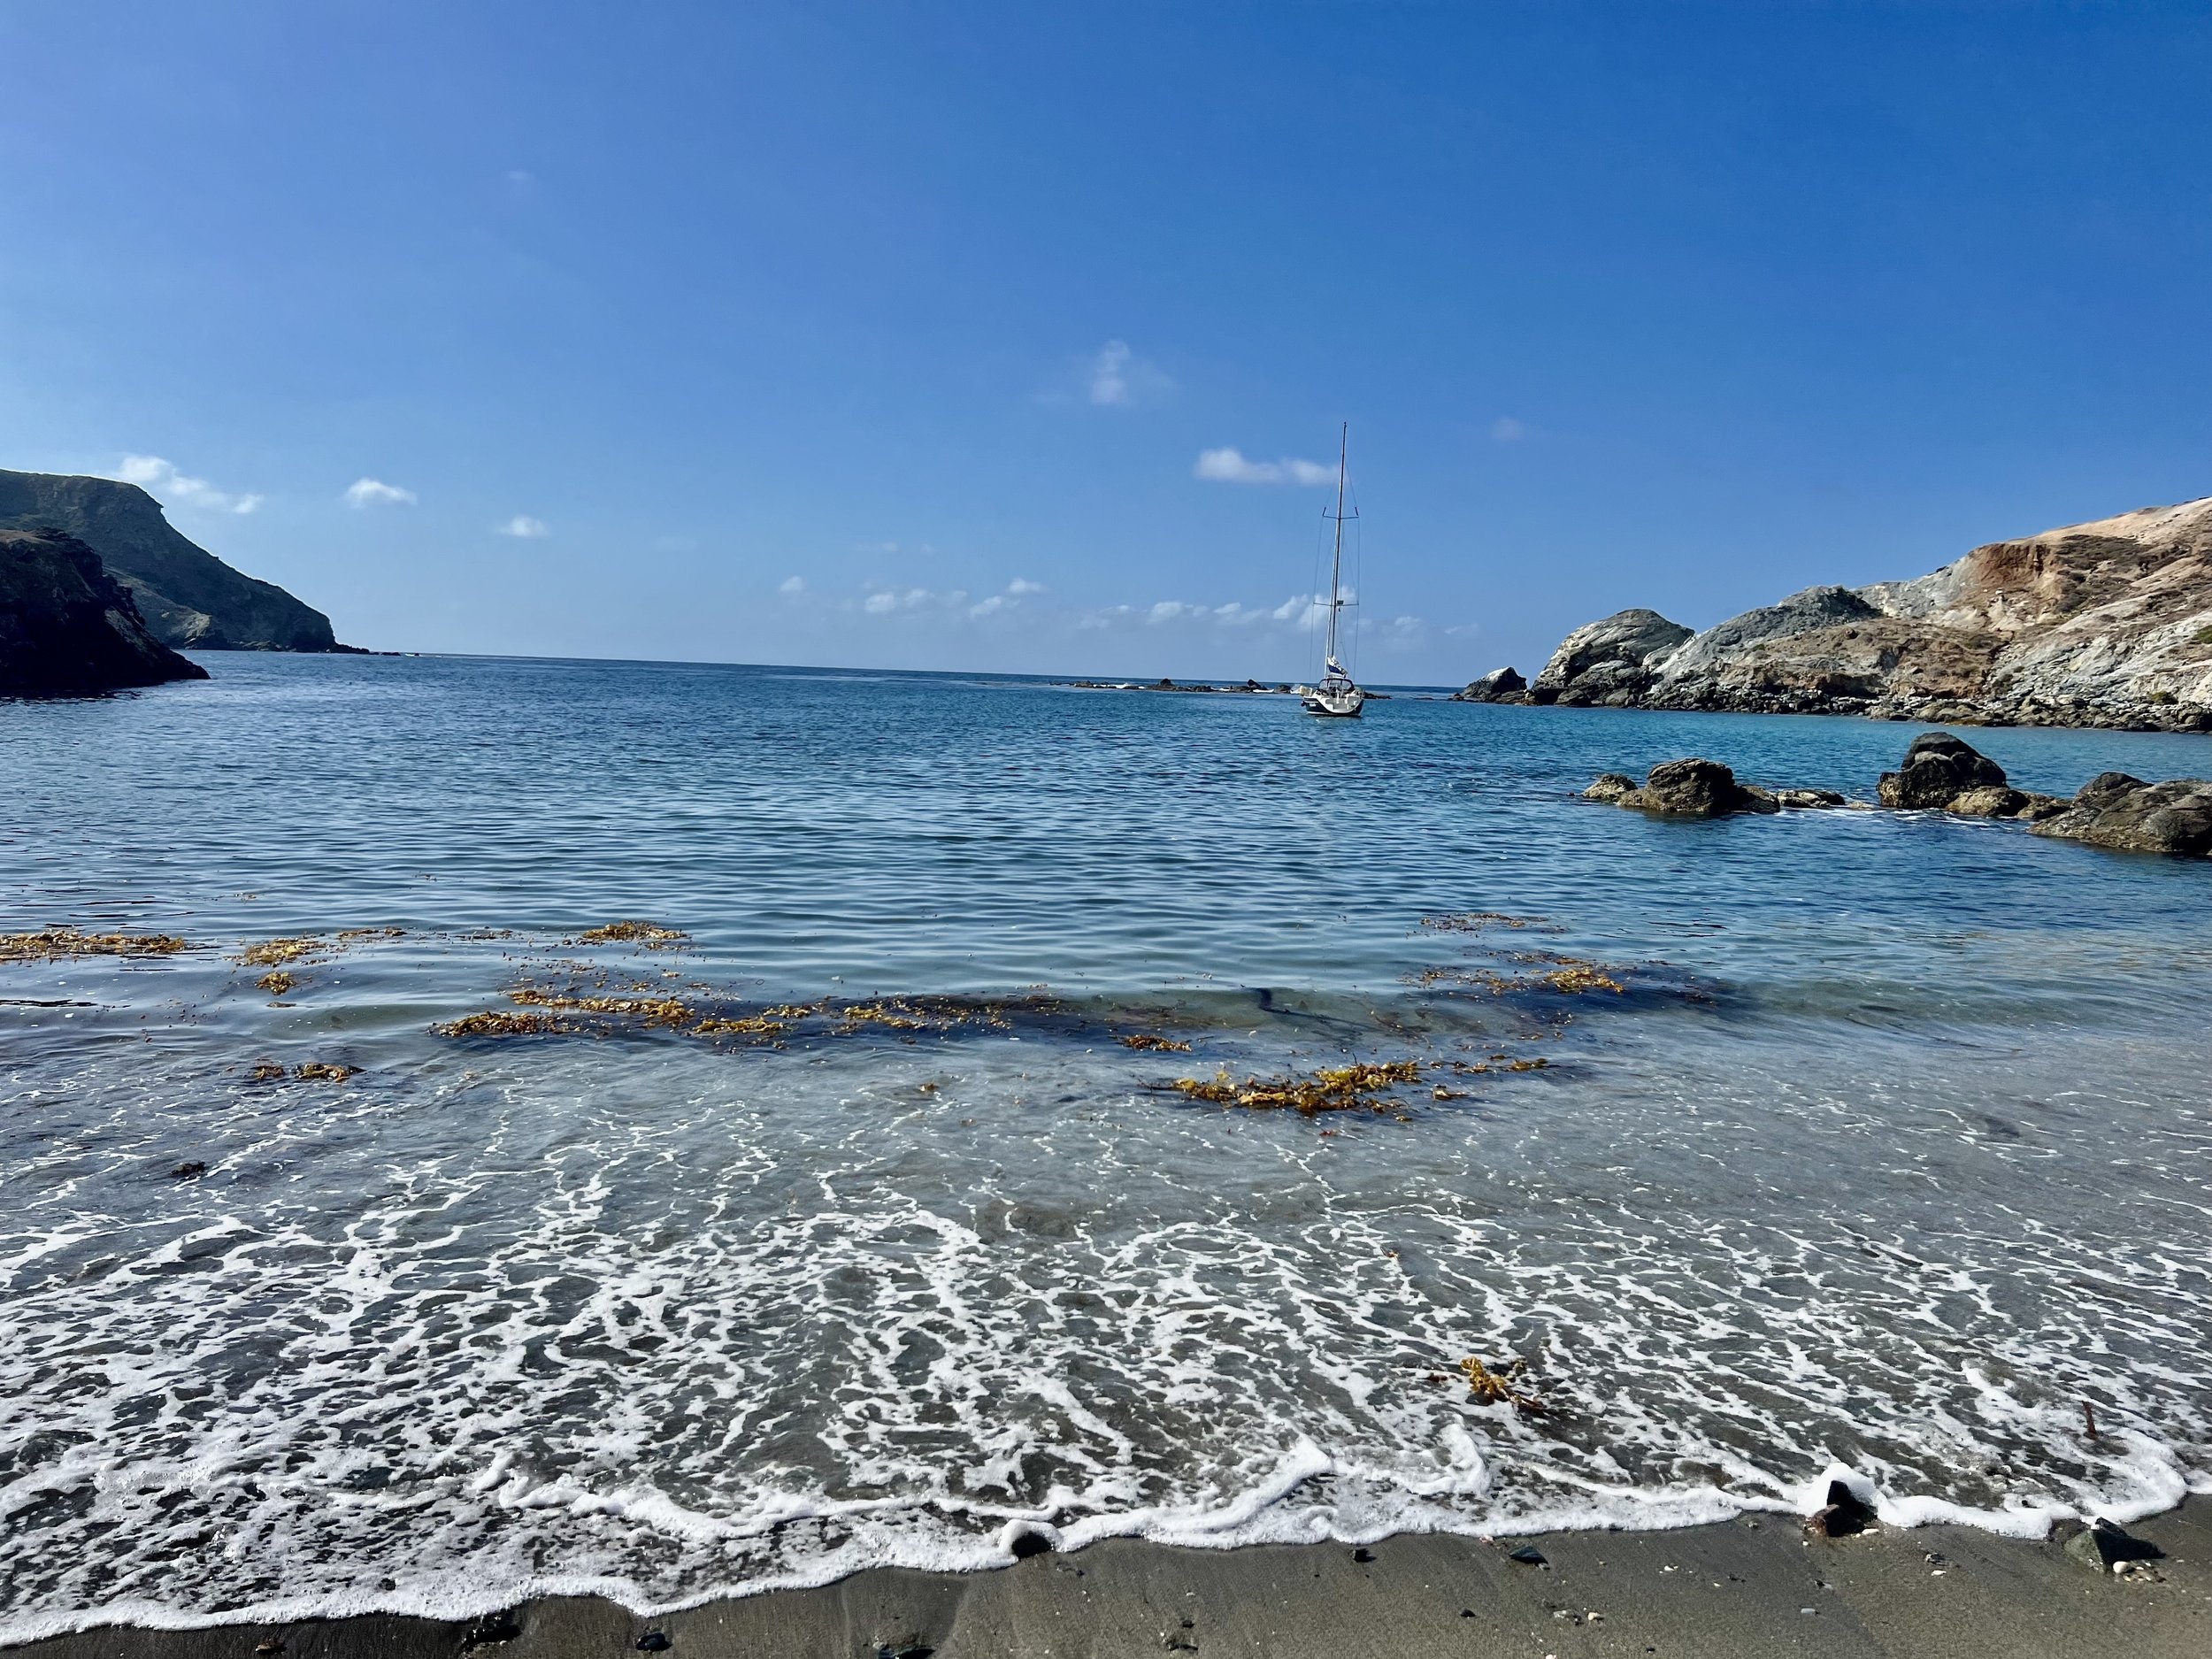
When I hiked the Trans-Catalina Trail, my fiance and I opted to skip staying at Little Harbor and continue onto Two Harbors just because we had limited time. However, Little Harbor was one of the most stunning campgrounds I have ever seen and I want to go back someday! It is the only campground on Catalina’s remote “backside” and has 23 sites. I included some pictures below for inspo, but it is located on an amazing secluded beach and literally looks like property you’d see at a resort in Hawaii.

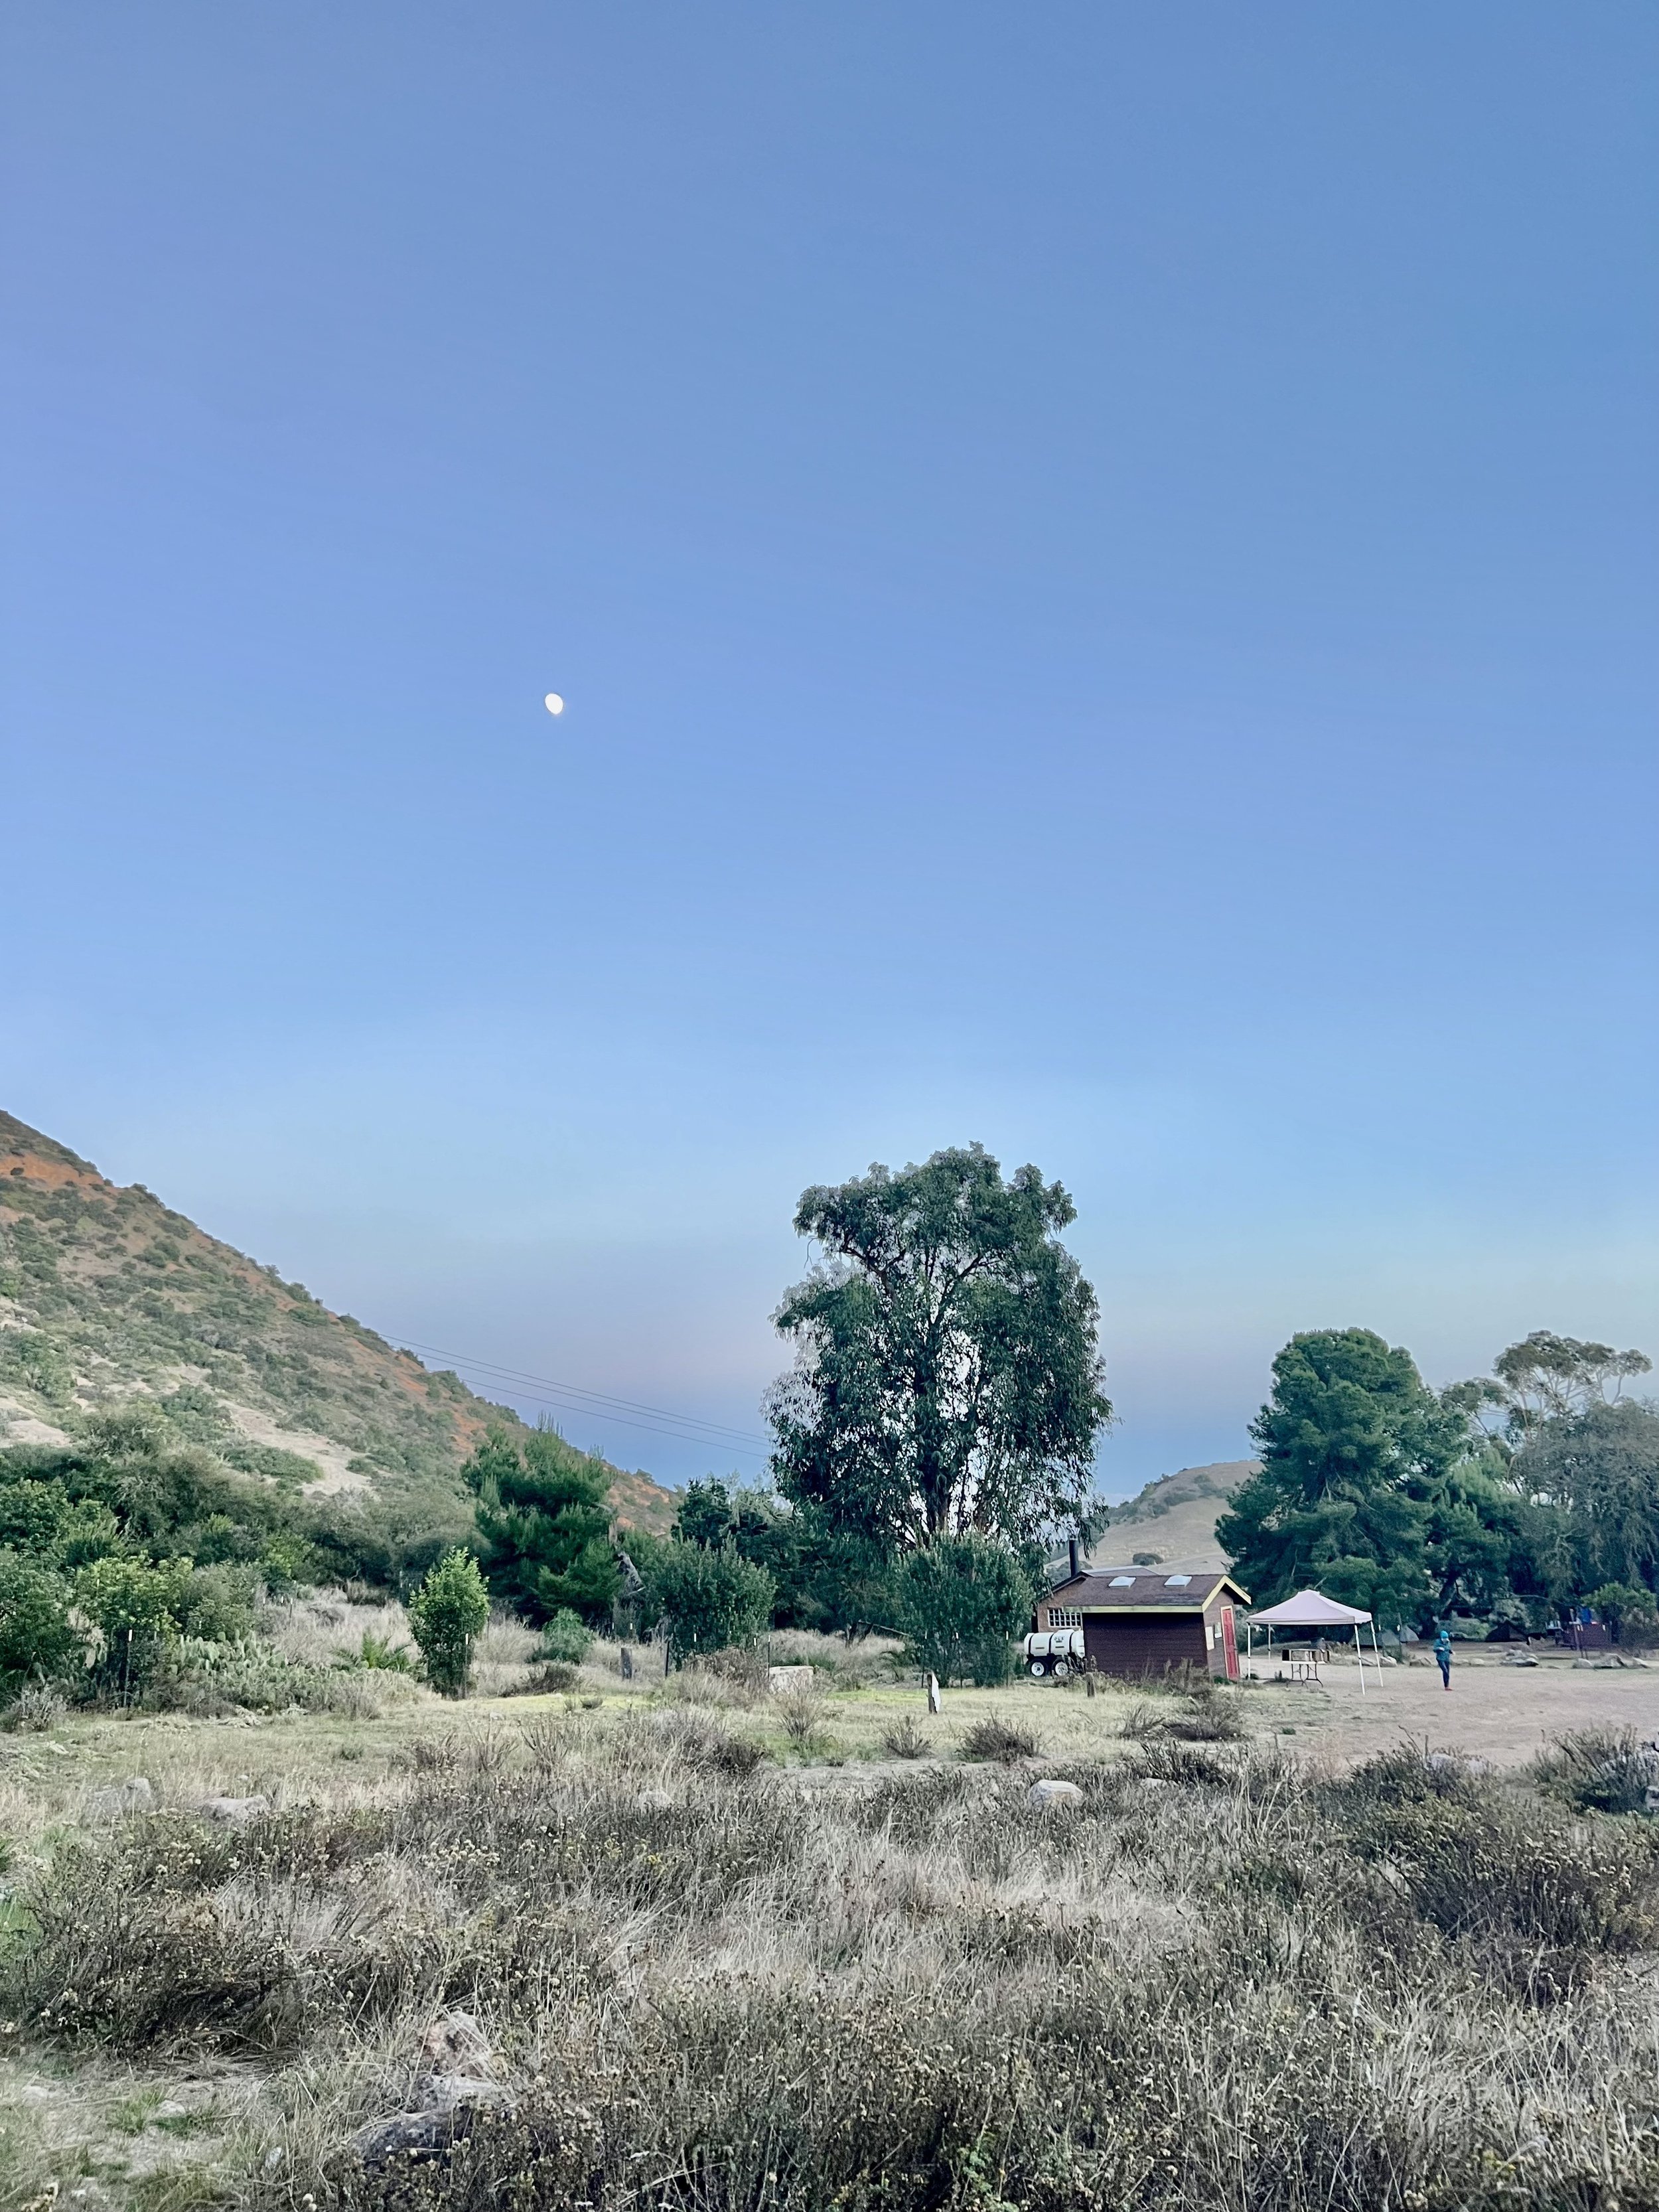
Located just outside the main downtown area, you’ll find the Two Harbors campground on a bluff overlooking the Pacific Ocean. Two Harbors Campground offers traditional tent camping and tent cabins. Here you’ll have access to showers, bathrooms, fresh water, picnic tables, BBQs and fire pits.
NOTE: The signage to find Two Harbors from the main town area is not great! We had to ask someone on the ferry dock where to go because there was hardly any signage showing the way. Turns out you need to walk uphill about 1/4 mile south of the dock. Not a huge deal, but when you aren’t mentally prepared for that at the end of a long day it can be frustrating. I pinned the exact location of where it is below for you, which is a different location from what shows up on Google Maps.
Parson's Landing is a secluded beach campground with eight primitive sites, making it the most difficult campground to secure a spot at. I recommend booking this campground first when you’re planing your trip. You can pre-order a locker which a ranger will pre-stock for you with firewood, fire starter, and drinking water for $25 (we did this). You can purchase the locker ahead of time when you make your campground reservation or by calling the Two Harbors Visitor Services at 310.510.4205. You’ll get the code to access your locker at the Two Harbors Visitor Services stand.
Permits:
If you have reservations at a campground for each night you are on the trail, that counts as your permit. If you’re just day hiking, or do not have a campground reservation, you’ll need a permit which can be applied for here.
Getting to Catalina Island:
You can get to Catalina Island via jet ski, boat charter, or helicopter, but the most common way is by high-speed ferry from Southern California. I take the Catalina Express when I go, which is what I took when I backpacked the Trans-Catalina Trail. The Catalina Express offers daily departures from San Pedro, Long Beach, and Dana Point to Avalon and Two Harbors. The other ferry option is the Catalina Flyer, which has daily departures to Catalina Island from Newport Beach.
Assuming you are hiking from south to north, which is the more popular route, you’ll want to make sure when you book your ferry that you book it dropping you at Avalon with your departure out of Two Harbors, since that is where you’ll end the hike.
Sample Itineraries:
There are several different options you can take to hike the Trans-Catalina Trail, depending on how much time you have and how experienced you are. Here are the most common itineraries with a quick snapshot on where your stops will be.
3-DAY ITINERARY
Day 1 - Hike from Avalon to Black Jack Campground ~11 miles
Day 2 - Hike from Black Jack Campground to Two Harbors Campground ~ 13 miles
Day 3 - Hike from Two Harbors Campground to Parsons Landing to Two Harbors Campground ~14.5 miles
4-DAY ITINERARY - This is what we did and the itinerary I’ll be covering in more detail below!
Day 1 - Avalon to Black Jack Campground ~ 11 miles
Day 2 - Black Jack Campground to Two Harbors Campground ~13 miles
Day 3 - Two Harbors Campground to Parsons Landing ~ 6.5 miles
Day 4 - Parsons Landing back to Two Harbors Campground ~ 8 miles
5-DAY ITINERARY
Day 1 - Avalon to Black Jack Campground ~ 11 miles
Day 2 - Black Jack Campground to Little Harbor Campground ~ 8 miles
Day 3 - Little Harbor Campground to Two Harbors Campground ~ 5 miles
Day 4 - Two Harbors Campground to Parsons Landing Campground ~ 6.5 miles
Day 5 - Parsons Landing Campground to Two Harbors Campground ~ 8 miles
4 Day Itinerary
I hiked the Trans-Catalina Trail in 4 days which is my recommendation on how to do it if you are an experienced hiker and are able to keep up with an aggressive pace.
Night 1:
When you hike the Trans-Catalina Trail, you could arrive in Avalon on the ferry first thing in the morning and start your hike to Black Jack Campground, but I actually recommend getting to the island the night before you start your hike and staying in a hotel so you can get a good nights rest. This is what we did, and it was perfect!
Take the Catalina Express from Long Beach to Avalon. There is a large paid parking garage at the Long Beach terminal where you can leave your car. We paid about $100 to keep our car in the garage for the duration of the trip). I reserved the 5:50pm ferry which arrived at the island around 7:00pm, but depending on the time of year you go the schedule will likely be different. You can book whatever time makes sense for you.
We stayed at the Glenmore Plaza Hotel, which is rated 4.2 stars and budget-friendly (we paid $200 for the 1 night in November). We were able to take a shower the morning before we started the hike and they served a continental breakfast which was nice so we didn’t have to cook breakfast.
From the Glenmore Plaza Hotel, it is a flat 1.4 mile walk to the Trans-Catalina Trailhead, which takes about 30-minutes to get to.
If you didn’t want to stay in a hotel, you could stay the night at the Hermit Gulch Campground which is the only campground in Avalon and where the Trailhead is.
Day 1:
Wake up early and start your day right away. We woke up at 7AM, showered, got breakfast, and started towards the trailhead by 8:00am. Head up Avalon Canyon Road, which is paved, and look for the Hermit Gulch signs. After about a mile on the road, you’ll see a turnoff on the right-hand side to enter Hermit Gulch Campground, which you’ll cut through to the other side to reach the trailhead. You’ll see a sign with an arrow for the trail. As you climb, you’ll get great views into Avalon Canyon, and as you continue you’ll see ocean and mountains from the mainland.
The nice thing about the Trans-Catalina Trail is there are mile markers along the route, and the first one you’ll see is the 3-mile marker. Shortly after passing the first mile marker, you’ll reach the top of the first big incline push which is about 1,200 feet. There's a little pavilion where you can rest and take in the views.
The next few miles are fairly easy. When you get up to about mile 6, you can cut across the road and check out the viewpoint into Toyon Bay. Then head back across the road to continue on the Trans-Catalina Trail.

At mile 6 on the Trans-Catalina Trail where the Toyon Bay viewpoint is.
From here the trail is relatively flat until you get to mile marker 10, where there is a steep uphill. Go slow and just know that you’re almost to Black Jack Campground where you’ll spend the night. After the incline, there is an easy last push.
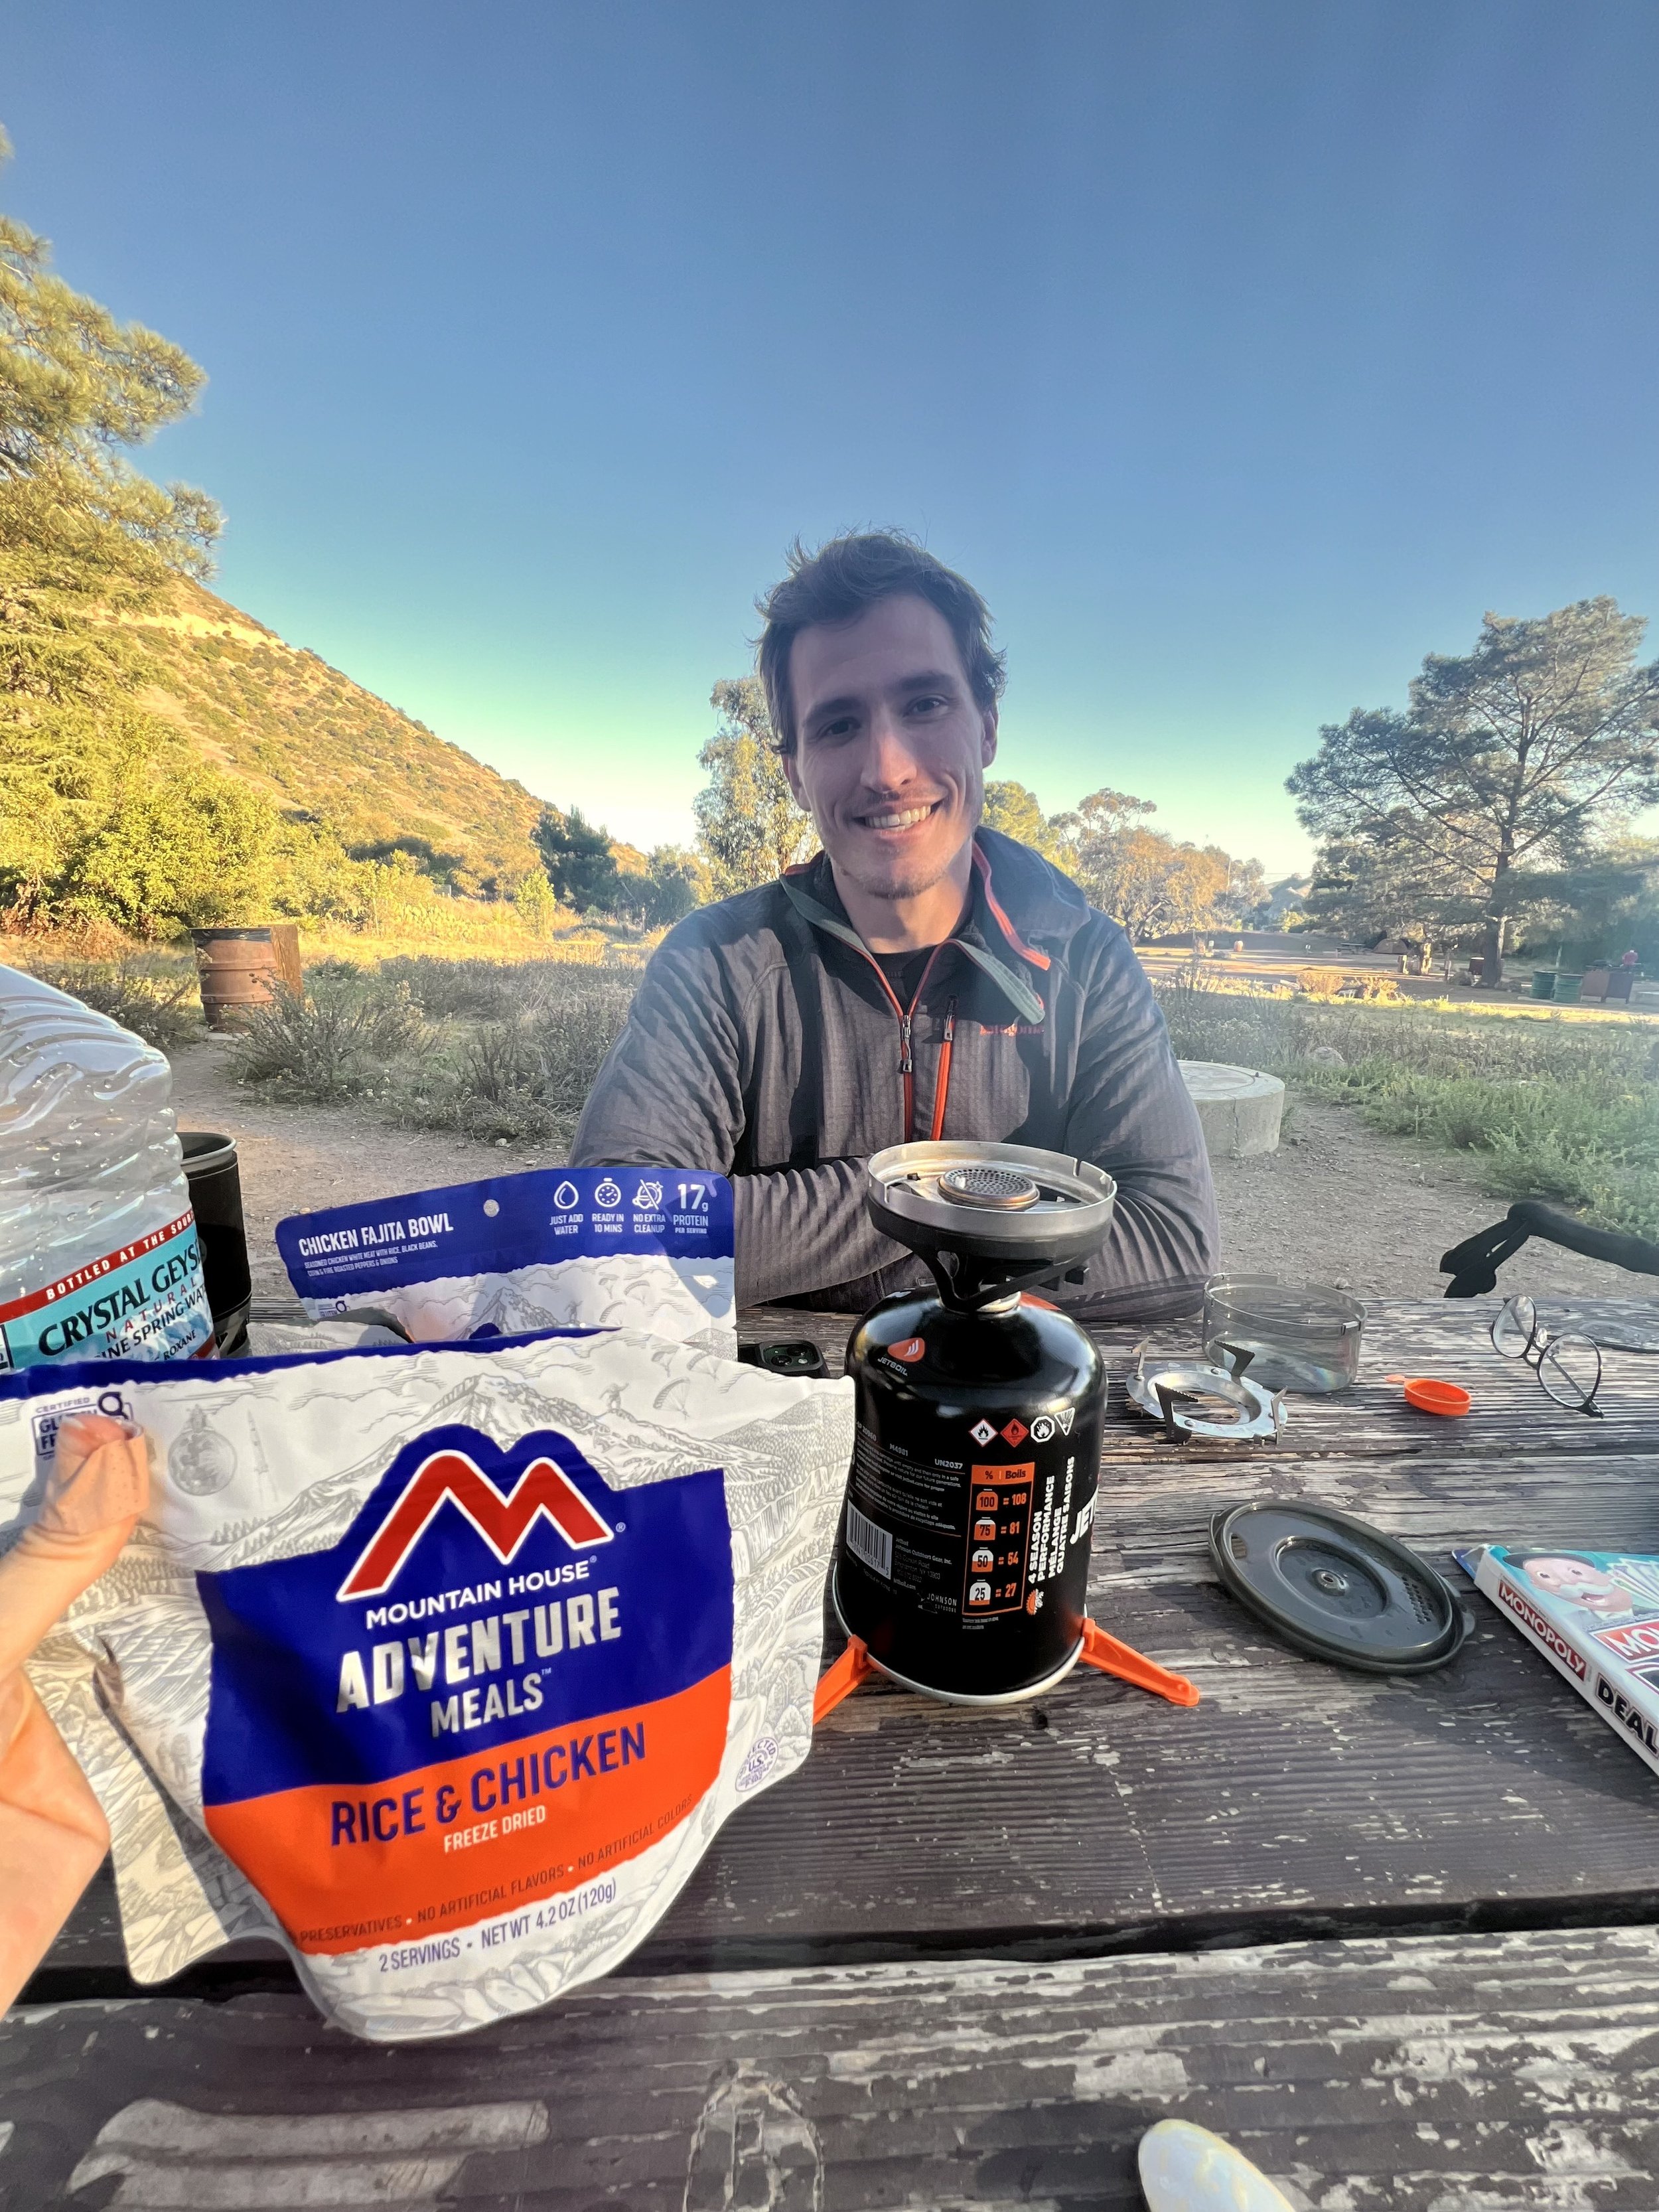
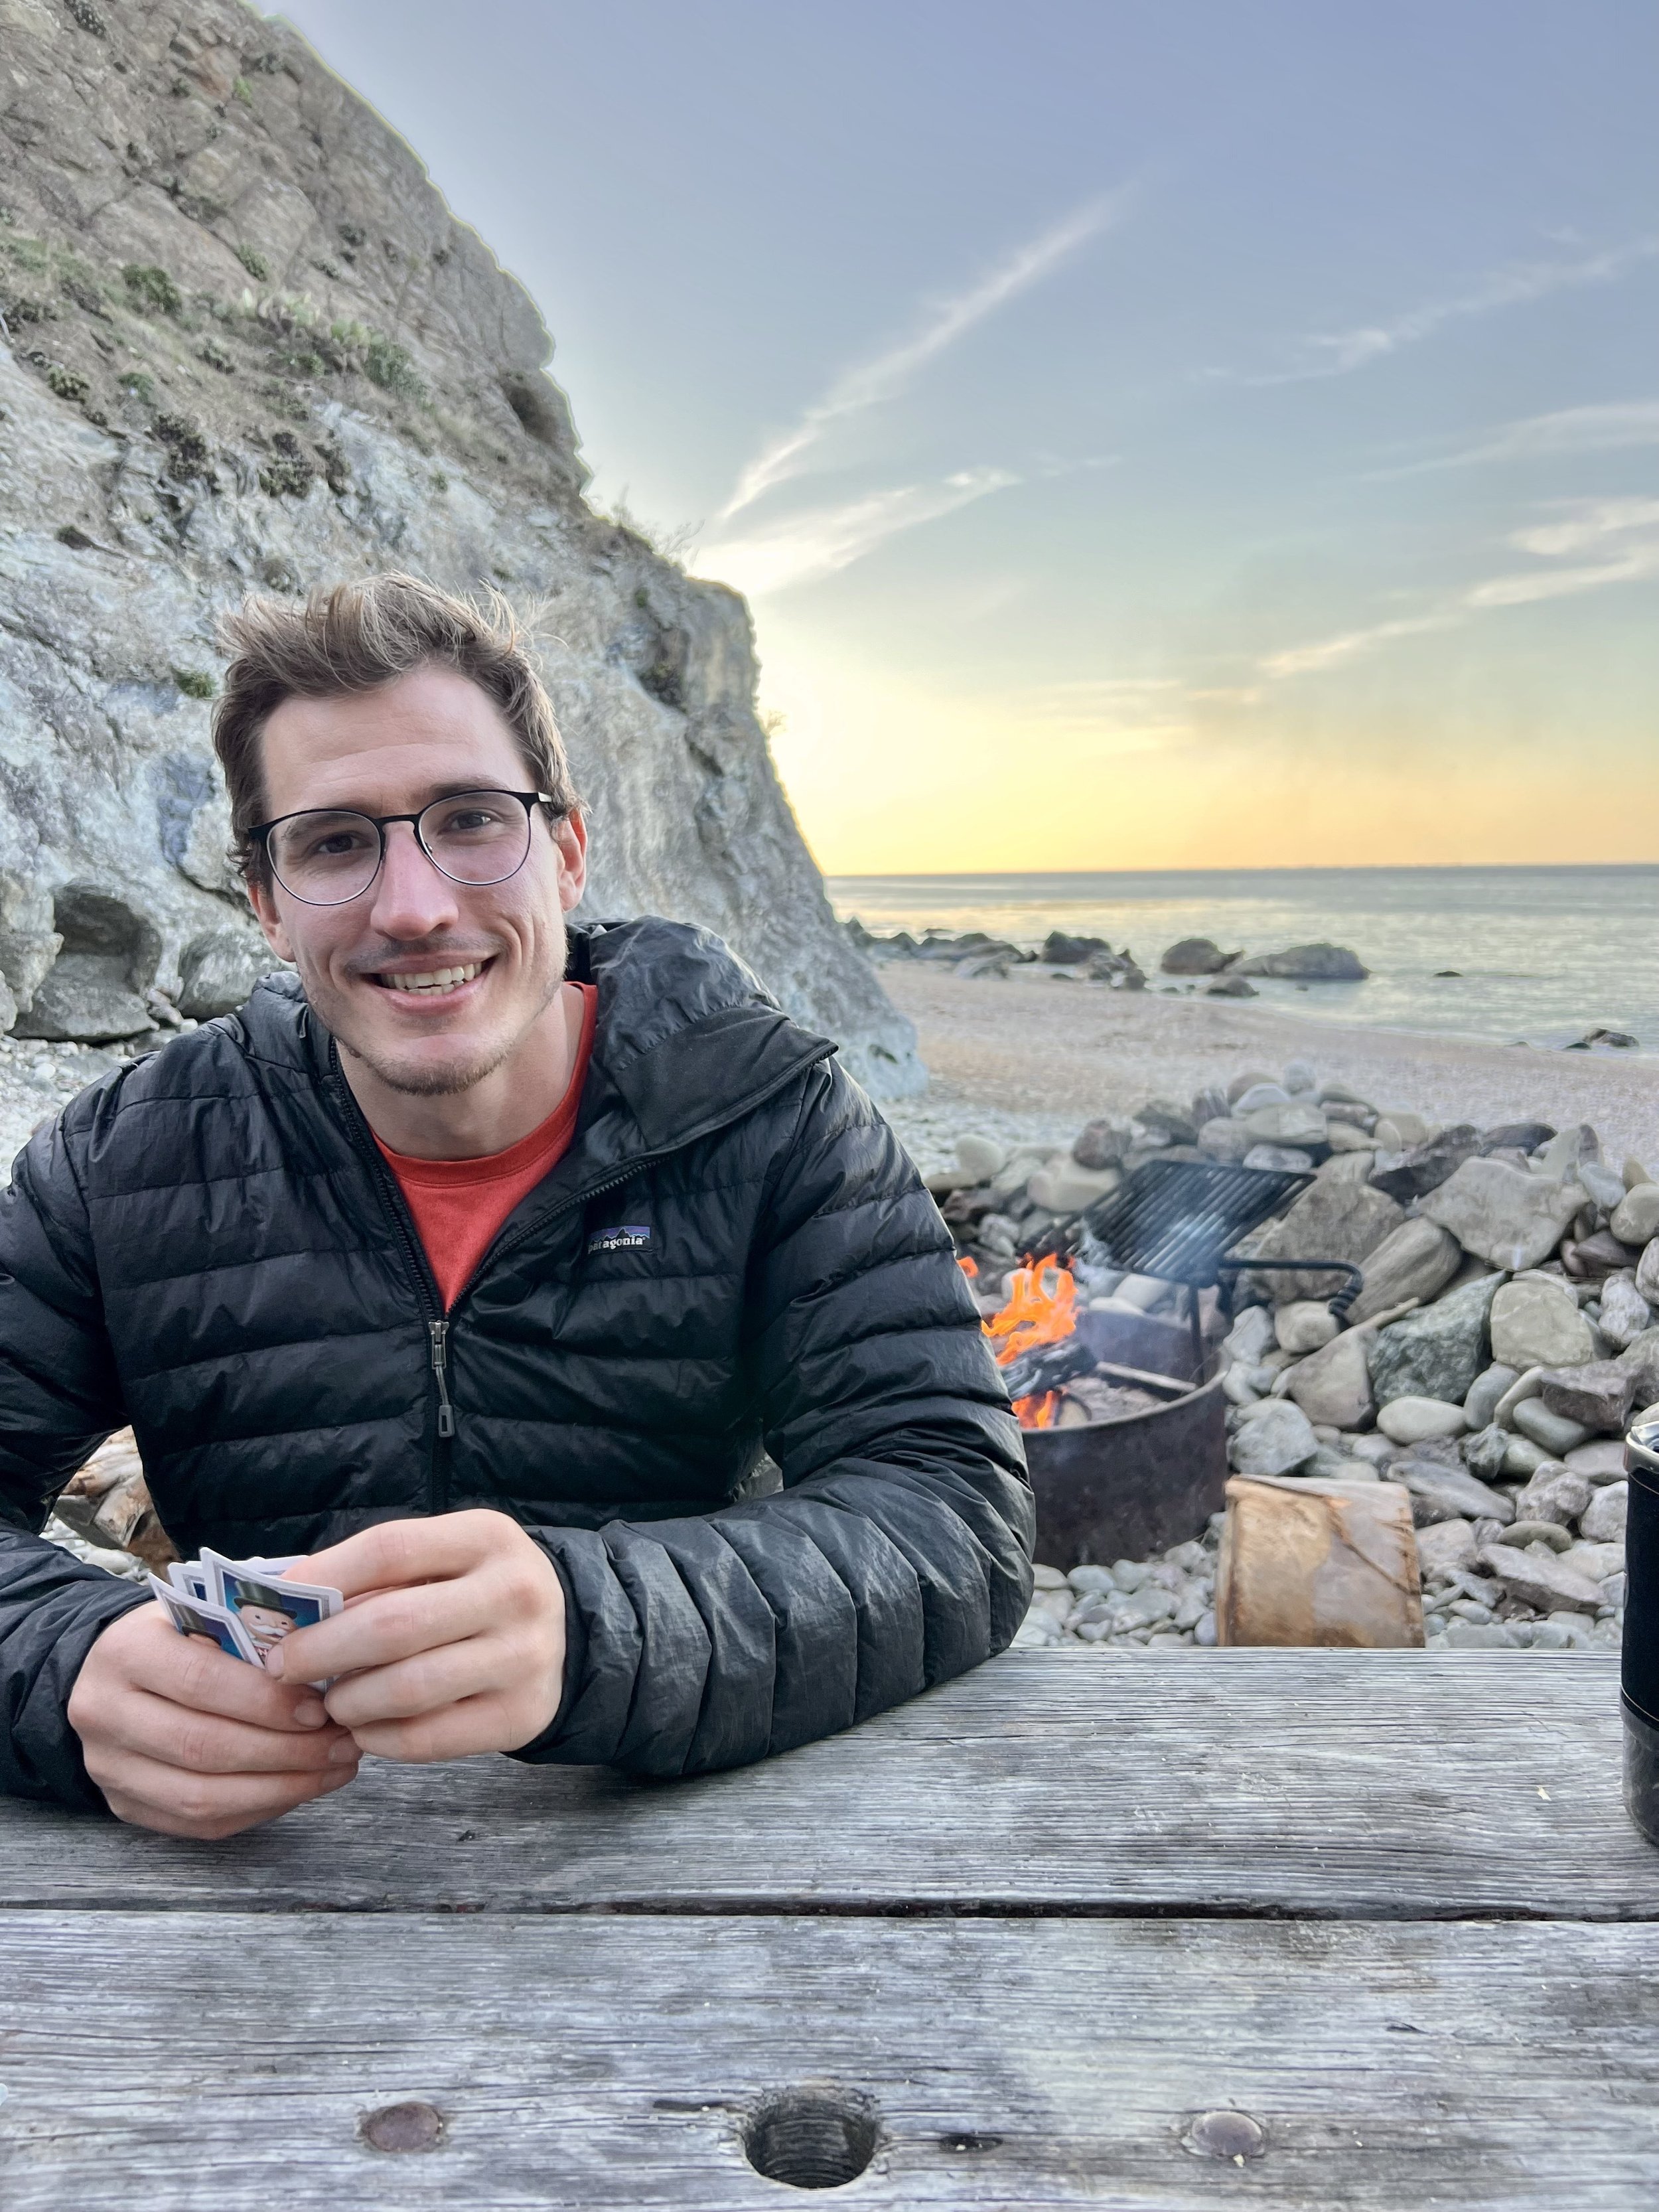
Set up at your site for the night and enjoy dinner. There is also fresh water at the campground so you can refill your water bladder. When you backpack, it is extremely important to pack as light-weight as possible and only bring necessities. However, we brought Monopoly Deal with us which we played every night at each site. I highly recommend bringing it as an activity if you have room to pack it, or just a standard deck of cards.
Day 2:
Day 2 is your longest day, and really the most difficult, so wake up early so you can get a head start. We woke up at 6:15am and started hiking to Two Harbors by 7:00am.
You’ll hike up out of the campsites and follow a dirt road, Cape Canyon Trail. But don’t worry. There are markers to navigate your way. Eventually you’ll make a left and start heading downhill into Cottonwood Canyon. As you continue down you’ll see the Airport In The Sky (and likely hear airplanes flying above), which is a great stopping point for breakfast (or if you’re like us, a second breakfast because we ate a Mountain Meal at Black Jack Campground). You'll pass mile marker 12 at the bottom of the canyon and then go upwards for a little bit to the airport.
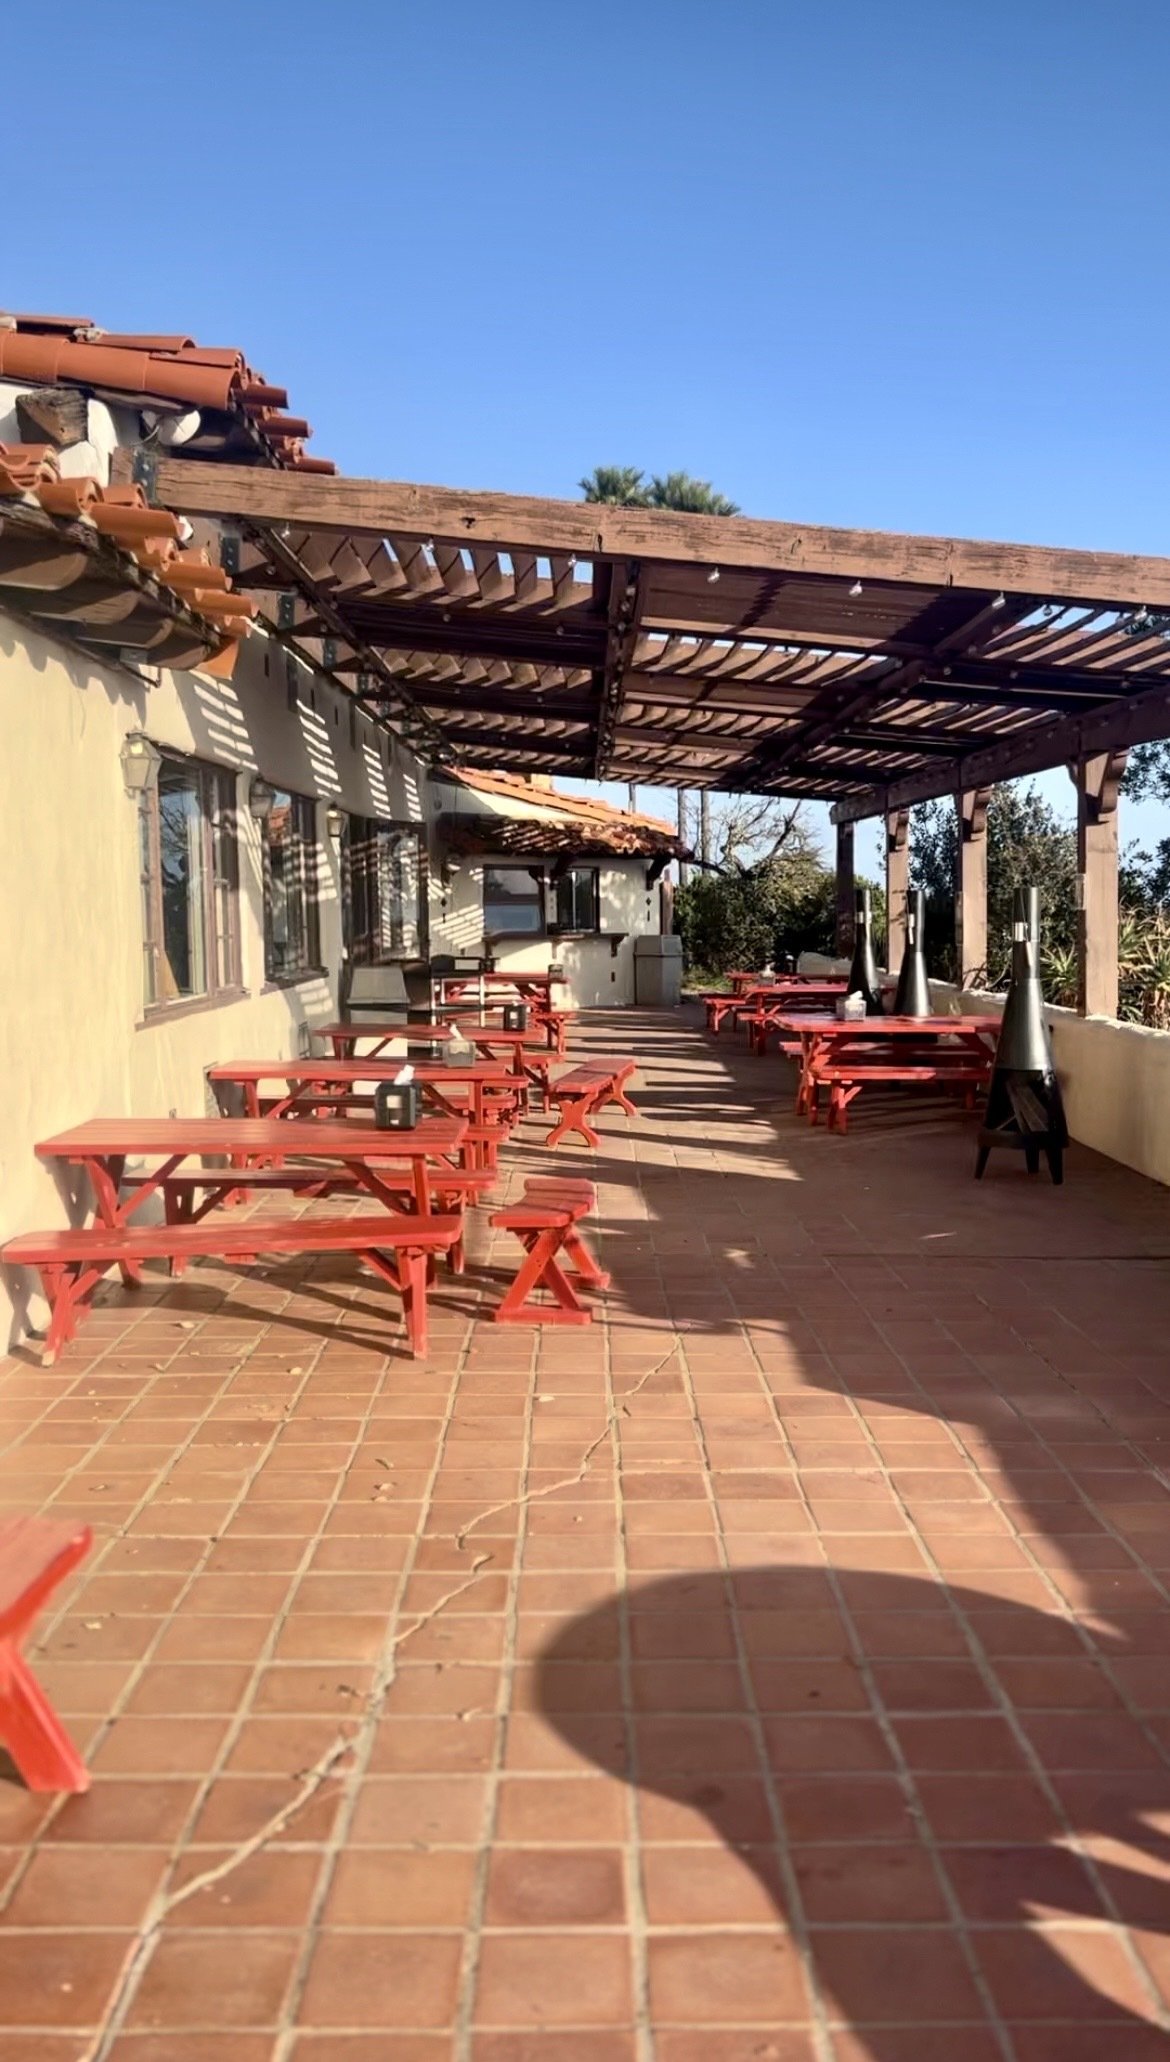
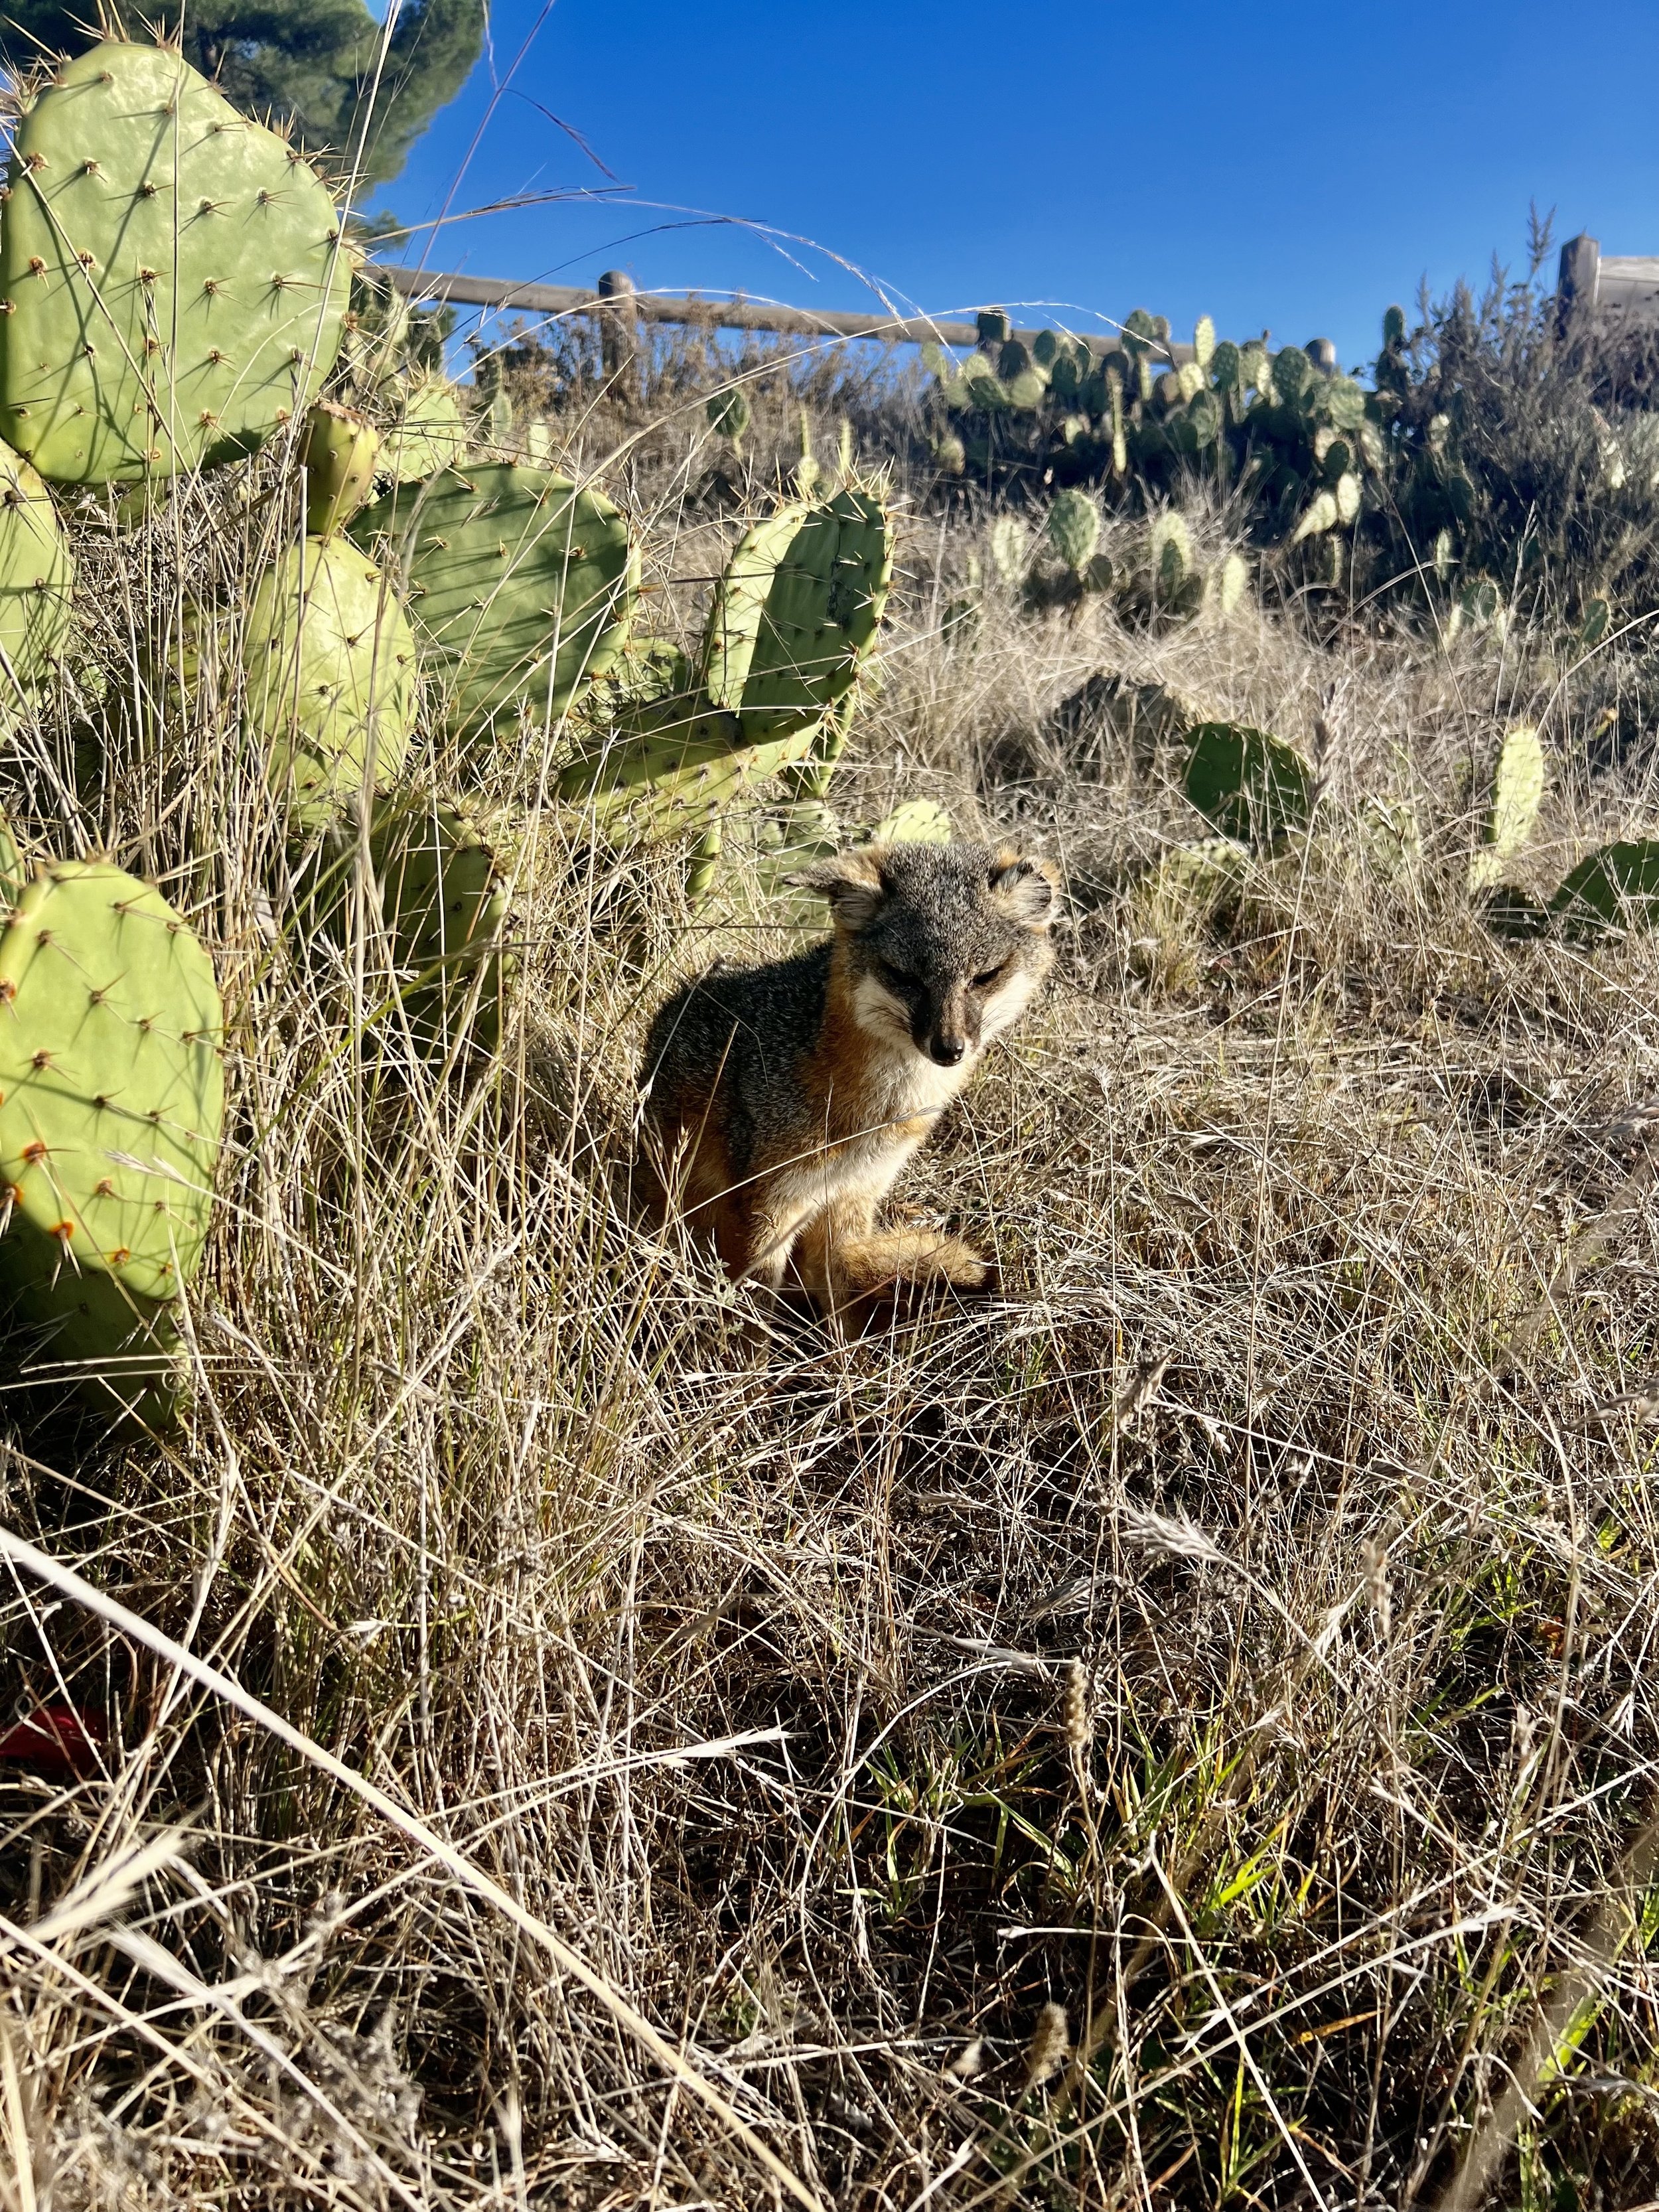
The Airport In The Sky restaurant is open daily except for on Thanksgiving and Christmas Day. They’re open from 8:00am-5:00pm and serve a ton of food including some great breakfast burritos. Definitely take a little break here, use the bathrooms, and get breakfast. There’s also a ton of cute little island foxes running around (don’t feed them, but they’re cute to look at)!

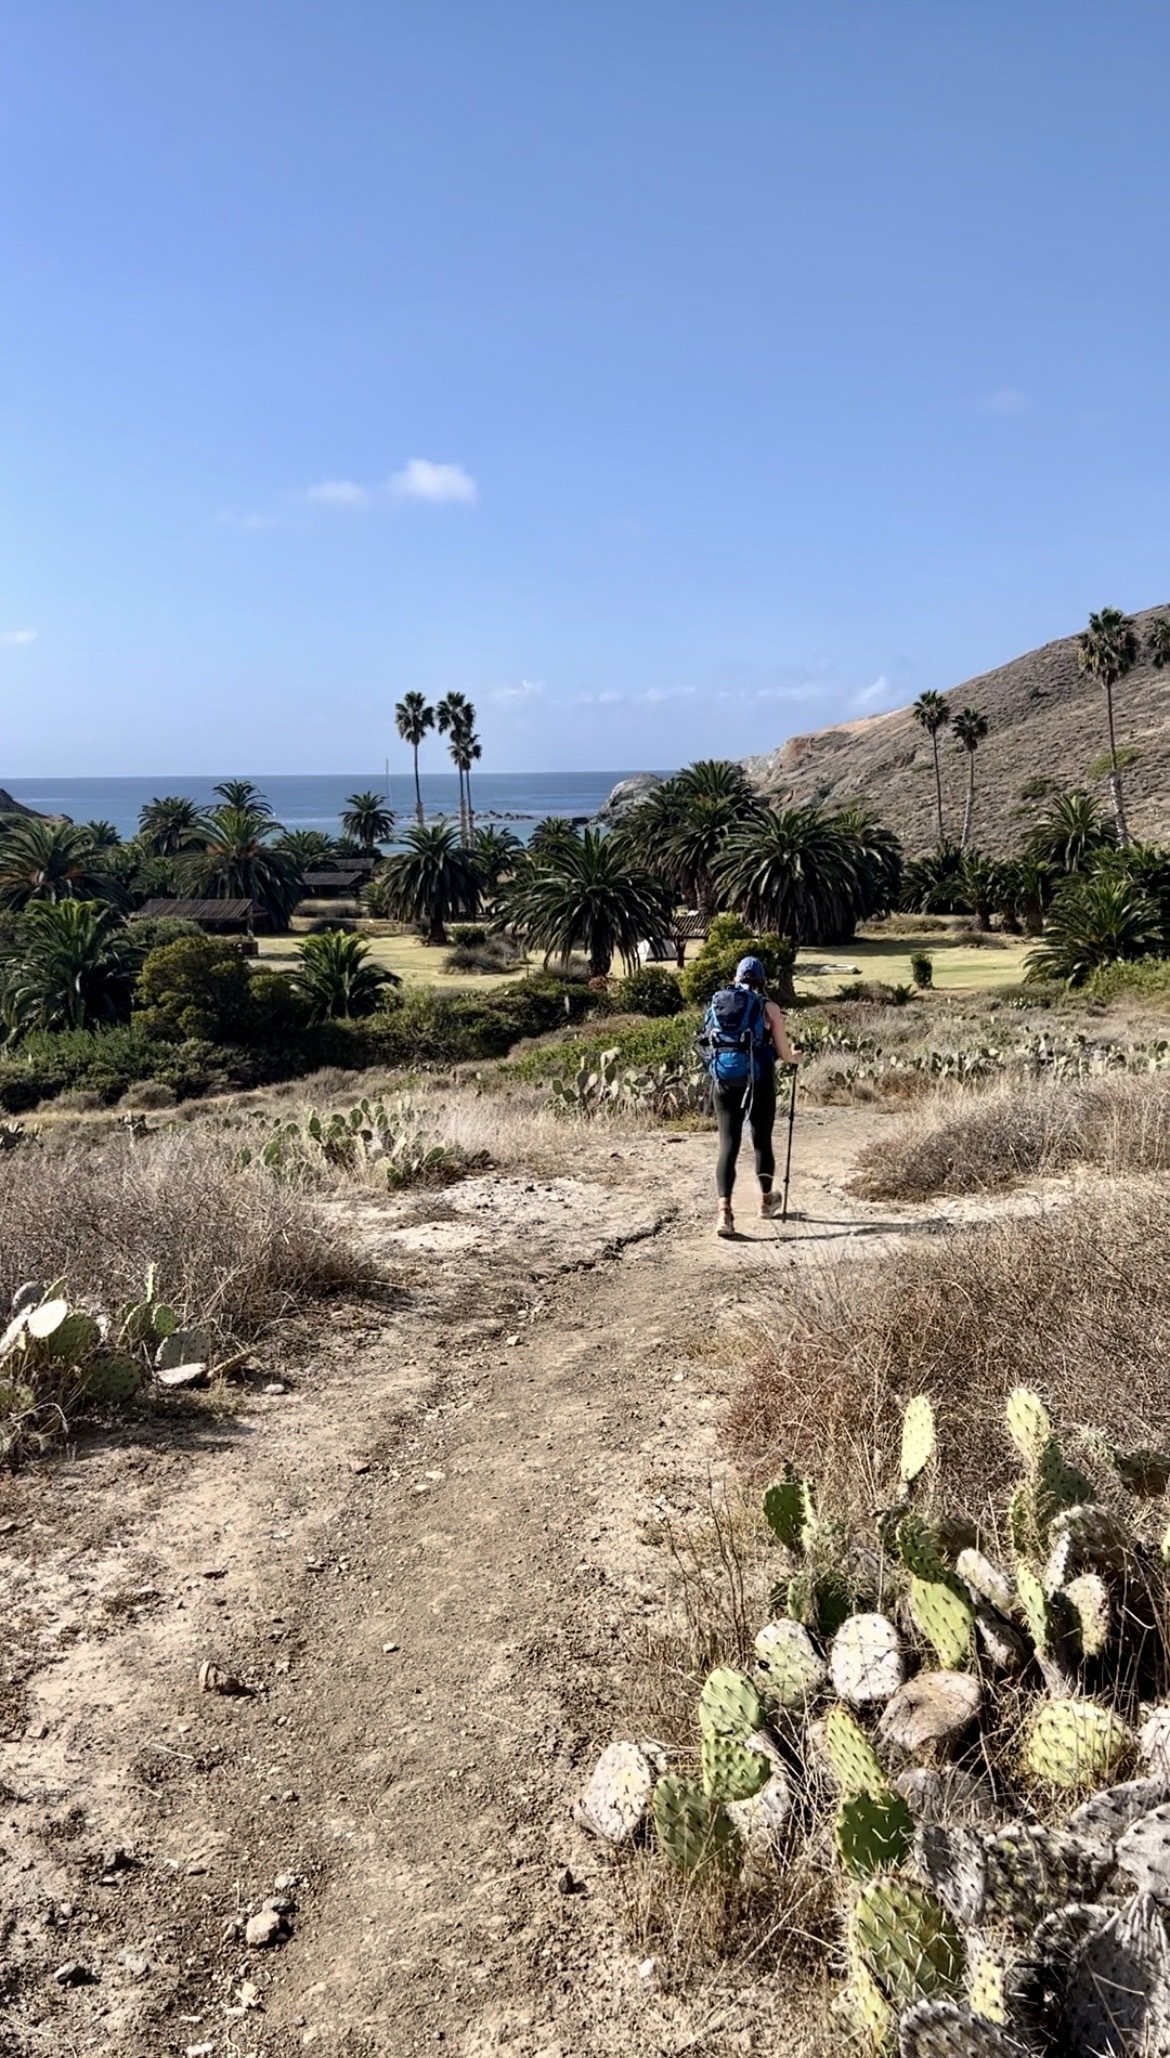
From here onto Little Harbor is pretty much flat and downhill. You’ll eventually see mile marker 14.5 at which point you’ll bear left onto Sheep Chute Road which you’ll follow all the way down to Little Harbor Campground. As you’re going down the hill, you’ll see the ocean and get amazing views!

The downhill trail towards Little Harbor Campground
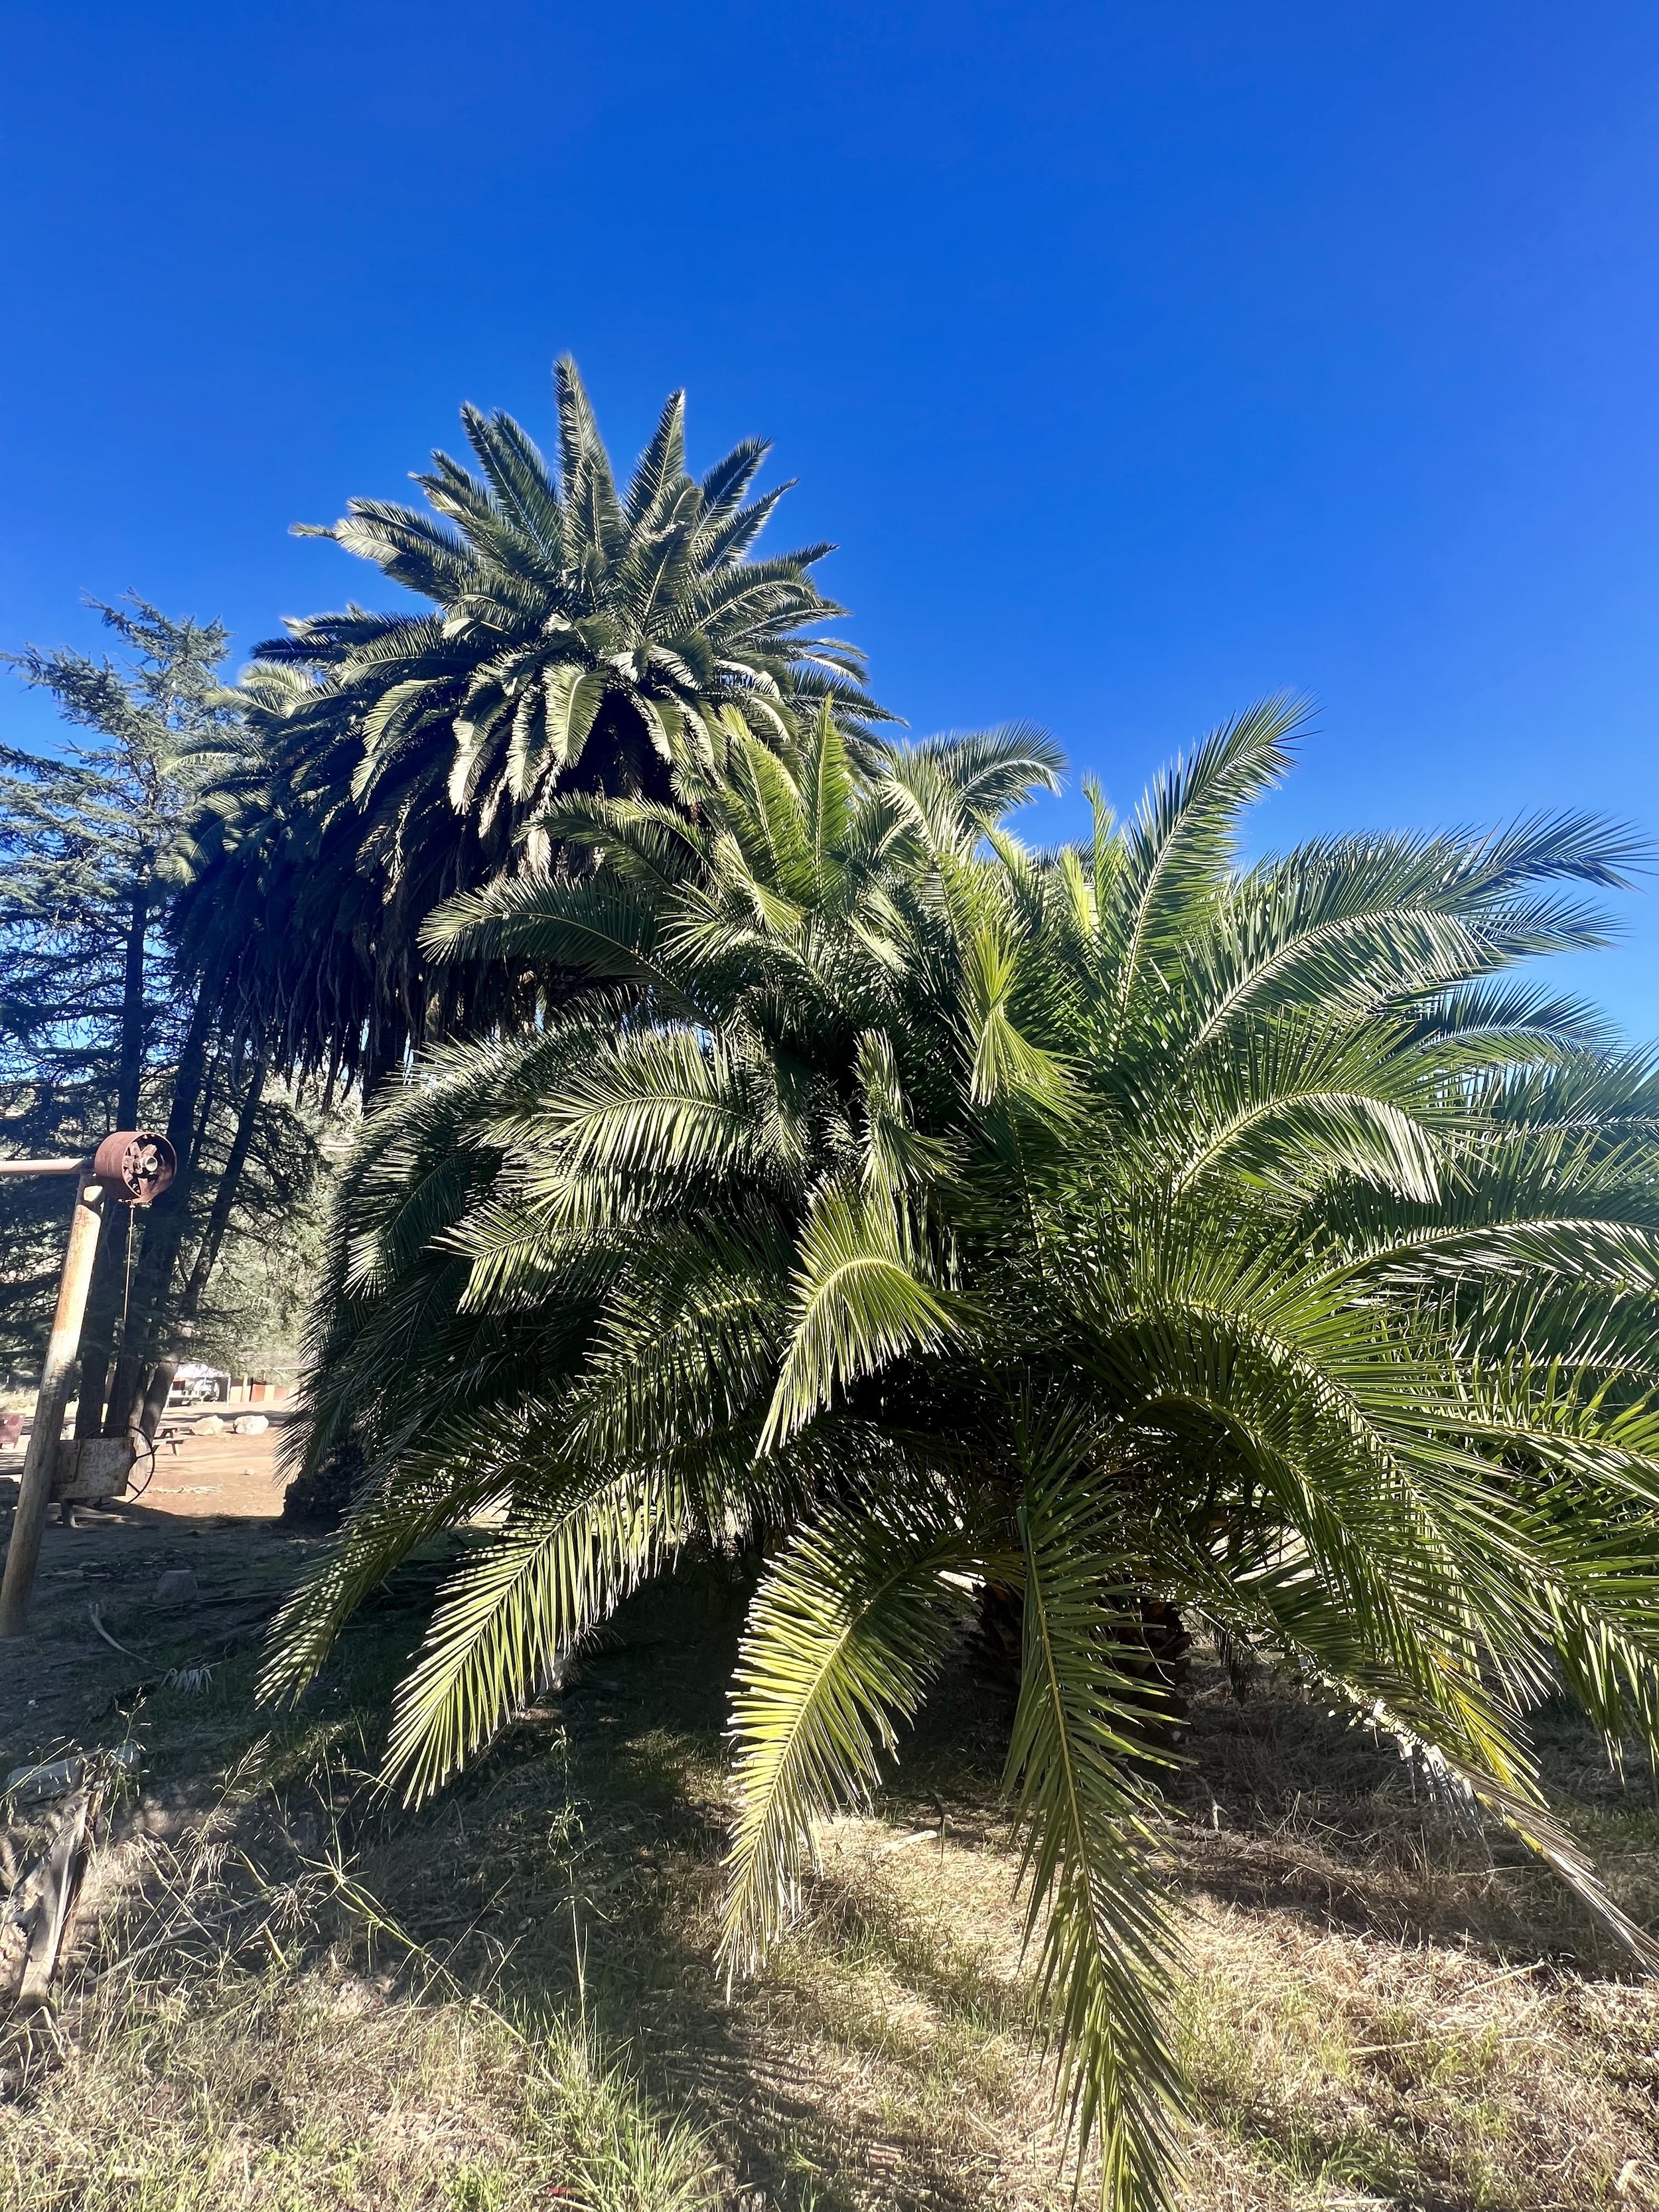
I said this above but Little Harbor Campground is one of the most beautiful campgrounds I’ve ever seen and I’m sad we didn’t have time to spend a night here. It literally looked like property you’d see on a resort in Hawaii with amazing palm trees and a sandy secluded beach cove. There’s also fresh water here so you can refill your bladder if you need to.
Continue on the dirt road from the campground and look for the turnoff which will be on the left. There’s a little climb out of Little Harbor which is absolutely stunning (pictures below). At this part you’ll have about 1,100 feet of climbing to do including a few switchbacks.
You’ll have a lot of uphill climbing to do, including a steep ridge along the edge of the bluff that you’ll definitely want your hiking poles for. Keep pushing until you reach the next stopping point, the Goat Benchmark. Take a little break once you reach it and admire the views.
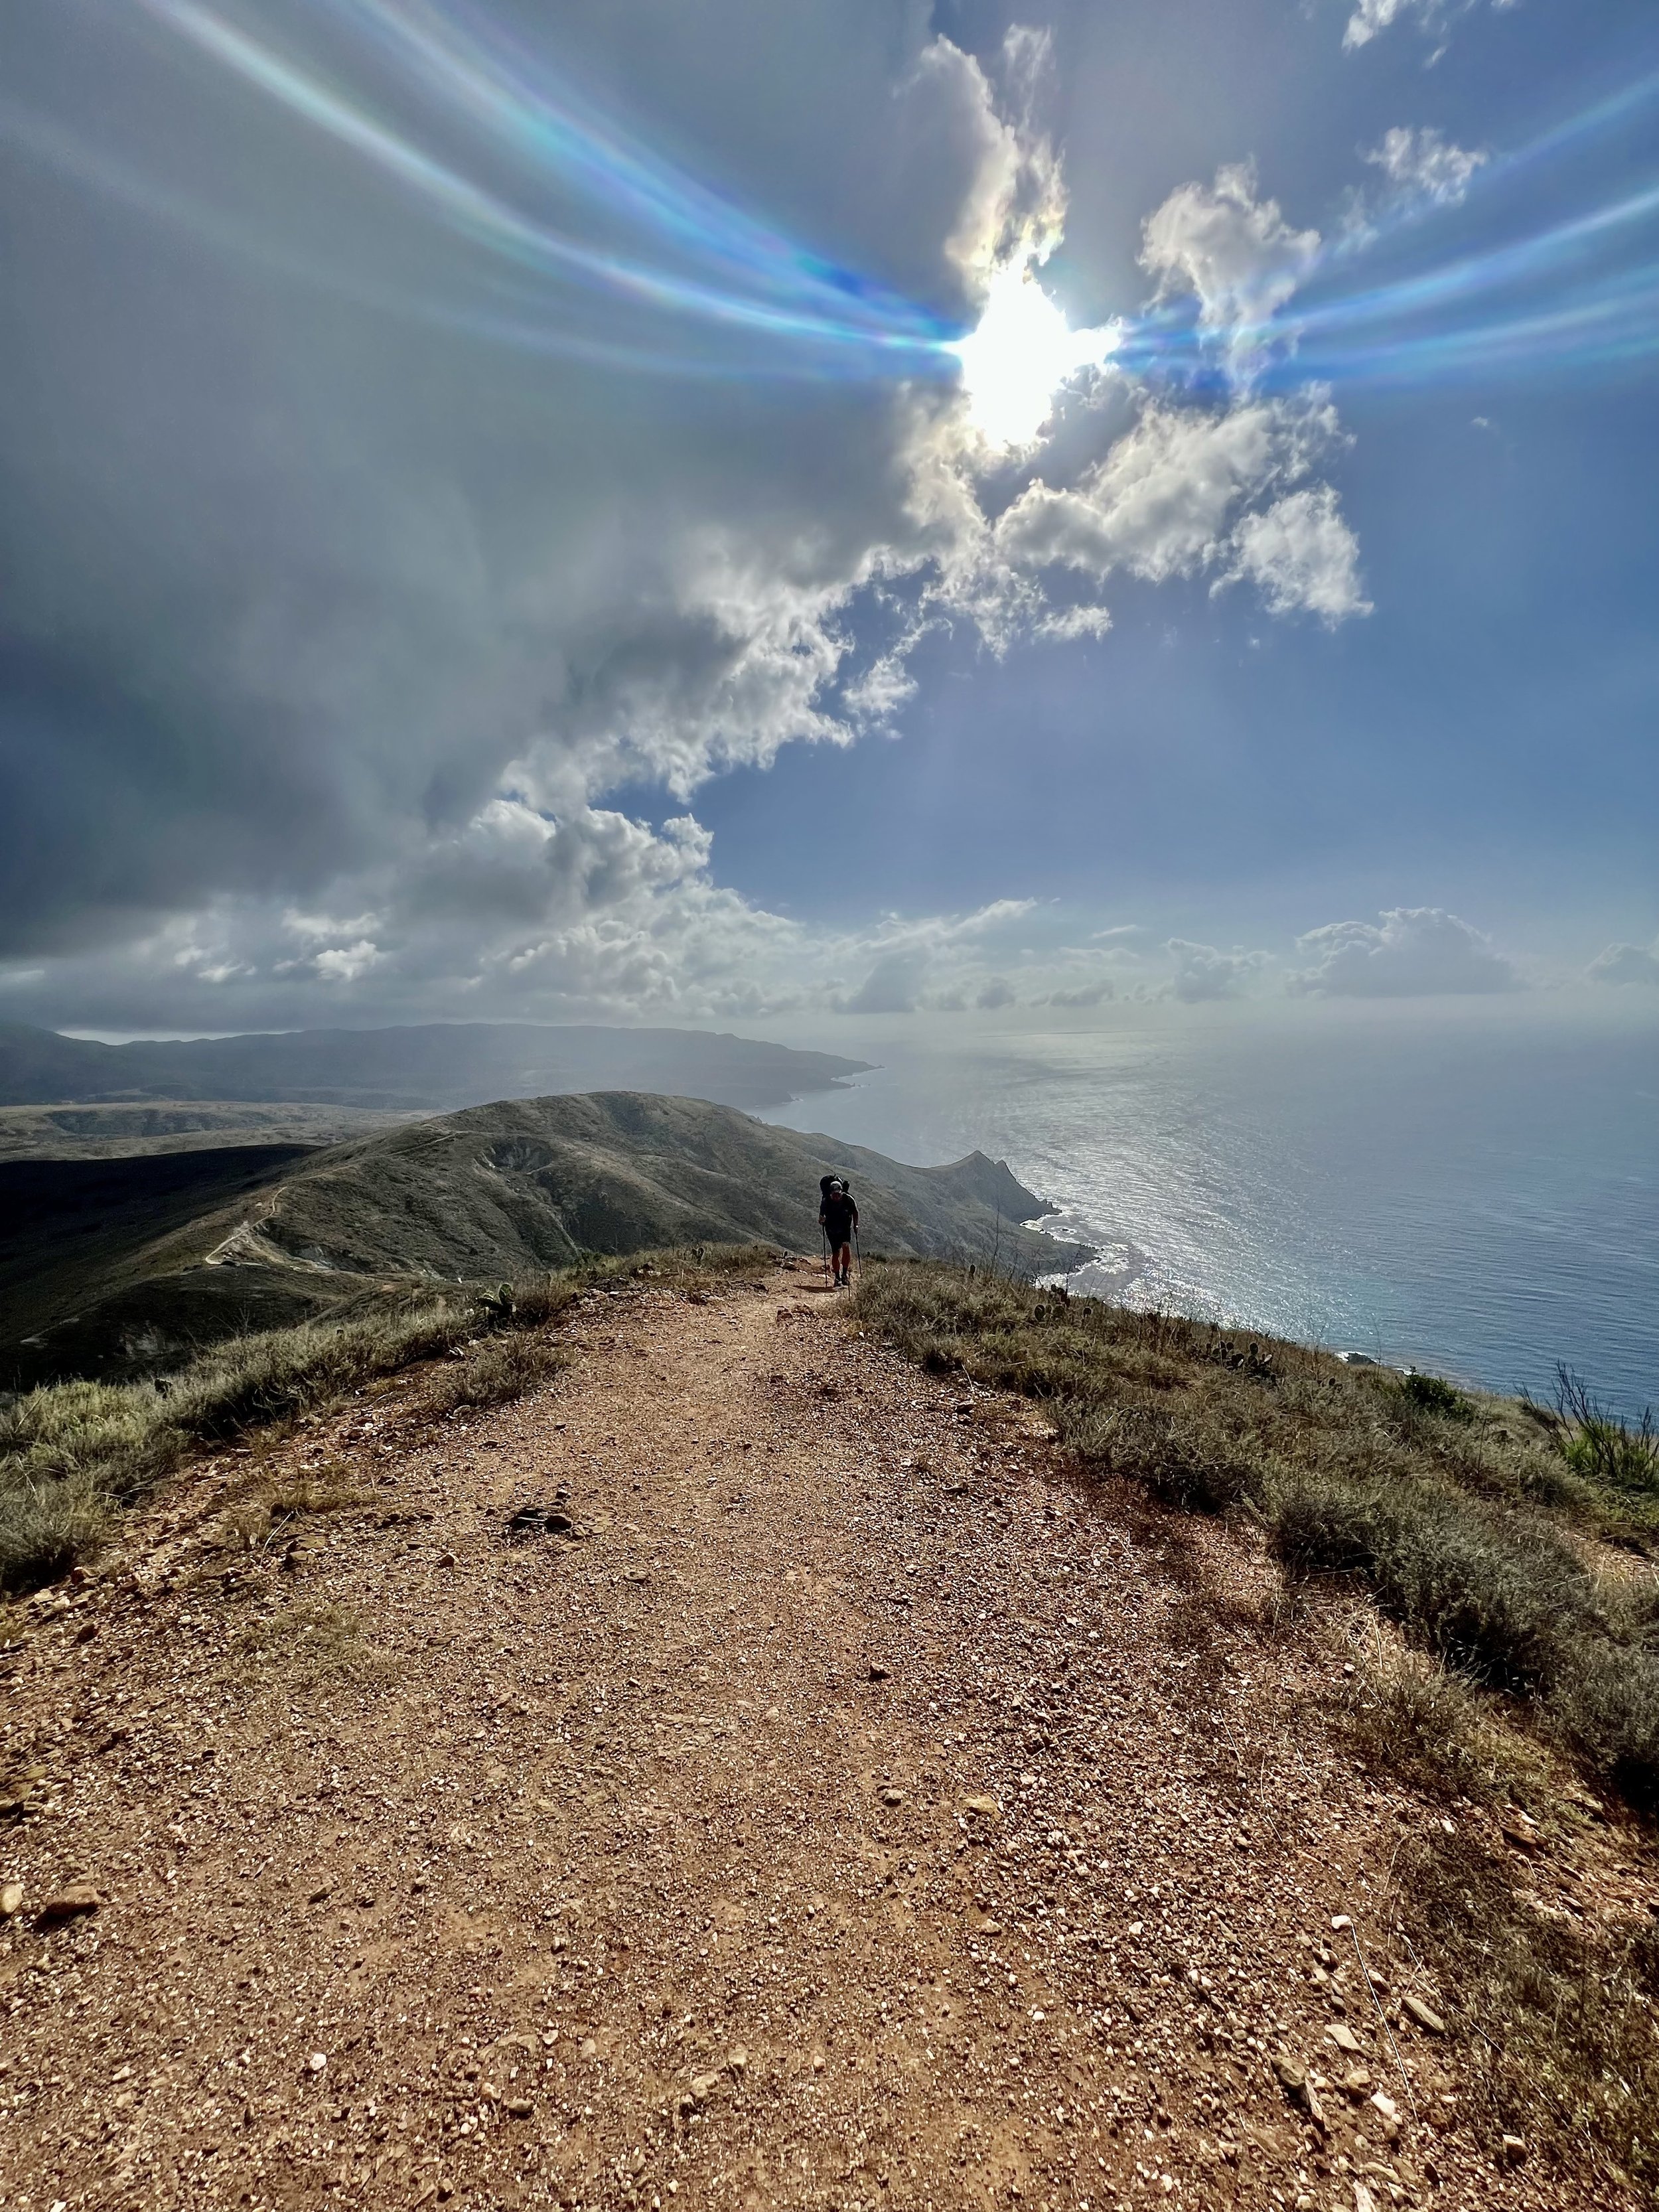
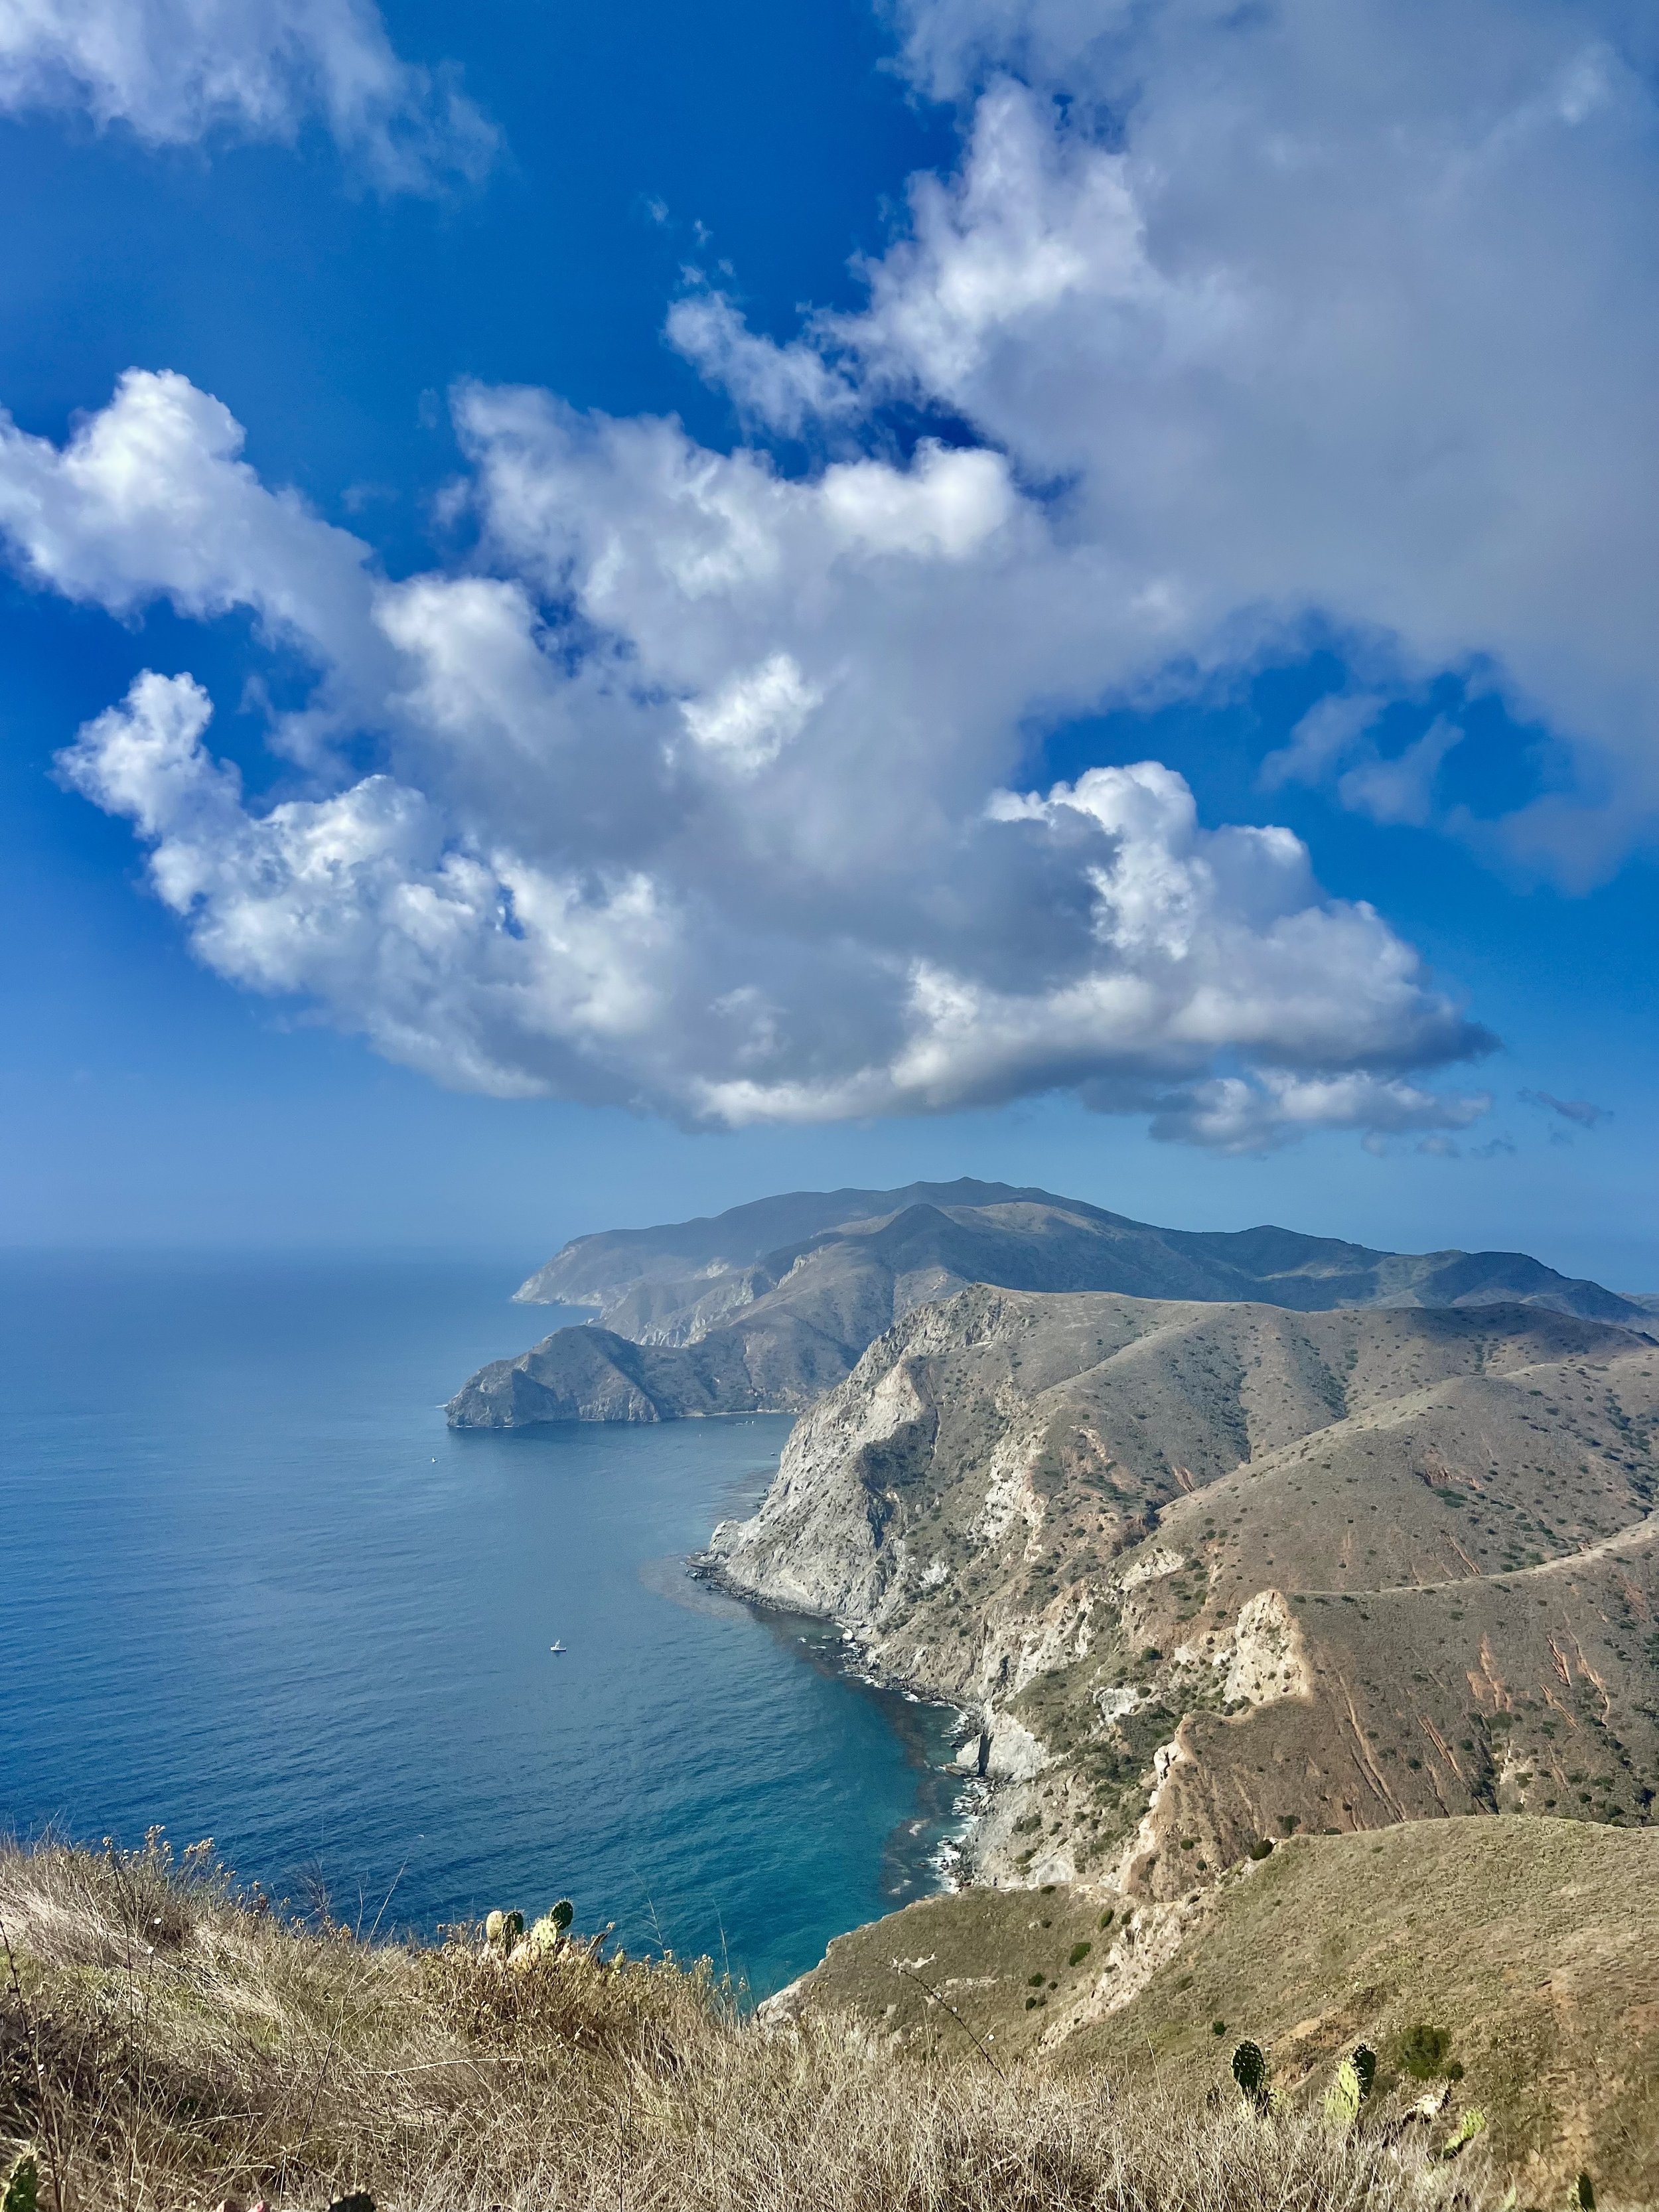
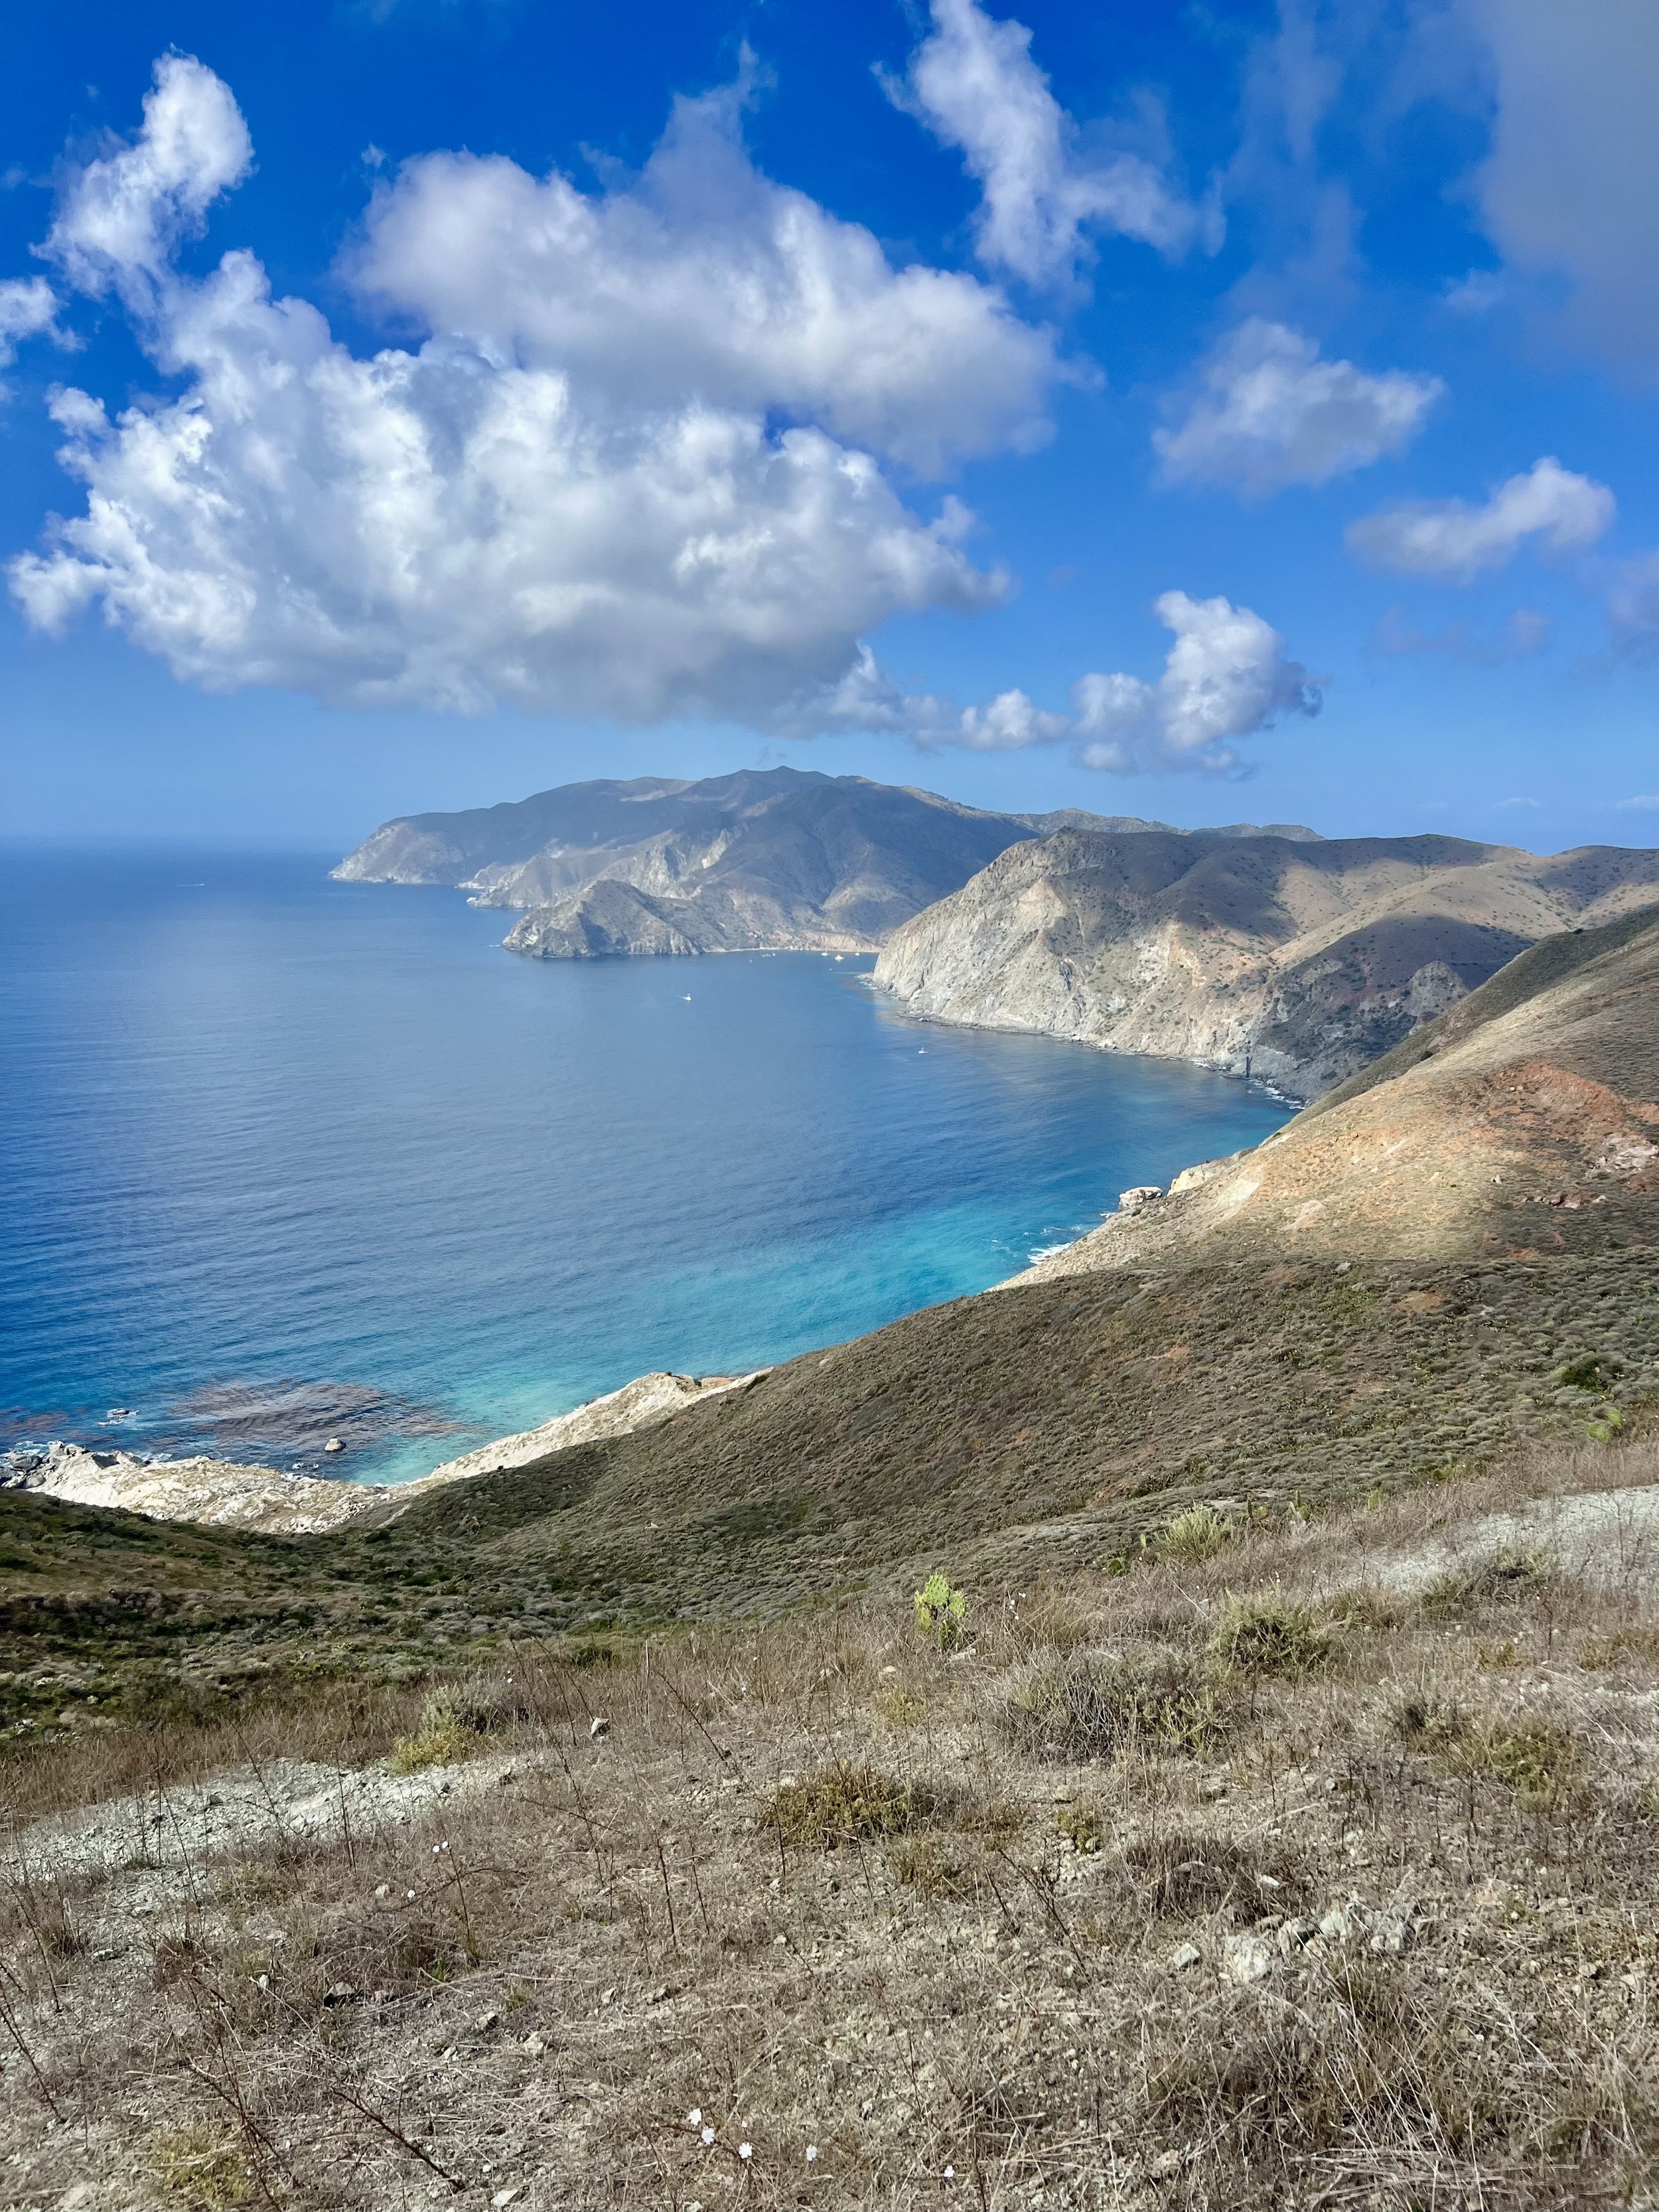
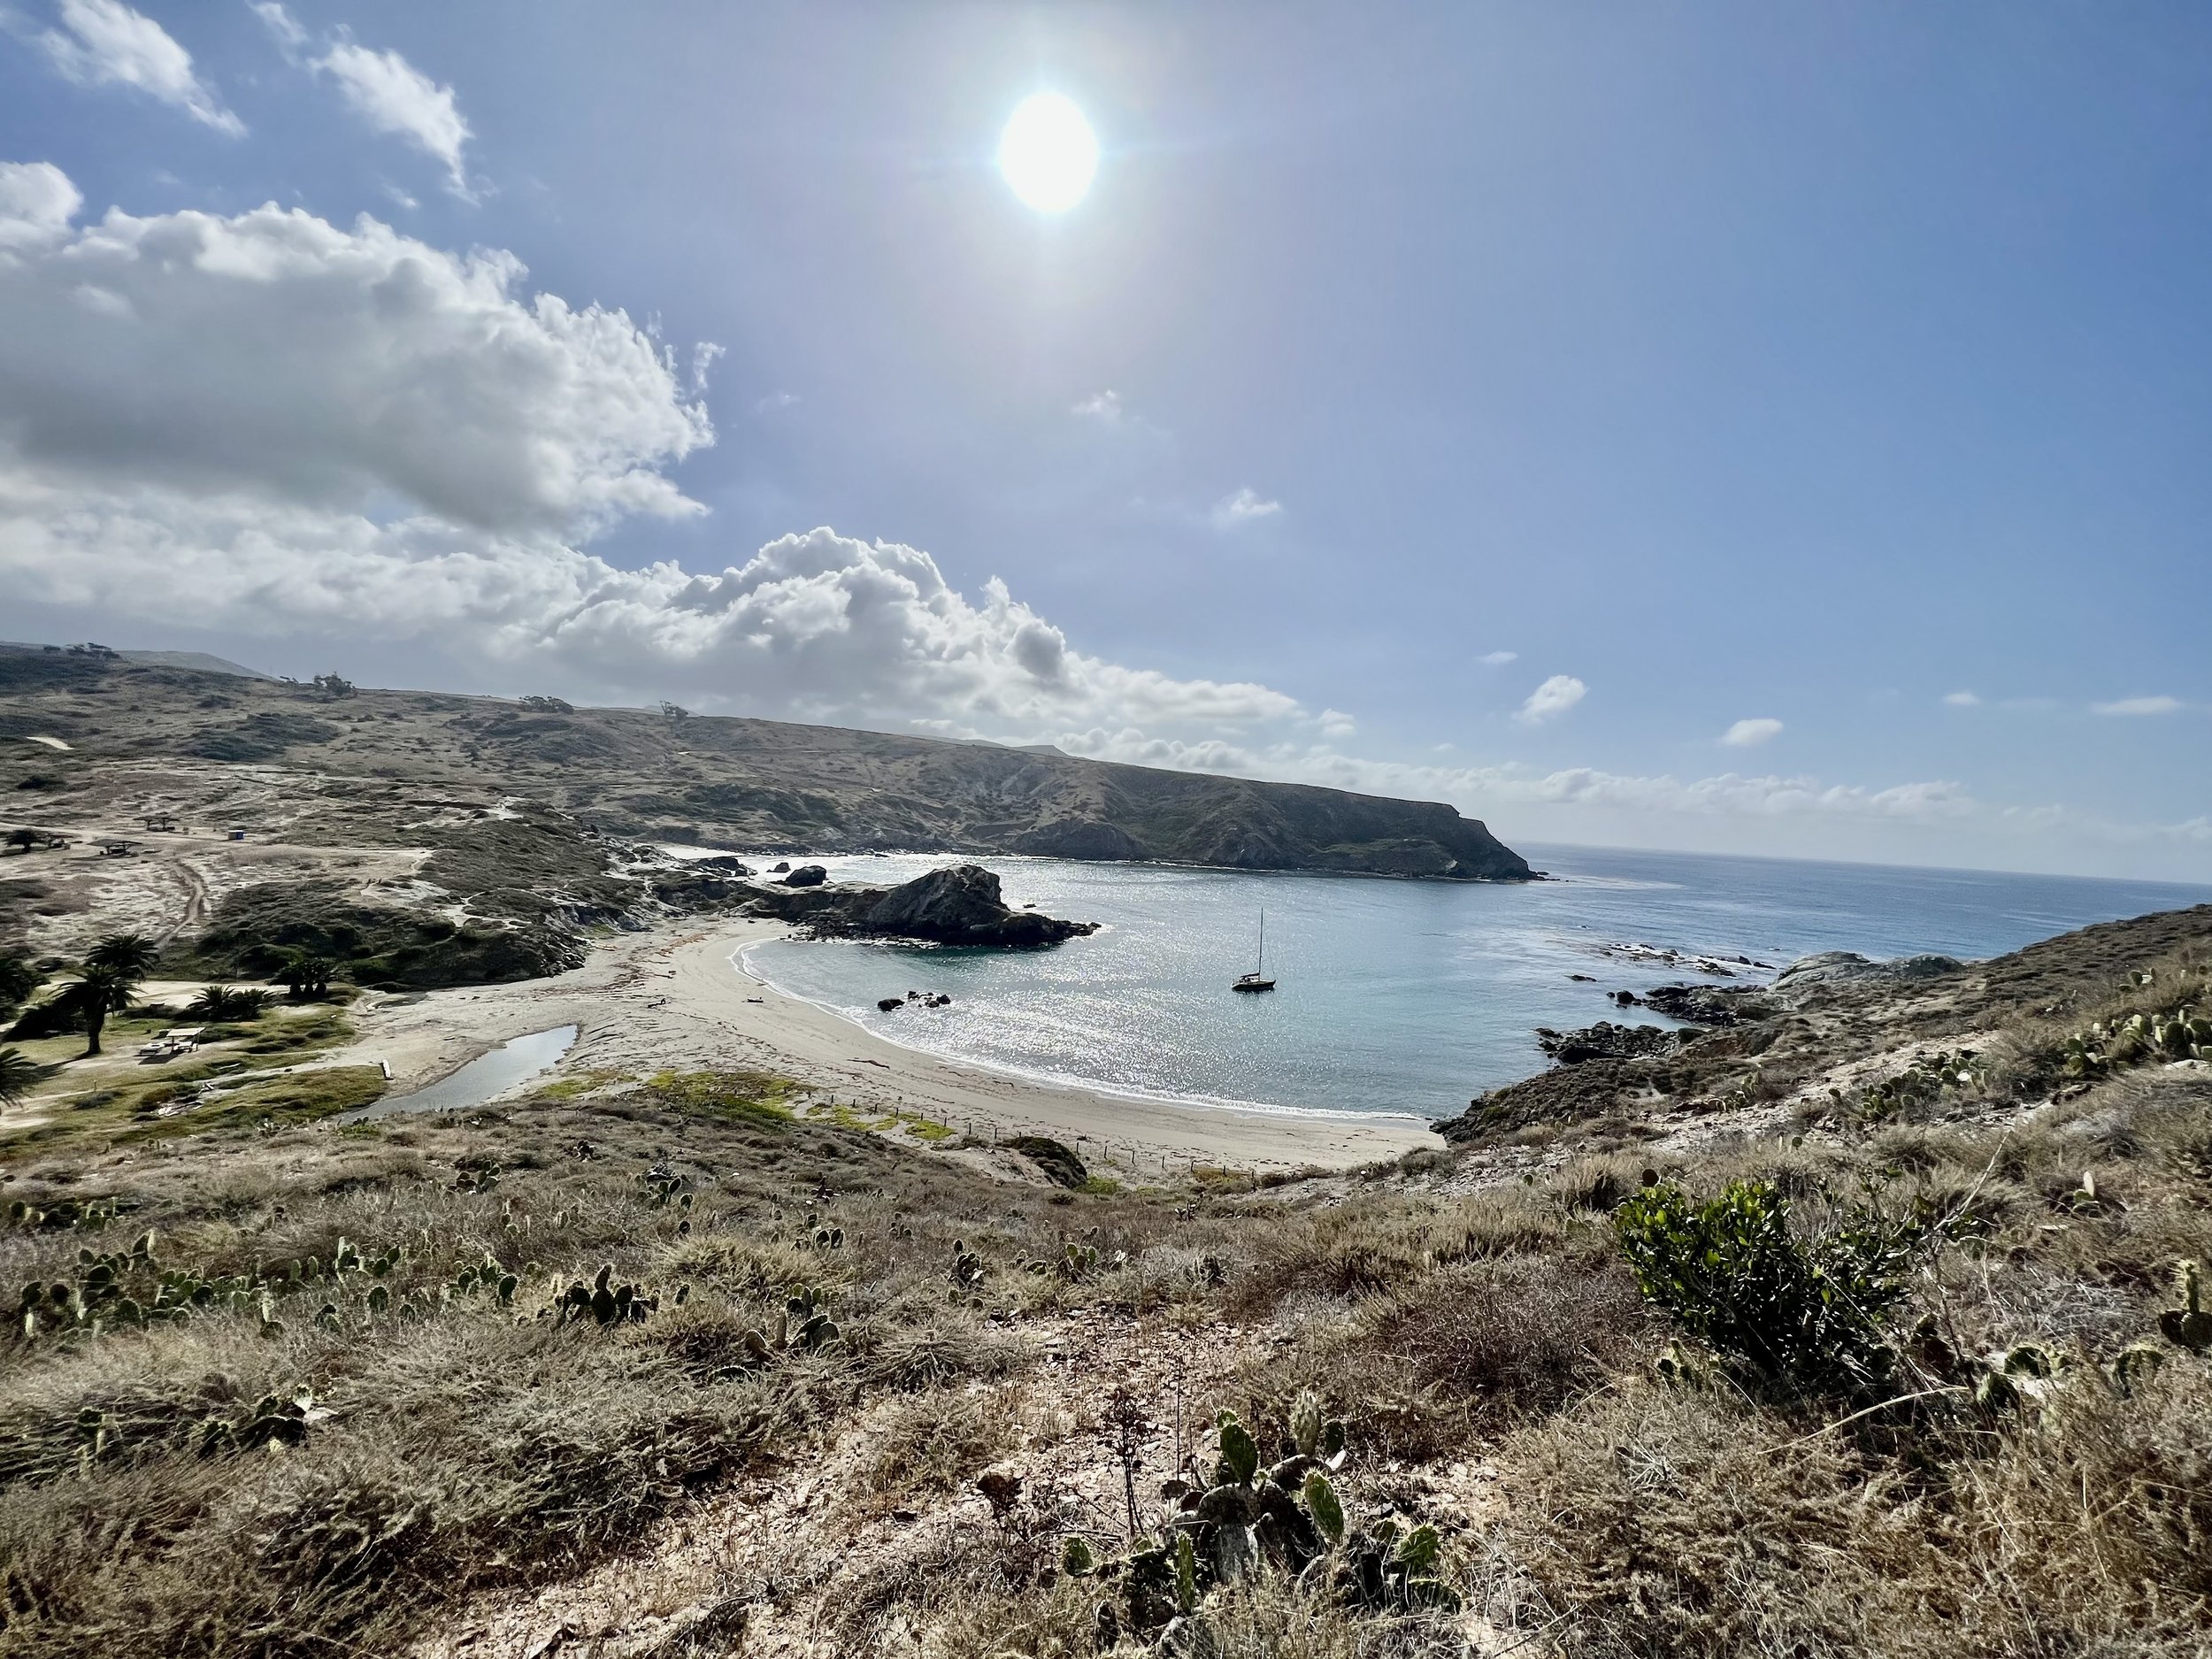
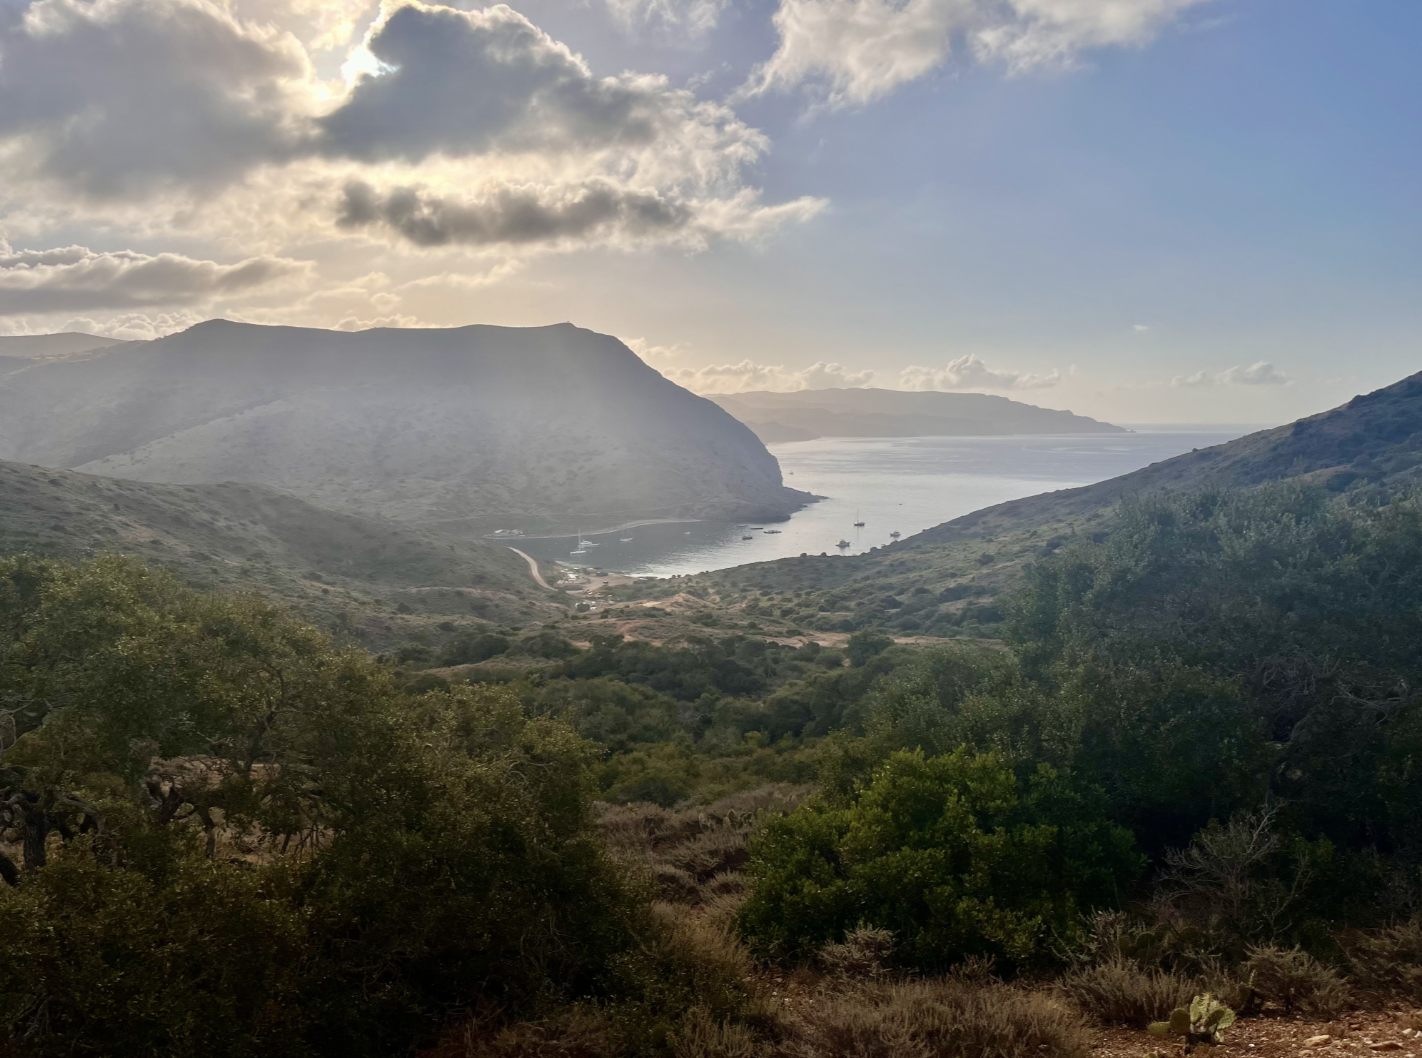
From here you’ll continue onto Two Harbors which is pretty much downhill. The views continue to be incredible. Eventually the western part of Two Harbors will come into view which is the official “Catalina Harbor.”

The western part of Two Harbors known as the official “Catalina Harbor”
Once you get into the town of Two Harbors, you’ll reach a big open space with the yacht club on your left. You’ll head to the visitors center and pier area, go to the right, and continue on a dirt road .5 miles east up a hill to the campground. There’s fresh water here so you can refill your bladder.
The signage to get from the town to Two Harbors Campground is horrible! We had to ask someone inside the Visitors Center where to go, so just be prepared for that. We had site 44 which was pretty far in the back and wasn’t fun to climb up to after 13 miles of hiking. If you can get a site closer to the entrance of Two Harbors Campground I recommend that, but that isn’t always doable. On the flip side, the views of the ocean from our site were beautiful which made up for the rough climb.
If you reserved a locker with firewood, fire starter, and water at Parsons Landing, you’ll need to go to the Visitors Center in town at Two Harbors to get your code for the locker. I’d do this before heading to your campsite for the evening, as they may not be open early morning the following day by the time you start your hike. You can purchase the locker ahead of time when you make your campground reservation or by calling the Two Harbors Visitor Services at 310.510.4205. I highly recommend reserving this! It was worth it to not have to worry about water and having the fire was nice.
Exercise caution while sleeping at this campground. At around 1:00am the next morning, we were woken up by a bison eating grass right at our tent, which was quite scary. We never expected bison to come so close to tents, but we were wrong because he was so close that he was pretty much eating our tent! The next morning when we woke up at 6:30am, he was still near our site hanging out (picture below).

Day 3:
We woke up extremely early on day 3 because we wanted to start hiking by 7:00am, but you could probably sleep in a bit if you’re tired. The day 3 hike isn’t as long as the two previous days, but you have the most strenuous elevation gain to tackle. You'll cut through the town and follow the signs leading to a wide dirt road over to the boat anchorage. You’ll swing away from the harbor and hike through an area that has a lot of construction equipment. In the distance you’ll see the uphill on the Silver Peak Trail, which is where you are going. You’ll climb about 1,700 feet up in about 2.5 miles. This is the most challenging portion of the Trans-Catalina Trail. It is straight-forward and once you start your decent, you'll see Parsons Landing beach in front of you.
If you don’t want to do this amount of elevation gain for whatever reason, you could also go to the right to Parsons Landing instead of left up the incline (reference the map above to see what I mean). This way is 8 miles instead of 6.5 miles but completely flat. It is also the way you’ll take back to Two Harbors on Day 4 so you’ll retrace your steps.
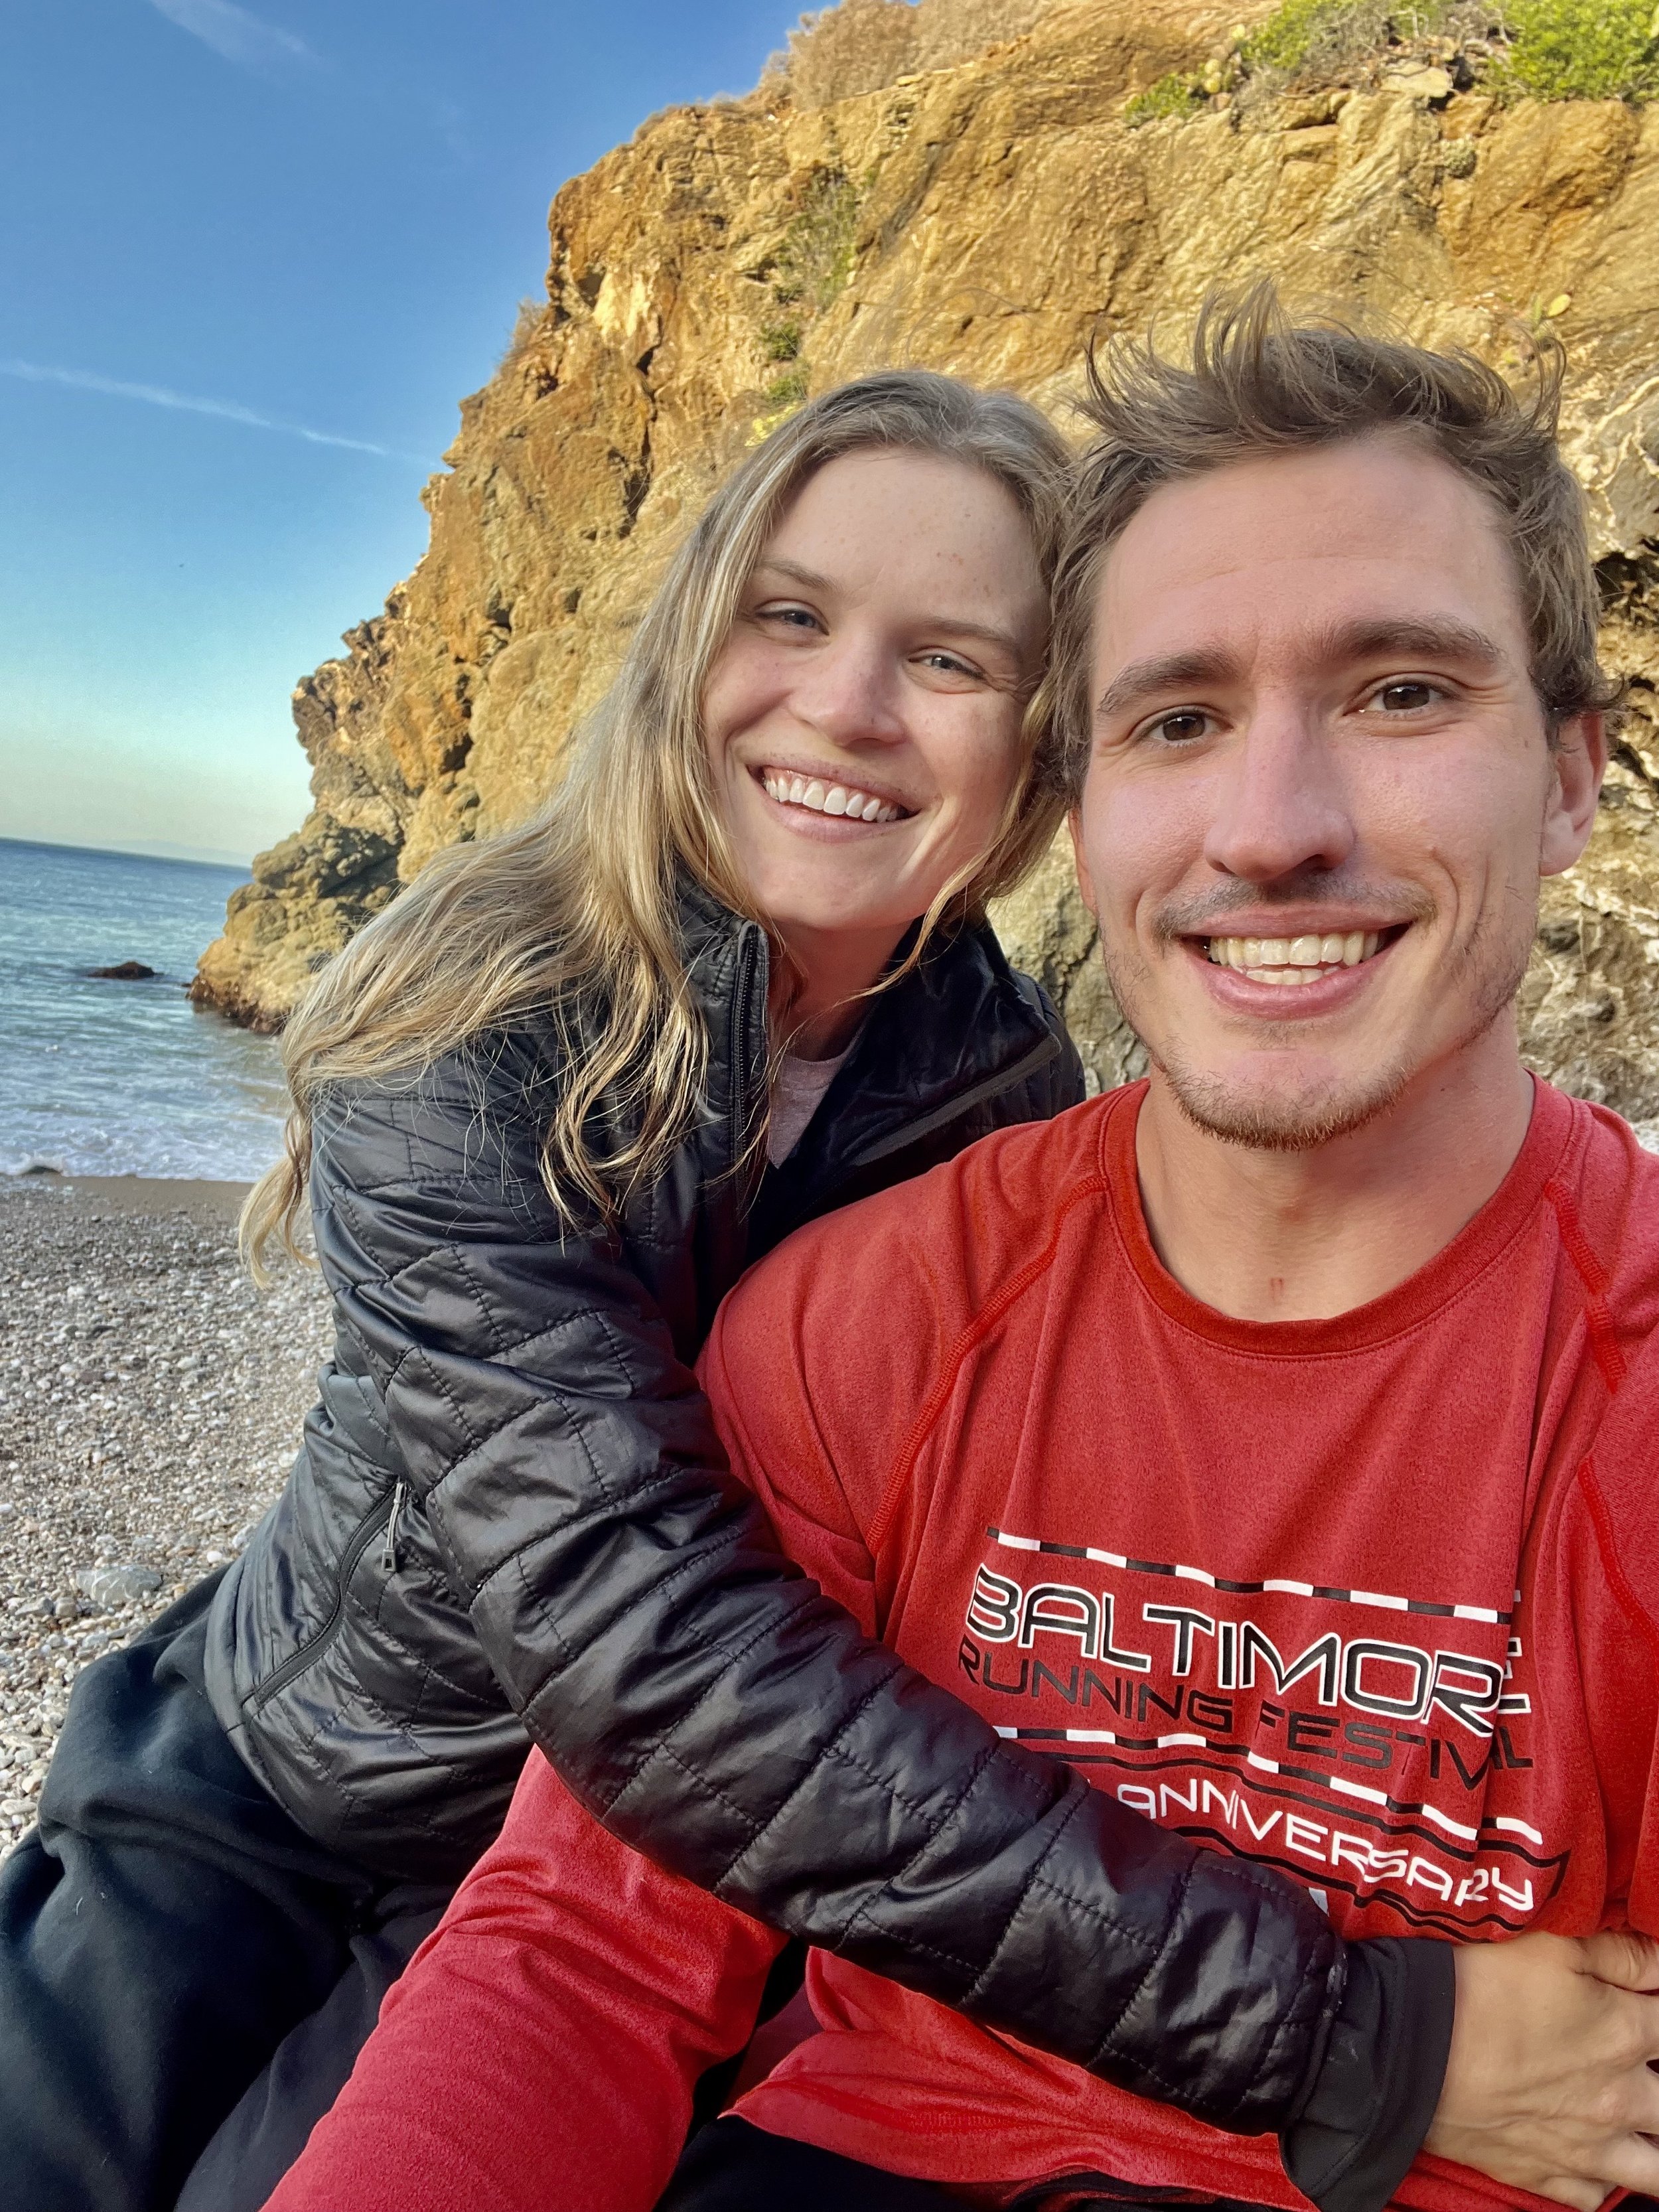
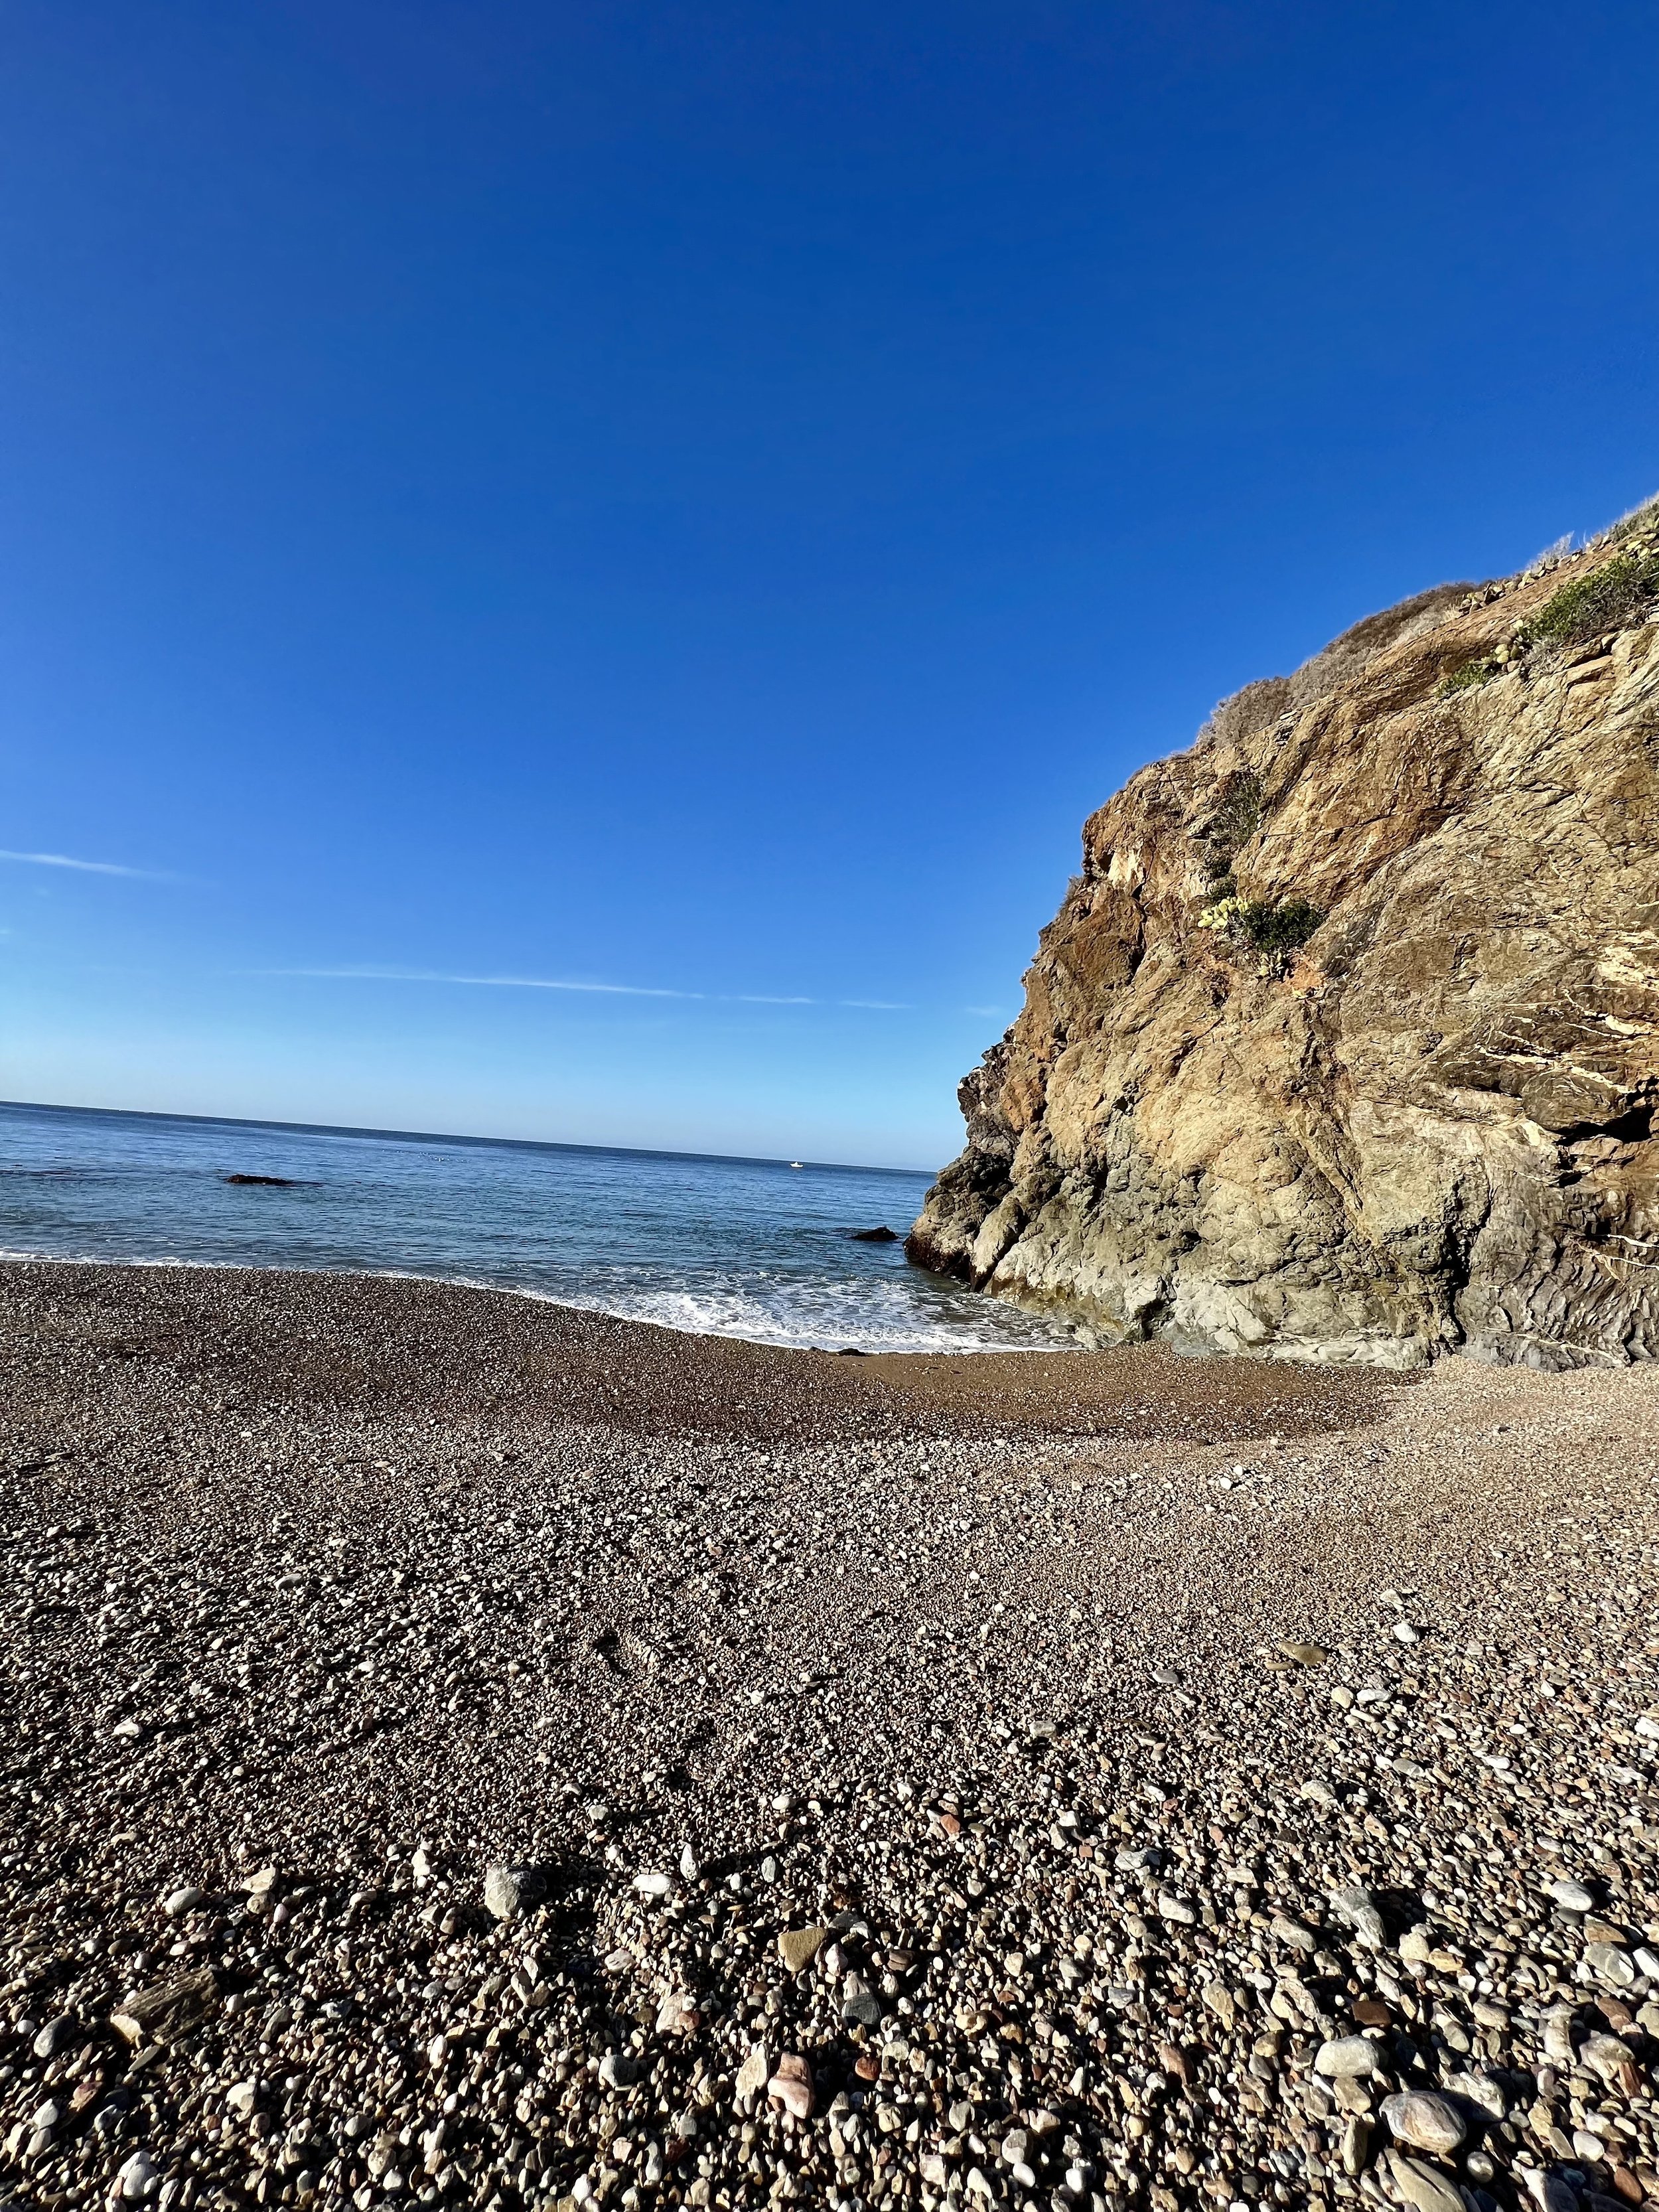
Parsons Landing only has 8 sites and is the most challenging campsite to reserve, as I mentioned above. When you’re booking take whatever site you can get, they’re all beautiful and right on the beach. When we stayed, we took site #1 which was all the way on the edge in a little cove and extremely secluded. It was great! I included a bunch of pictures below.

Day 4
The hike from Parsons Landing back to Two Harbors is easy and completely flat. You’ll follow the trail left out of Two Harbors all the way back, passing by the Boy Scout’s summer camp at Emerald Bay and Cherry Cove. The trail winds in and out of coves all along the coast and is very peaceful. You’ll pass a few mile markers along the way, eventually reaching 38.5 where you’ll get a stunning view of Two Harbors.

View of Two Harbors as you head back into town from Parsons Landing
We took the 11:45am ferry from Two Harbors to San Pedro. Our car was parked at Long Beach but unfortunately because of the time of year we did the Trans-Catalina Trail, there wasn’t a stop on the Catalina Express from Two Harbors to Long Beach. It wasn’t that big of a deal though! It is only about a 10-minute Uber/Lyft drive from San Pedro over to Long Beach so we just did that to retrieve our car. If you aren’t able to get a ferry back to Long Beach, you could always do this as well.